 Save
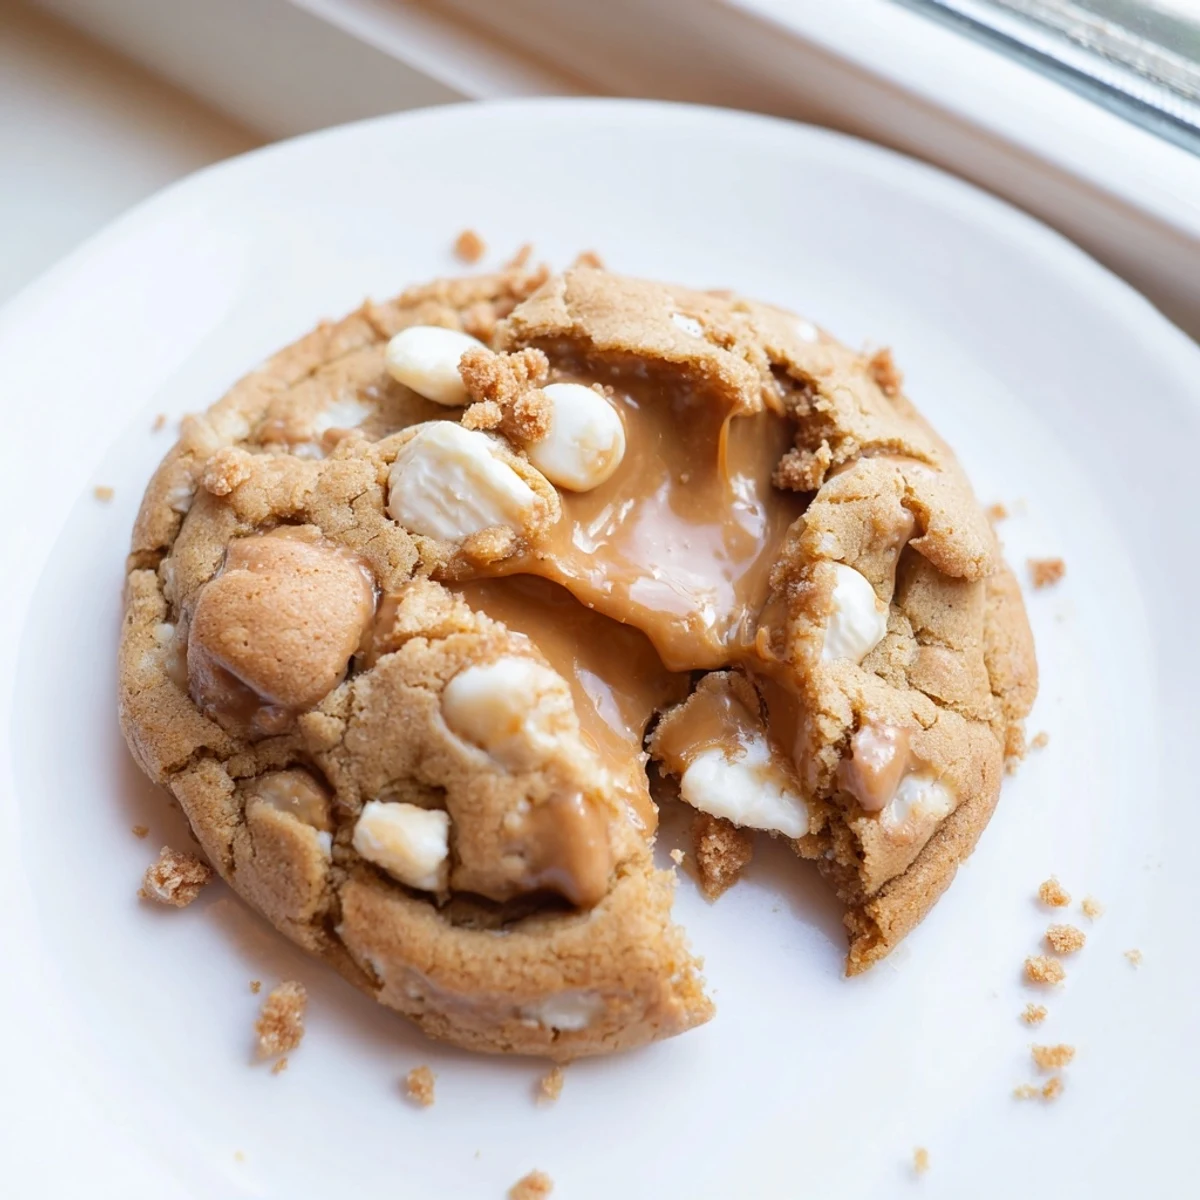
Save Experience the ultimate indulgence with these warm, stuffed cookies featuring a molten Biscoff butter core. Each bite reveals a gooey, caramel-like center surrounded by soft dough loaded with white chocolate chips and crushed Biscoff cookies. The secret lies in freezing the butter centers before wrapping them in dough, ensuring that perfect lava effect when baked. Best enjoyed warm when the center is at its melty, decadent best.
The smell of toasted caramelized speculoos spices wafting through my tiny apartment kitchen stopped me in my tracks midway through my first attempt at these cookies. Id been skeptical about the whole lava concept, worried the centers would collapse into a sticky mess all over my baking sheet. That first bite, with warm cookie butter oozing onto my fingers, convinced me every minute of prep was worth it. Now theyre my go-to when I need something that feels like a warm hug.
I brought a batch to a friends birthday dinner last fall, and her dad kept going back to the platter until only crumbs remained. He confessed later that he doesnt even have much of a sweet tooth, but something about that warm gooey center got him. Now every time I see them, they text asking if Ive made those lava cookies lately. Its become their family's most requested dessert.
Ingredients
- Biscoff spread: Freezing this into solid balls is the secret to getting that perfect lava center instead of a leaky mess
- Unsalted butter: Room temperature butter creamed properly creates those tender edges and chewy centers we all love
- Light brown sugar: The molasses content adds moisture and that gorgeous golden color to the finished cookies
- White chocolate chips: They complement the speculoos spices without competing, unlike dark chocolate would
- Crushed Biscoff cookies: These little pockets of crunch throughout the dough make every bite interesting
Instructions
- Prepare the frozen centers:
- Scoop small balls of Biscoff spread onto a parchment-lined tray and freeze until completely solid
- Cream your butter and sugars:
- Beat together until the mixture looks pale and fluffy, which usually takes about 3 minutes
- Add the wet ingredients:
- Mix in the egg and vanilla until everything is fully incorporated
- Combine the dry ingredients:
- Whisk together flour, baking soda, and salt in a separate bowl before adding them
- Form the stuffed cookies:
- Flatten dough portions, place a frozen Biscoff ball in each center, and carefully wrap dough around to seal completely
- Bake until just set:
- Cook for 11-13 minutes until edges are golden but centers still look slightly underbaked
 Save
Save My sister called me at midnight once after making these, absolutely gushing about how lifechanging warm cookie butter lava is. Shes not usually one for lengthy dessert recipes, but she said watching her kids faces light up when they broke into that first cookie made all the effort worth it. Sometimes food is just about creating those little moments of joy.
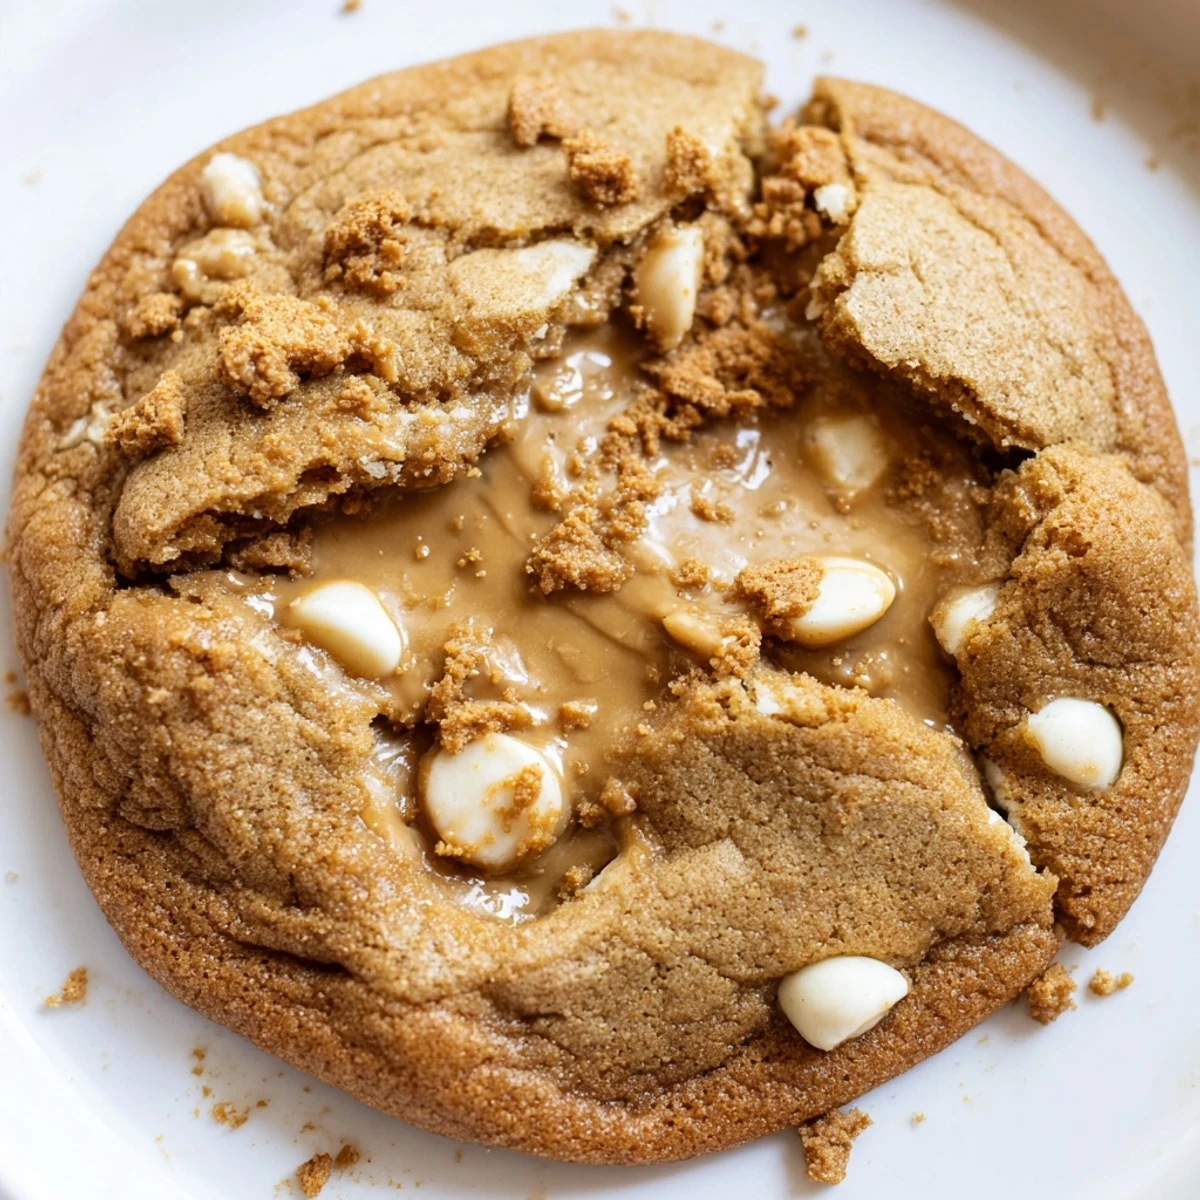
Getting the Perfect Lava Effect
The key is pulling them out of the oven when the centers still look slightly underdone. Those extra minutes of residual heat on the baking sheet continue cooking the dough while keeping the filling molten. Ive learned that slightly underbaked is infinitely better than overbaked for these particular cookies.
Make-Ahead Secrets
You can prepare the frozen Biscoff centers up to a week in advance and store them in an airtight container. The stuffed dough balls also freeze beautifully before baking, just add 2-3 minutes to the baking time from frozen. This makes them perfect for unexpected guests or sudden cookie cravings.
Serving Suggestions
These cookies are absolutely magical served warm within 10 minutes of baking, but theyre also fantastic reheated for about 15 seconds in the microwave. A scoop of vanilla bean ice cream melting into that warm center creates the most incredible dessert experience.
- Dust them with powdered sugar right before serving for a pretty finish
- A drizzle of melted white chocolate takes them over the top
- Store any leftovers in an airtight container and briefly reheat before eating
 Save
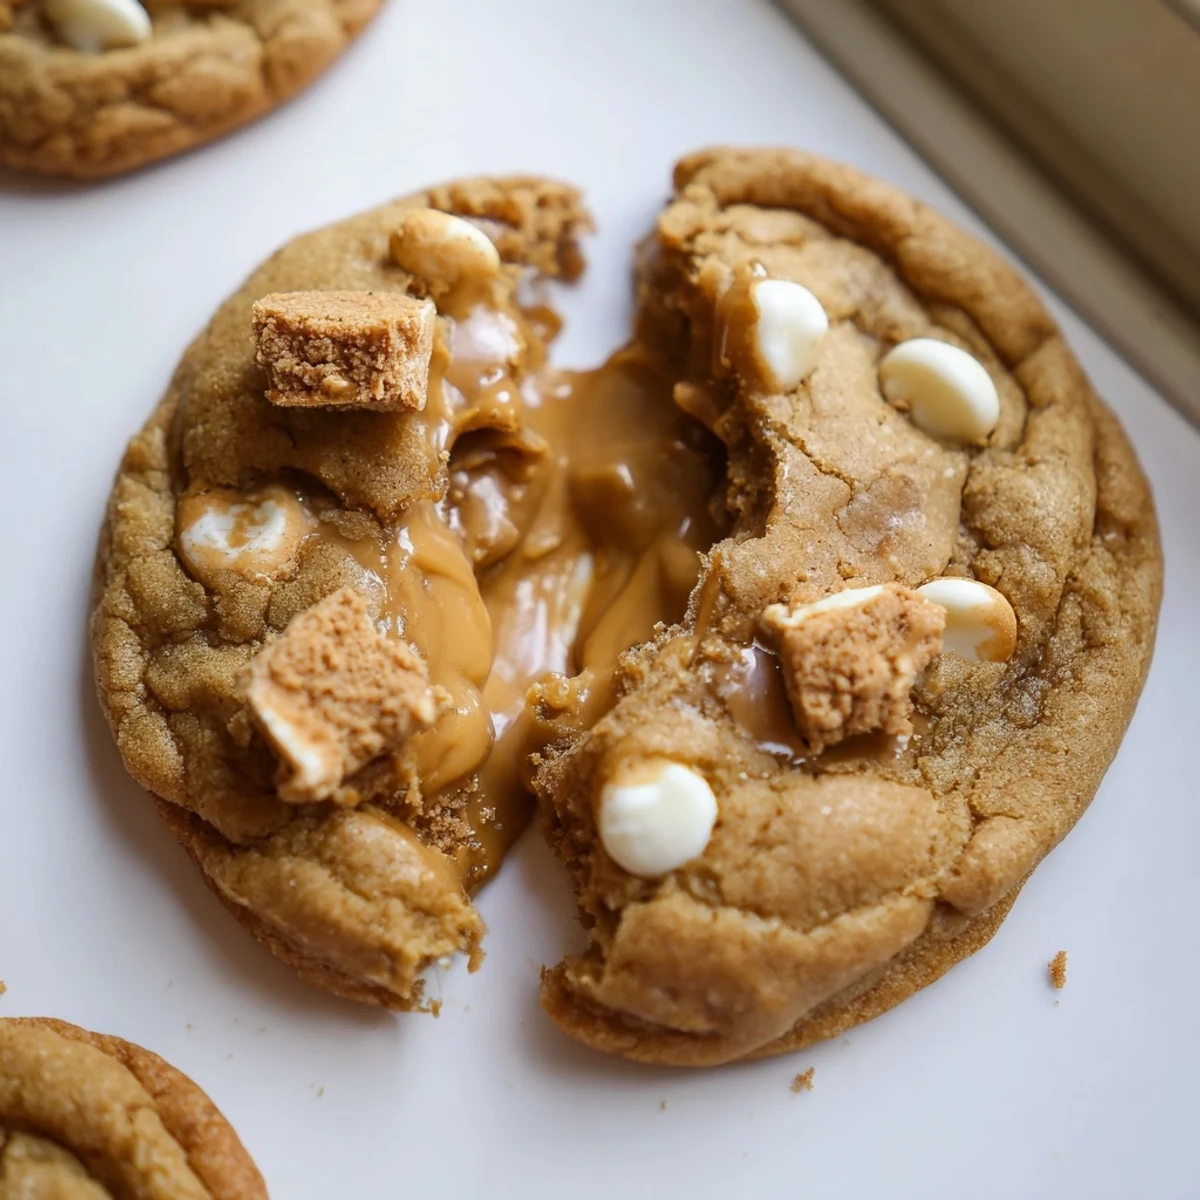
Save Theres something so satisfying about breaking into a warm cookie and watching that golden lava spill out. Hope these bring as much joy to your kitchen as they have to mine.
Recipe FAQs
- → How do I achieve the perfect lava effect?
-
The key is freezing the Biscoff spread balls for at least 30 minutes before stuffing them into the dough. This solid center creates the molten lava effect when baked, as the frozen butter melts slowly while the cookie sets around it.
- → Can I make the dough ahead of time?
-
Yes, you can prepare the stuffed dough balls and store them in the refrigerator for up to 24 hours before baking. For longer storage, freeze them on a baking sheet first, then transfer to a freezer bag for up to 3 months.
- → What's the best way to know when they're done?
-
Look for golden edges while the centers appear slightly underdone. This contrast ensures soft, gooey centers. They continue cooking on the hot tray for 5 minutes after removal, so don't overbake.
- → Can I substitute the white chocolate chips?
-
Absolutely. Dark chocolate, milk chocolate, or even chocolate chunks work beautifully. The darker chocolate creates a lovely contrast against the sweet Biscoff filling, while milk chocolate enhances the creaminess.
- → Why is chilling the dough balls important?
-
Chilling for 15 minutes prevents excessive spreading during baking, ensuring the cookies stay thick and the Biscoff center remains contained. Cold dough also promotes better texture and more even baking.
- → How should I store these cookies?
-
Store in an airtight container at room temperature for up to 3 days. For the best lava effect, gently rewarm in the microwave for 10-15 seconds before serving. They can also be frozen for up to a month.