 Save
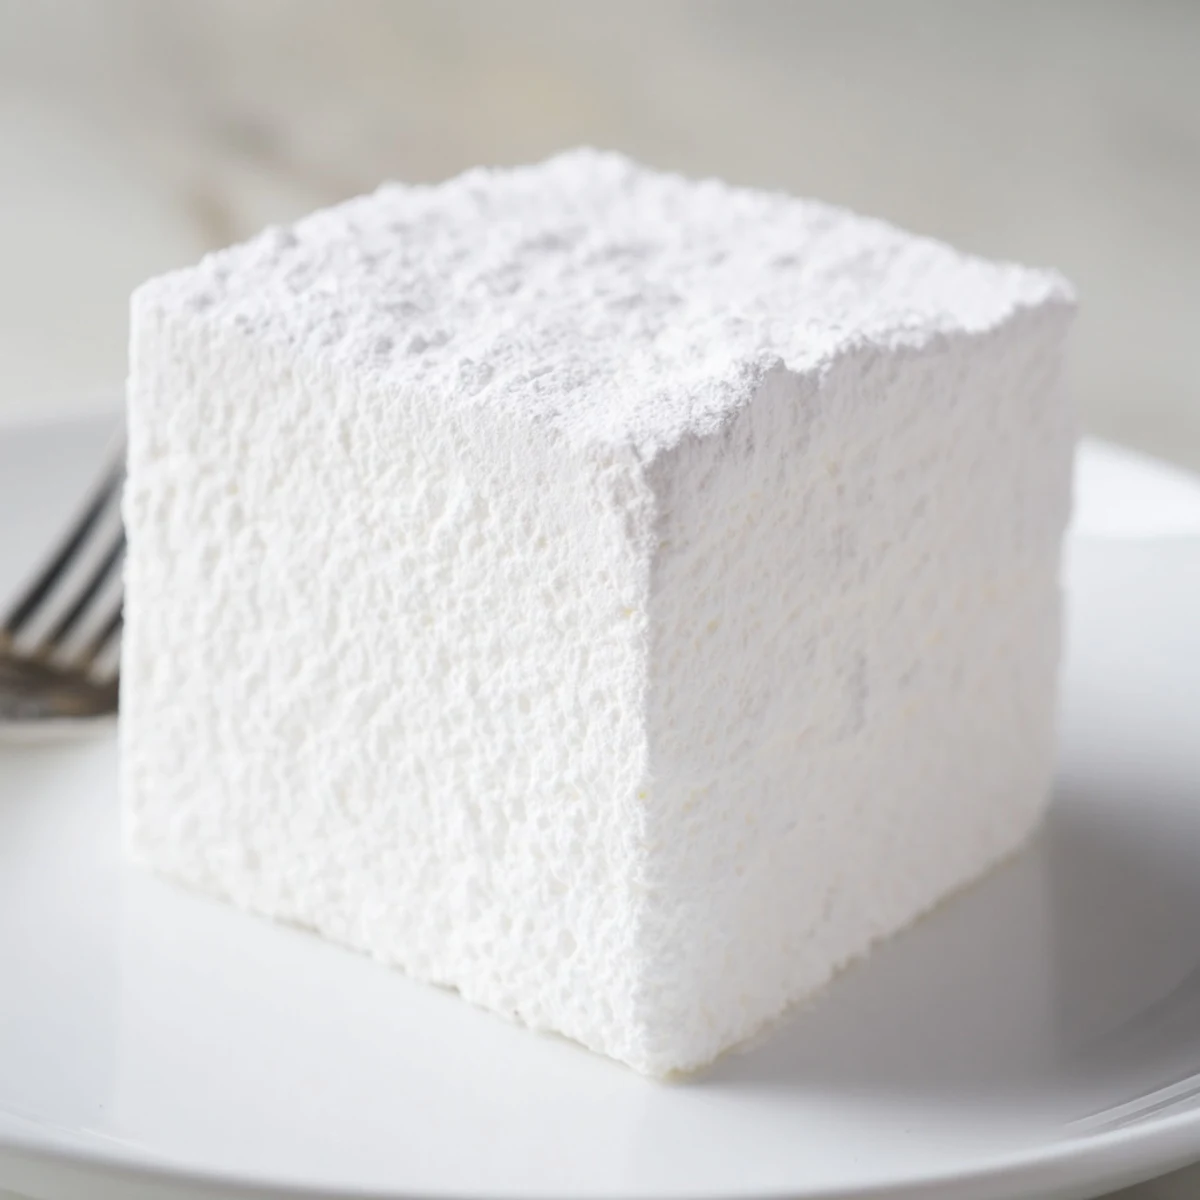
Save Craft your own cloud-like vanilla squares using granulated sugar, corn syrup, and gelatin. The process involves blooming gelatin, cooking sugar syrup to precise temperature, then whipping until fluffy and tripled in volume. After setting for several hours, cut into bite-sized pieces coated with powdered sugar blend.
The first time I made homemade marshmallows, I stood there watching the mixer spin for twelve straight minutes, completely mesmerized as this glossy white cloud formed before my eyes. Store-bought marshmallows suddenly felt like a completely different species after that first bite of something so impossibly light and fresh. Now they've become my go-to gift during the holidays because people cannot believe these came from a home kitchen.
Last December I made peppermint batches for everyone on my list, wrapping them in little cellophane bags with red ribbon. My neighbor texted me the same day she received hers saying her family had already finished half and were requesting more for Christmas morning. Something about giving someone a handmade confection feels so much more personal than cookies.
Ingredients
- Granulated sugar: The foundation of your syrup and what gives structure to the fluff
- Light corn syrup: Prevents crystallization so your marshmallows stay smooth
- Unflavored gelatin: The magic ingredient that transforms liquid into those pillowy squares
- Pure vanilla extract: Add this at the very end so the heat doesnt cook off the flavor
- Confectioners sugar and cornstarch: This dusting mixture keeps everything from becoming one sticky disaster
Instructions
- Prepare your pan:
- Grease a 9x9-inch pan and dust it with a mixture of equal parts confectioners sugar and cornstarch, tapping out any excess.
- Bloom the gelatin:
- In your stand mixer bowl, combine the gelatin with cold water and let it sit while you work on the syrup.
- Cook the sugar syrup:
- Combine sugar, corn syrup, water, and salt in a saucepan, stirring until dissolved, then bring to 240°F without stirring.
- Beat until fluffy:
- Pour the hot syrup into the gelatin with the mixer on low, then whip on high for 10 to 12 minutes until thick and glossy.
- Add vanilla and spread:
- Beat in vanilla during the last minute, then quickly scrape into your prepared pan and smooth the top.
- Let set completely:
- Dust the top with more sugar mixture and let sit uncovered for at least 4 hours or overnight.
- Cut and coat:
- Turn onto a cutting board, cut into squares with a knife dusted in the sugar mixture, and toss each piece to coat.
 Save
Save My daughter now asks to make marshmallows whenever friends sleep over because they all crowd around the mixer watching the transformation happen. Theres something genuinely magical about showing kids that marshmallows dont just come from a plastic bag.
Getting Creative with Flavors
Once you master the vanilla version, the flavor possibilities are endless. I've made strawberry with freeze-dried fruit powder folded in at the end, and chocolate by swapping some cocoa powder for part of the sugar mixture. Just remember any extract or flavor oil gets added during that final minute of mixing.
Making the Perfect Cut
The trick to clean squares is keeping your knife or pizza cutter well dusted with the sugar mixture. If the marshmallow starts sticking to the blade, just wipe it clean and redust. I usually cut the slab into strips first, then crosswise into squares.
Storage and Gift Ideas
These keep surprisingly well in an airtight container for up to a week, though they rarely last that long in my house. Layer them between parchment paper if stacking, and add a fresh dusting of sugar mixture before gifting.
- Package them in mason jars with pretty ribbon
- Include a little packet of hot chocolate mix
- Make them during cooler months as humidity affects the texture
 Save
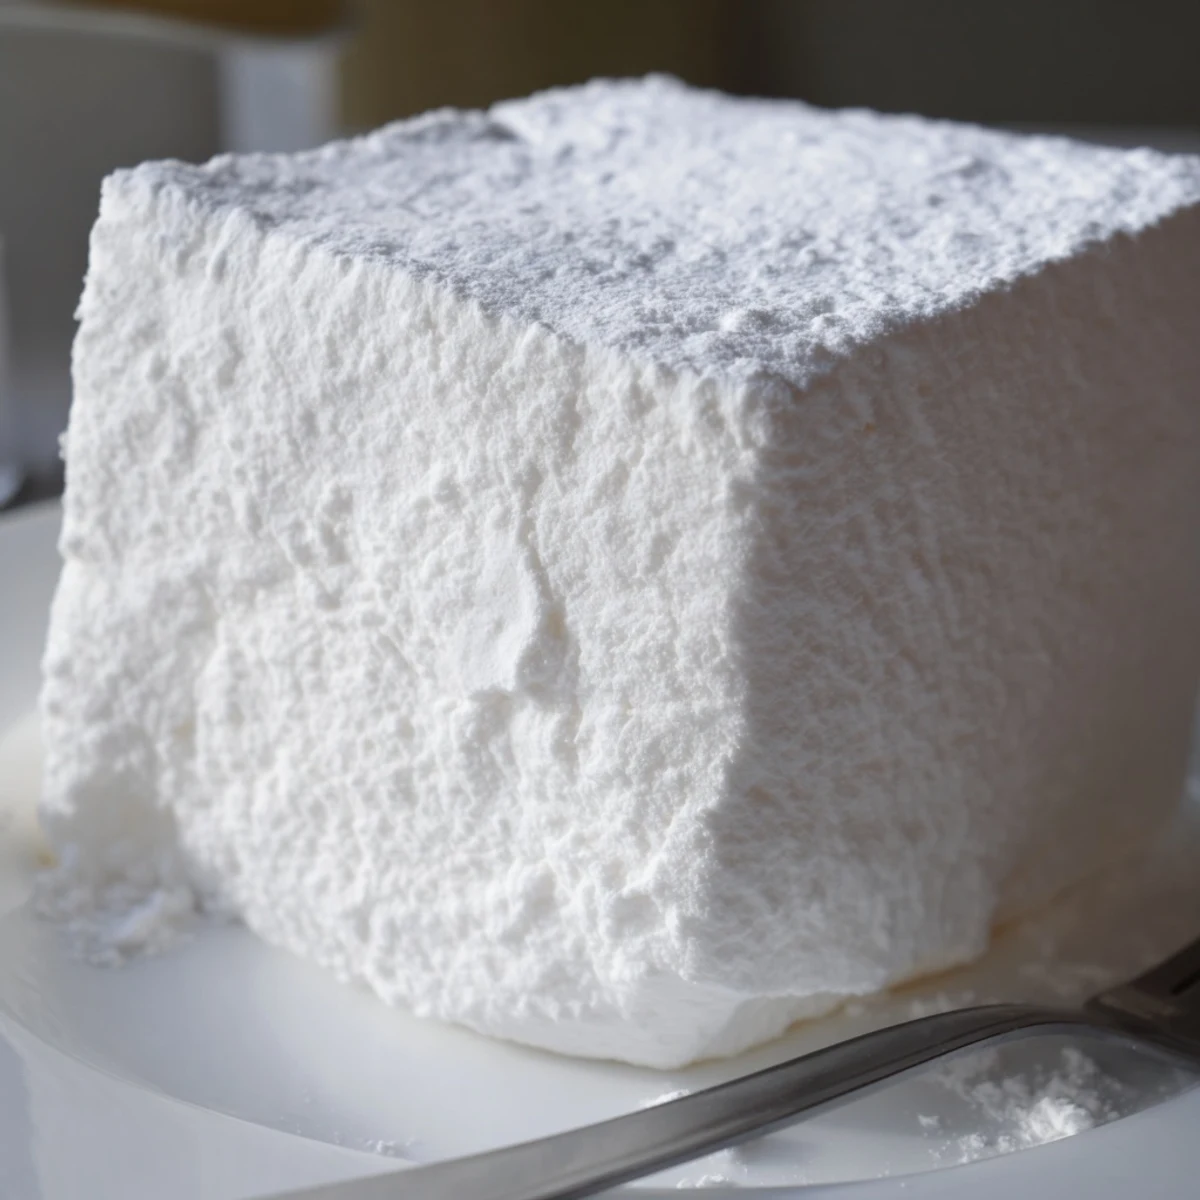
Save Once you taste these fresh and homemade, you might find it hard to go back to the store-bought version. Homemade marshmallows turn an ordinary mug of cocoa into something worth savoring.
Recipe FAQs
- → How long do homemade marshmallows take to set?
-
Allow the mixture to set at room temperature for at least 4 hours, though overnight resting produces the best texture and makes cutting easier.
- → Can I make marshmallows without a stand mixer?
-
A stand mixer is highly recommended as the mixture requires 10-12 minutes of continuous whipping. Hand mixers may work but risk overheating, and whisking by hand is extremely difficult.
- → Why do I need a candy thermometer?
-
Heating the sugar syrup to exactly 240°F (115°C) is crucial. This temperature ensures proper structure and shelf stability. Without accurate temperature control, your marshmallows may not set correctly.
- → How should I store these marshmallows?
-
Keep in an airtight container at room temperature for up to one week. The coating of confectioners sugar and cornstarch prevents pieces from sticking together.
- → Can I customize the flavor?
-
Absolutely. Replace vanilla extract with peppermint, almond, or other extracts during the final mixing minute. You can also add food coloring at this stage for festive varieties.