 Save
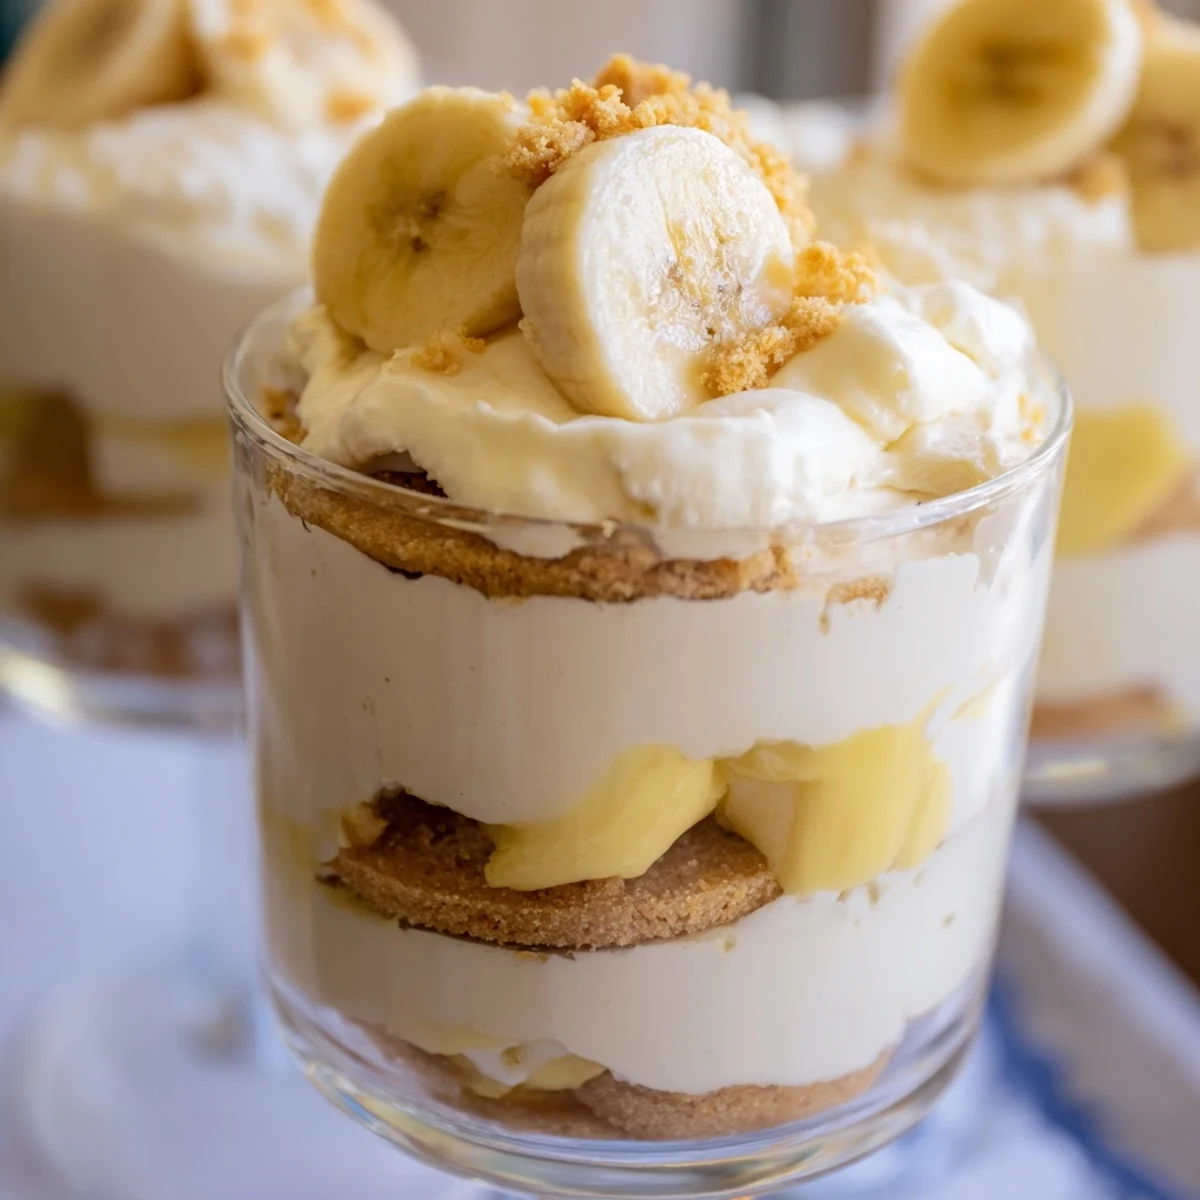
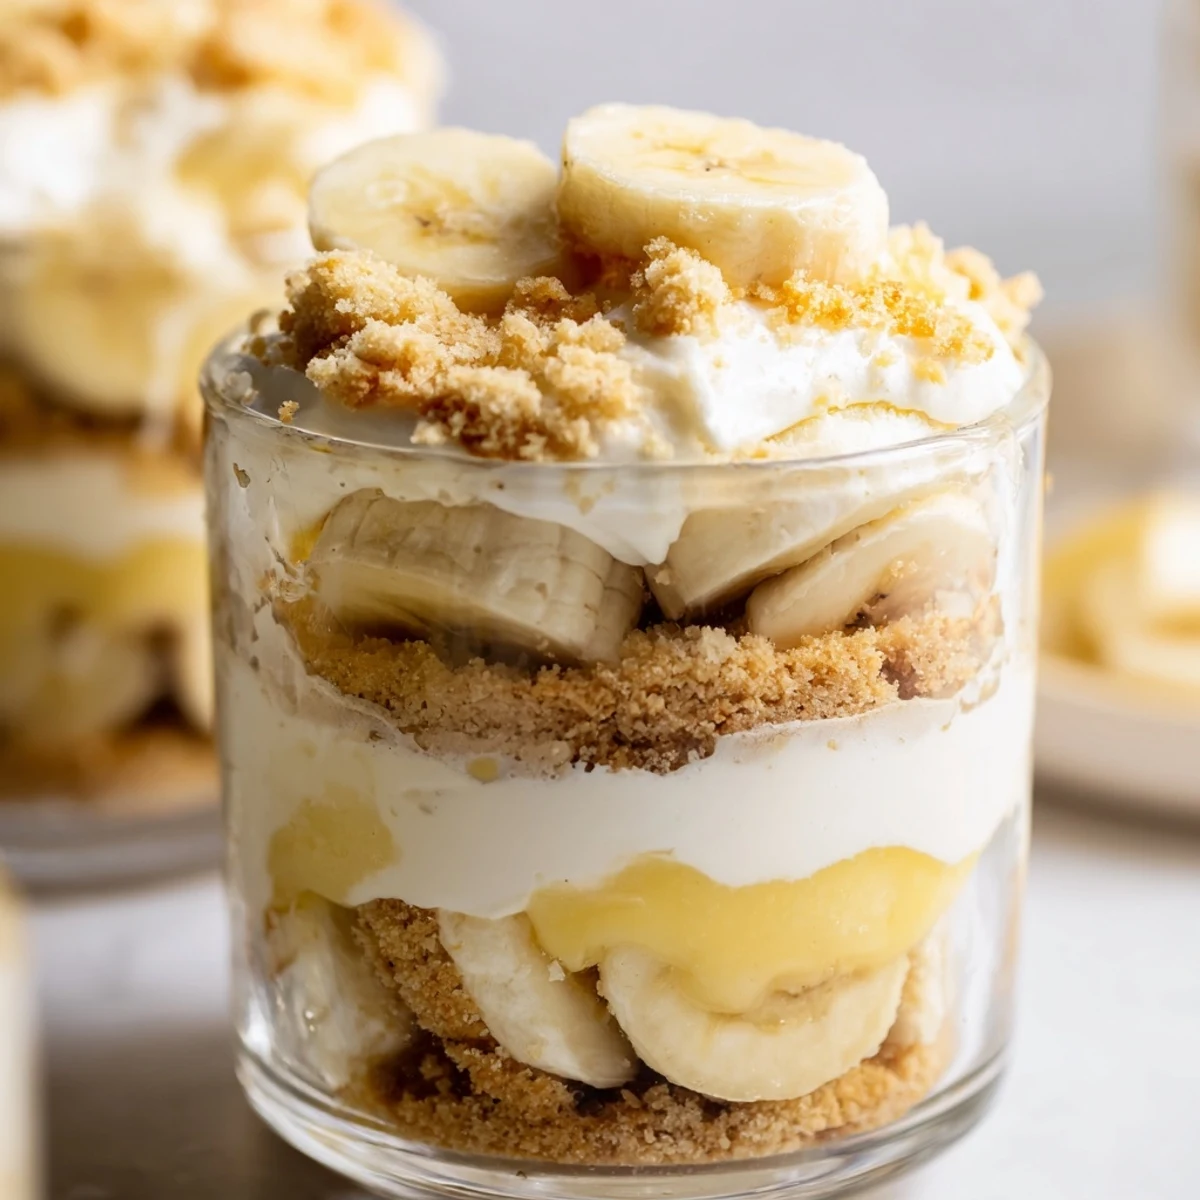
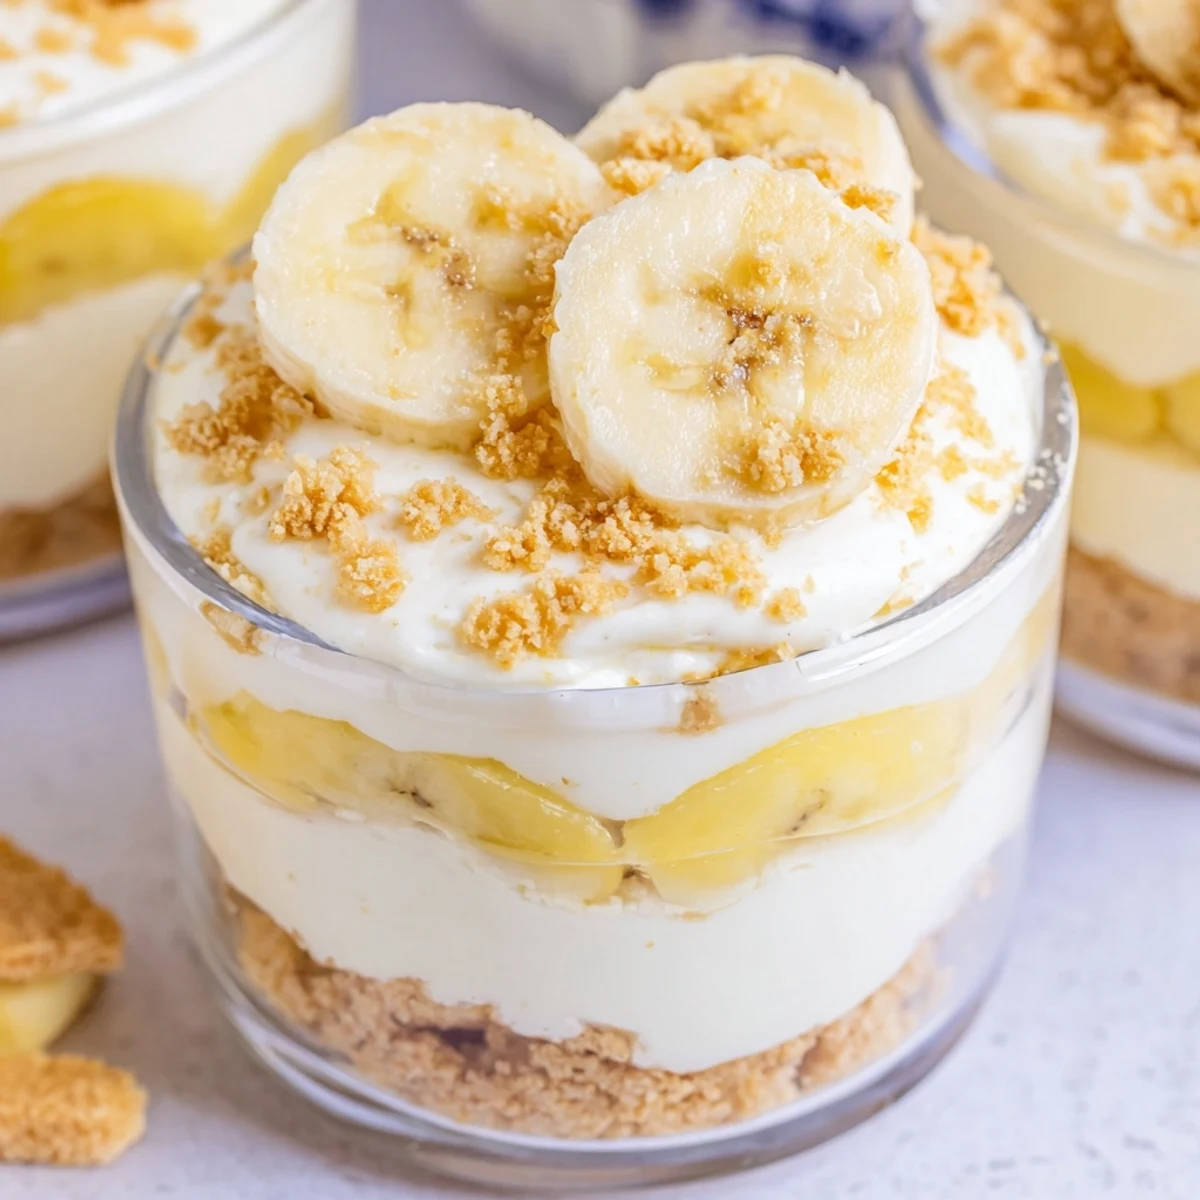
Save These individual cups combine the best of both worlds—velvety cheesecake filling meets classic banana pudding in a layered dessert that requires zero baking. Each cup starts with a buttery vanilla wafer crust, followed by smooth cheesecake cream, fresh banana slices, and luscious banana pudding. The entire assembly comes together in just 20 minutes of active prep time, then chills until perfectly set. Top with extra crumbs, banana slices, and whipped cream for a stunning presentation that tastes even better than it looks.
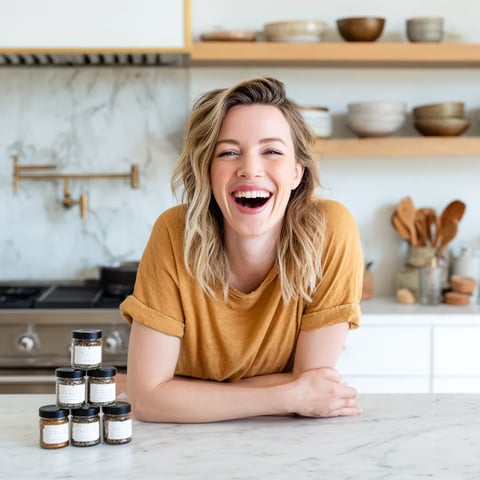
My college roommate used to make these banana pudding cheesecake cups during finals week when we all needed something sweet but didn't want to heat up our tiny apartment. The combination of creamy cheesecake and nostalgic banana pudding became our stress relief tradition, and I've been making them ever since.
Last summer I brought a tray of these to a neighborhood block party and watched them disappear in minutes. My neighbor's daughter asked if I could teach her the recipe, and we spent the next Saturday afternoon in my kitchen making messy but delicious versions together.
Ingredients
- Vanilla wafer cookies: The classic Nilla wafers work best here because they soften slightly while still maintaining that satisfying crunch against the creamy layers
- Unsalted butter: Melted butter binds the crust together without overpowering the delicate vanilla flavor
- Cream cheese: Make sure it's truly softened to room temperature for the silkiest smooth filling without any lumps
- Heavy whipping cream: Cold cream whips up beautifully and adds that luxurious airy texture to the cheesecake layer
- Instant banana pudding mix: The instant variety sets up perfectly in the fridge and has that unmistakable artificial but beloved banana flavor we all secretly love
- Ripe bananas: Look for bananas with plenty of brown spots for maximum sweetness and authentic banana flavor
Instructions
- Build the buttery crust foundation:
- Crush your vanilla wafers until they're fine crumbs then stir in melted butter until everything is evenly coated like wet sand. Press about two tablespoons into the bottom of each cup using the back of a spoon to create a firm even layer that will hold up all that creamy goodness above.
- Whip up the cheesecake dream:
- Beat that softened cream cheese with sugar and vanilla until it's completely smooth with no lingering lumps. In a separate bowl whip your cold heavy cream until stiff peaks form then gently fold it into the cream cheese mixture being careful not to deflate all that air you just whipped in.
- Prepare the pudding layer:
- Whisk the instant banana pudding mix with cold milk for a full two minutes until it thickens into a silky smooth custard. Let it sit for a few minutes while you start assembling the cups to ensure it sets up properly.
- Layer like a dessert architect:
- Spoon half the cheesecake mixture over your crusts followed by a layer of fresh banana slices. Divide the banana pudding among the cups then top with the remaining cheesecake mixture creating those beautiful distinct layers that make these cups so impressive.
- Add the finishing touches:
- Sprinkle extra crushed wafers on top for crunch and add fresh banana slices and a dollop of whipped cream if you're feeling fancy. Cover everything tightly and let them chill for at least two hours so all the flavors can meld together and the layers can set properly.
 Save
Save My daughter now requests these for every birthday instead of cake and I've started making them in little mason jars so she can take them to school to share with her classmates. There's something about that first spoonful crunching through the layers that makes people's eyes light up every single time.
Make Ahead Magic
These cheesecake cups are actually better when made a day ahead since all the flavors have time to marry together. I always prepare everything except the fresh banana topping the night before then add those right before serving for the prettiest presentation.
Serving Suggestions
Clear glass cups show off those beautiful layers and make these feel extra special for guests. You could also use small mason jars or even wine glasses for a more elegant presentation at dinner parties.
Flavor Variations
Sometimes I'll add a sprinkle of cinnamon to the crust mixture for warmth especially in the colder months. You could also drizzle some caramel sauce between layers or add a splash of banana liqueur to the cheesecake filling for an adult version.
- Try using chocolate wafer cookies for the crust if you want a chocolate banana combination
- A tablespoon of cream cheese added to the pudding makes it extra rich and creamy
- Toasted coconut on top adds amazing texture and flavor contrast
 Save
Save These little cups have become my go to for potlucks and dinner parties because they look impressive but come together so quickly. Everyone always asks for the recipe and I love sharing something that brings people so much simple joy.
Recipe FAQs
- → How long do these cups need to chill before serving?
-
The cups need to refrigerate for at least 2 hours to allow the layers to set properly and flavors to meld together. For the best texture and taste, they can be made up to 24 hours in advance, though fresh toppings should be added just before serving.
- → Can I use homemade pudding instead of instant mix?
-
Yes, homemade vanilla or banana pudding works beautifully. Just ensure it's fully cooled and thickened before layering. You may need to adjust the chilling time slightly since homemade pudding might require longer to set properly in the assembly.
- → How do I prevent the bananas from turning brown?
-
Toss sliced bananas lightly in lemon juice before adding them to the layers. This natural acidity prevents oxidation and keeps bananas looking fresh. Alternatively, add banana slices just before serving rather than during assembly.
- → What type of cups work best for this dessert?
-
Clear glass cups, mason jars, or dessert glasses work wonderfully because they showcase the beautiful layers. Each serving vessel should hold about 6-8 ounces. Wine glasses or small parfait glasses also create an elegant presentation.
- → Can I make these ahead for a party?
-
Absolutely! Assemble the cups up to 24 hours ahead, cover tightly, and refrigerate. Wait to add fresh banana slices and whipped cream topping until just before serving to maintain optimal texture and appearance.
- → What's the best way to crush the vanilla wafers?
-
Place vanilla wafers in a sealed plastic bag and crush with a rolling pin for even pieces, or pulse them in a food processor for fine crumbs. For the crust, you want a mix of fine and slightly textured pieces for the best buttery base.