 Save
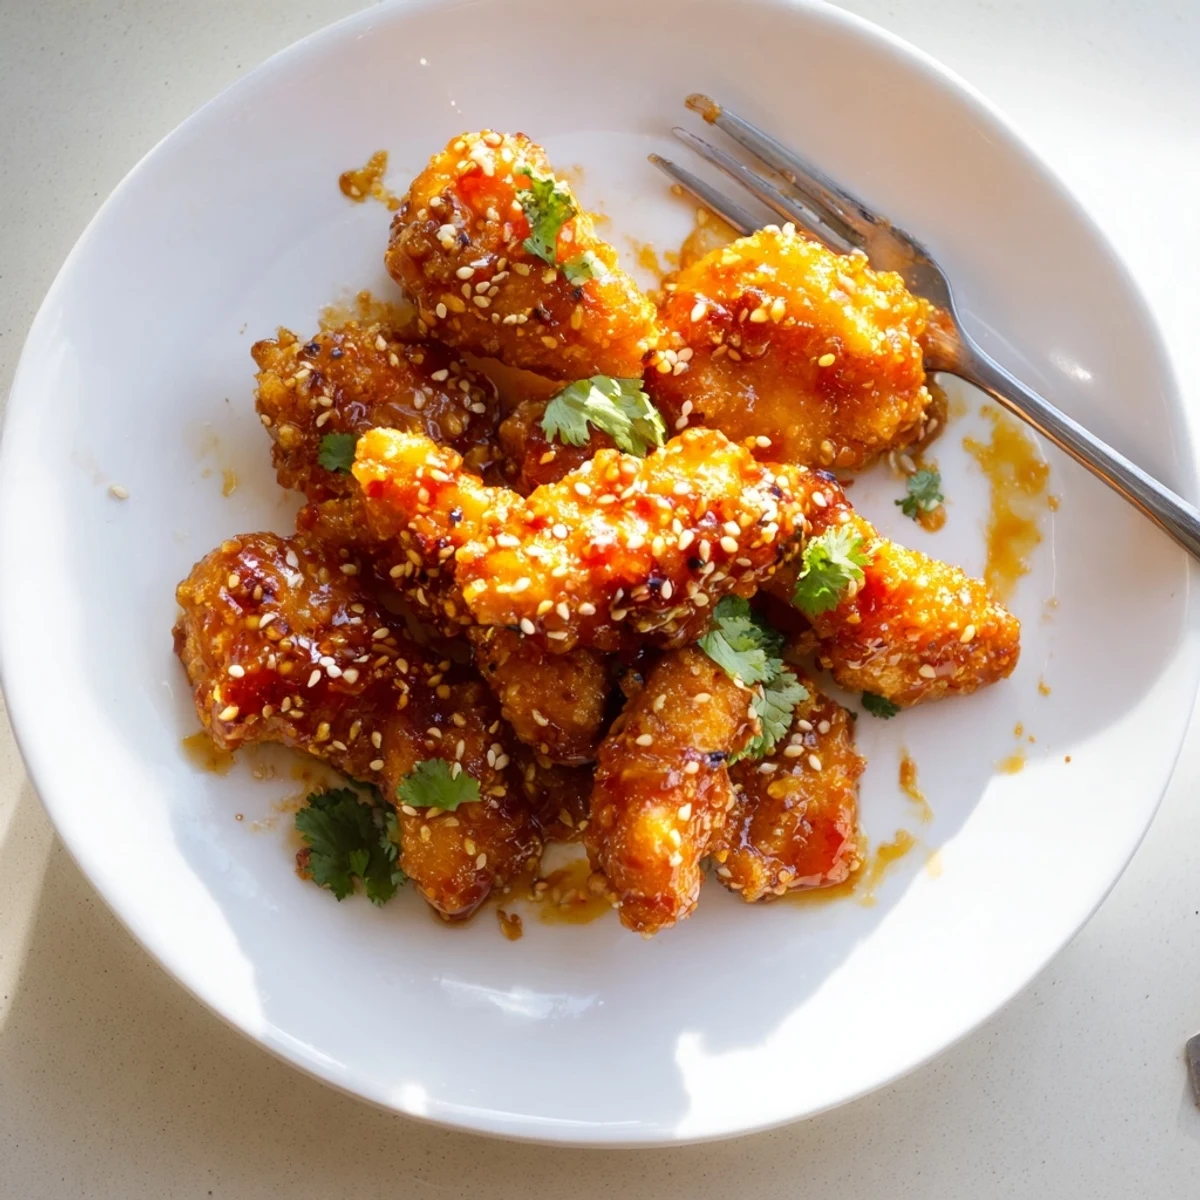
Save These Thai sticky chicken fingers combine crispy panko-crusted chicken strips with a luscious sweet chili glaze. The sauce brings together honey, soy sauce, rice vinegar, garlic, and ginger for a balanced sweet-tangy profile with optional Sriracha heat.
Ready in just 40 minutes, they work beautifully as a party appetizer or a satisfying main dish alongside jasmine rice and fresh vegetables.
The smell of sweet chili hitting a hot pan is one of those scents that pulls people into the kitchen before you even call them. I discovered that during a rainy weekend when my fridge held nothing but chicken and a half used bottle of sweet chili sauce I had bought on a whim. What came out of that experiment was a platter of sticky, glossy chicken fingers that disappeared faster than anything I had ever made. Now they are the dish everyone asks for when friends come over.
My neighbor once knocked on my door holding a plate of brownies just as I was pulling a batch of these from the oven. She traded the entire plate for three chicken fingers on the spot, and now it is an unspoken agreement whenever she smells sesame oil drifting down the hall.
Ingredients
- 600 g boneless, skinless chicken breasts or thighs: Thighs stay juicier, but breasts work beautifully if that is what you have on hand.
- 1/2 tsp salt and 1/4 tsp black pepper: Seasoning the flour layer is the foundation of flavor that carries through.
- 1 cup all-purpose flour: This first coat creates the dry surface the egg needs to grip.
- 2 large eggs: Beaten smooth, they act as the glue between flour and breadcrumbs.
- 1 cup panko breadcrumbs: Panko gives that shatteringly crisp texture regular breadcrumbs cannot match.
- 2 tbsp vegetable oil: A light drizzle or spray is all you need for baking to get golden color.
- 1/3 cup sweet chili sauce: The backbone of the sticky Thai glaze, bringing sweetness with a gentle warmth.
- 1/4 cup honey: It thickens the sauce as it simmers and adds floral sweetness.
- 2 tbsp soy sauce: Salt and umami that balances the sugar and vinegar.
- 2 tbsp rice vinegar: A bright acidity that keeps the sauce from tasting cloying.
- 1 tbsp Sriracha (optional): Add it if you want real heat, skip it for a milder crowd friendly version.
- 2 cloves garlic, minced: Fresh garlic pounded into a paste melts right into the sauce.
- 1 tsp grated fresh ginger: A little goes a long way and adds that unmistakable Thai aroma.
- 1 tbsp toasted sesame oil: This finishes the sauce with a nutty depth that smells incredible.
- 2 tbsp finely chopped fresh cilantro plus more for garnish: Stirred in at the end so it stays vibrant and fresh.
- 1 tbsp sesame seeds: A sprinkle on top adds crunch and makes everything look finished.
Instructions
- Set up your cooking station:
- Preheat your oven to 220 degrees C (425 degrees F) or set your air fryer to 200 degrees C (390 degrees F). Line a baking sheet with parchment paper and lightly oil it, or set a wire rack on top for maximum air circulation underneath each strip.
- Build your breading assembly line:
- Set out three shallow bowls: one with the flour mixed with salt and pepper, one with the eggs beaten until smooth, and one with the panko breadcrumbs. Having everything within arm reach keeps your hands cleaner and the process moving fast.
- Coat every strip with care:
- Dredge each chicken strip through the flour first, shaking off excess, then dip it fully into the egg, and finally press it into the panko, using your fingers to pat the crumbs onto every side. Lay them on the prepared sheet with a little space between each one so they crisp rather than steam.
- Cook until golden and crispy:
- Drizzle or spray the strips with oil and bake for 18 to 20 minutes, flipping halfway through, until deeply golden and cooked through. If using an air fryer, 15 minutes usually does it, and if pan frying, work in batches until each strip is crunchy on all sides.
- Make the sticky Thai sauce:
- While the chicken cooks, whisk the sweet chili sauce, honey, soy sauce, rice vinegar, Sriracha, garlic, ginger, and sesame oil together in a small saucepan over medium heat. Let it come to a gentle simmer for 3 to 4 minutes until it thickens slightly and coats the back of a spoon, then pull it off the heat and stir in the chopped cilantro.
- Toss and coat while hot:
- Transfer the cooked chicken fingers straight into the warm sauce, turning them gently with tongs until every piece is glossy and completely coated. Work quickly because the sauce sets up as it cools and you want it to latch on while everything is still hot.
- Plate and finish with flair:
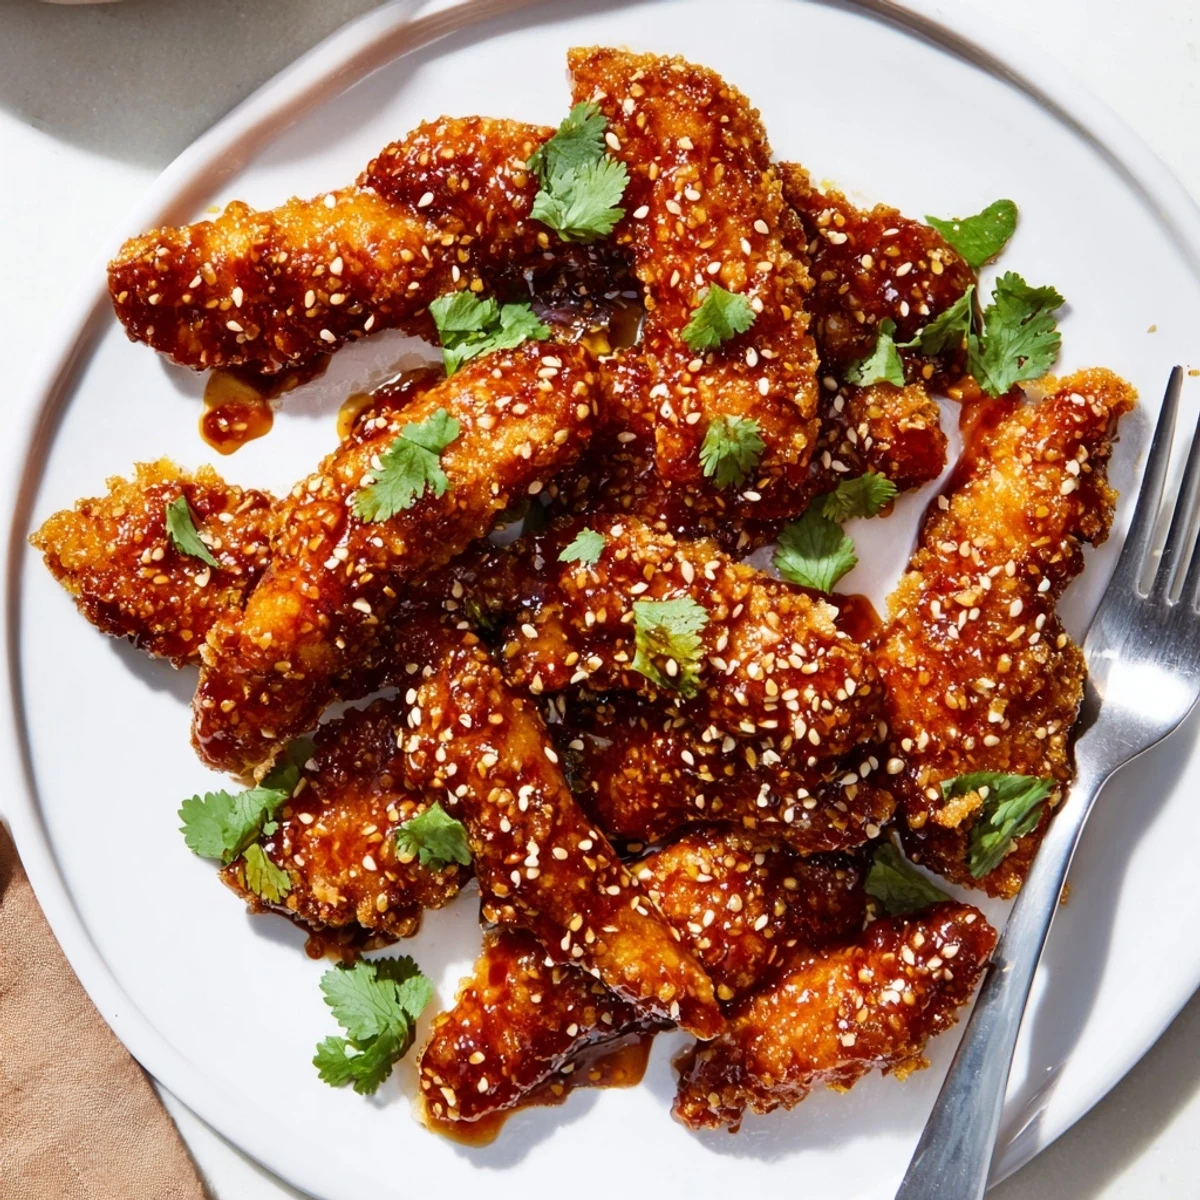
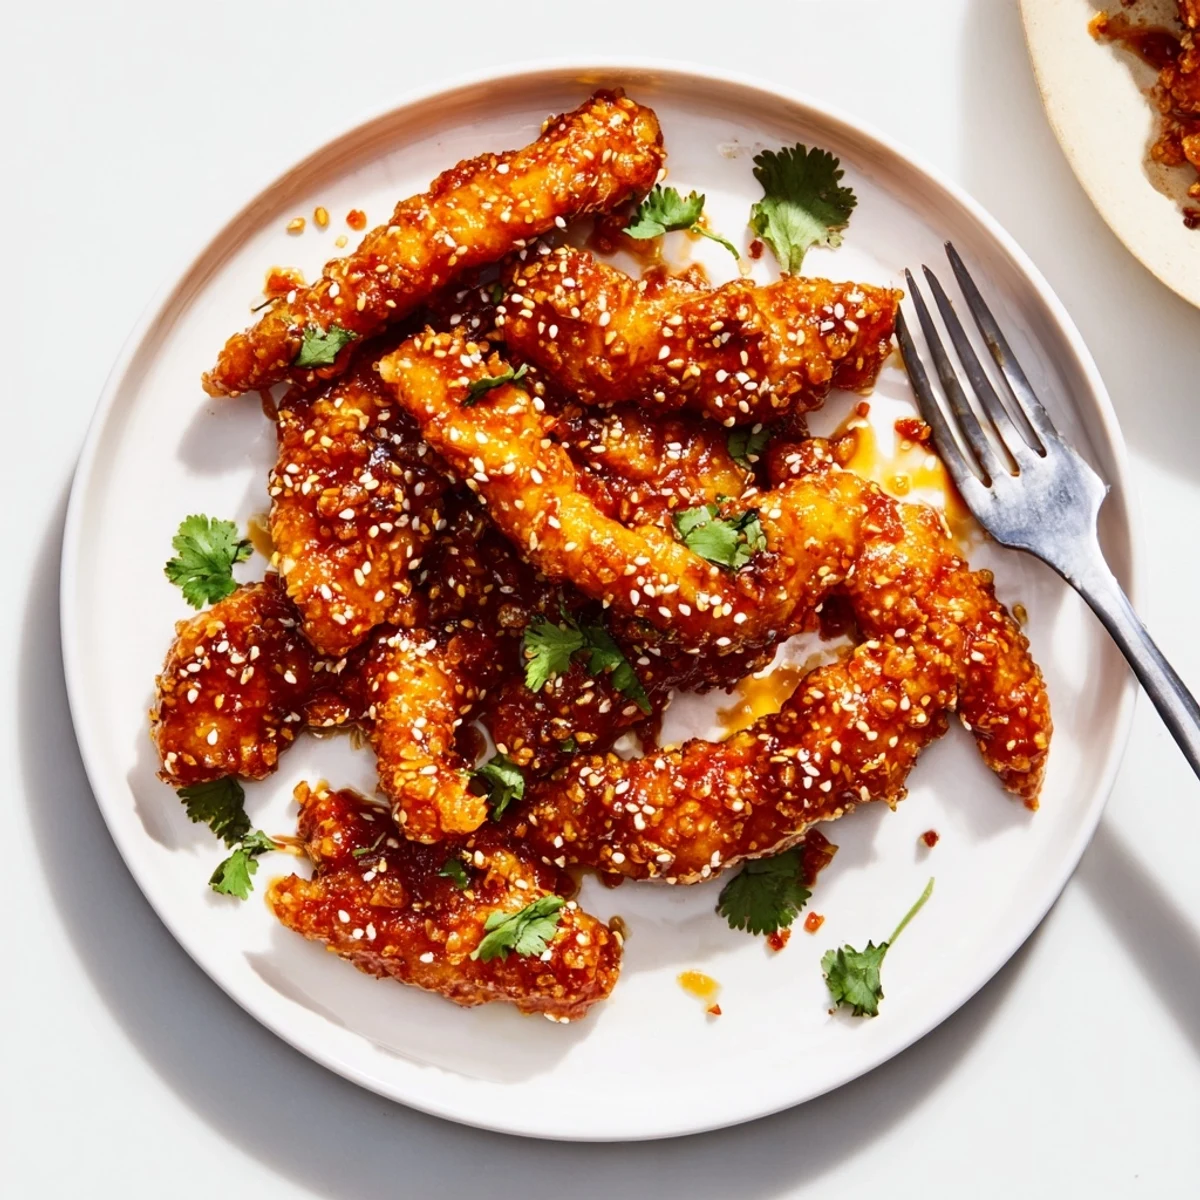
- Arrange the saucy chicken fingers on a platter, scatter extra cilantro and sesame seeds over the top, and serve them immediately while the coating still has that perfect crunch beneath the sticky glaze.
 Save
Save There was a night I set these out for a small gathering and nobody touched the chips or the dip I had also prepared. We stood around the kitchen island, fingers sticky, laughing about how something so simple could completely hijack a party.
What to Serve Alongside
These chicken fingers love company, and jasmine rice is the most natural pairing because it soaks up every drop of extra sauce. A plate of crisp raw vegetables like cucumber sticks, carrot matchsticks, and bell pepper strips gives a cool crunch that offsets the sticky sweetness beautifully.
Making It Your Own
The sauce recipe is forgiving and welcomes adjustments based on what you like or what your pantry offers. Swap the Sriracha for a squeeze of lime juice if you want brightness without the burn, or add a spoonful of peanut butter to give the glaze a satay like richness that clings even thicker to the chicken.
Getting Ahead and Storing Leftovers
You can bread the chicken strips hours in advance and keep them covered in the fridge until you are ready to cook. The sauce stores well in a jar for up to a week, so making a double batch is never a bad idea.
- Reheat leftover chicken in the air fryer or oven to bring back the crunch, never the microwave.
- Store sauce and chicken separately if you have leftovers so the coating does not go soggy overnight.
- Freeze unbreaded chicken strips with the sauce in separate bags for a quick meal up to one month later.
 Save
Save Once you make these once, they will live in your rotation forever because they ask so little and give back so much.
Recipe FAQs
- → Can I bake these instead of frying?
-
Yes, baking at 220°C (425°F) for 18-20 minutes works great. Drizzle or spray the breaded strips with oil first and flip halfway through for even crispiness.
- → How do I adjust the spice level?
-
The Sriracha is optional, so you can omit it entirely for a milder glaze. For more heat, increase the Sriracha to 2 tablespoons or add a pinch of red pepper flakes to the sauce.
- → Can I use chicken thighs instead of breasts?
-
Absolutely. Boneless, skinless chicken thighs will work well and tend to stay juicier. Just cut them into even strips so they cook uniformly.
- → Can I make the sticky Thai sauce ahead of time?
-
Yes, the sauce can be prepared a day in advance and stored in the refrigerator. Gently reheat it in a saucepan before tossing with the freshly cooked chicken fingers.
- → Is there a gluten-free option?
-
Use gluten-free flour and gluten-free panko breadcrumbs for the coating. Replace soy sauce with tamari or coconut aminos, and always verify labels on sweet chili sauce and Sriracha.
- → Can I use an air fryer for this dish?
-
Yes, set your air fryer to 200°C (390°F) and cook the breaded chicken strips for about 15 minutes, flipping halfway through, until golden and cooked through.