 Save
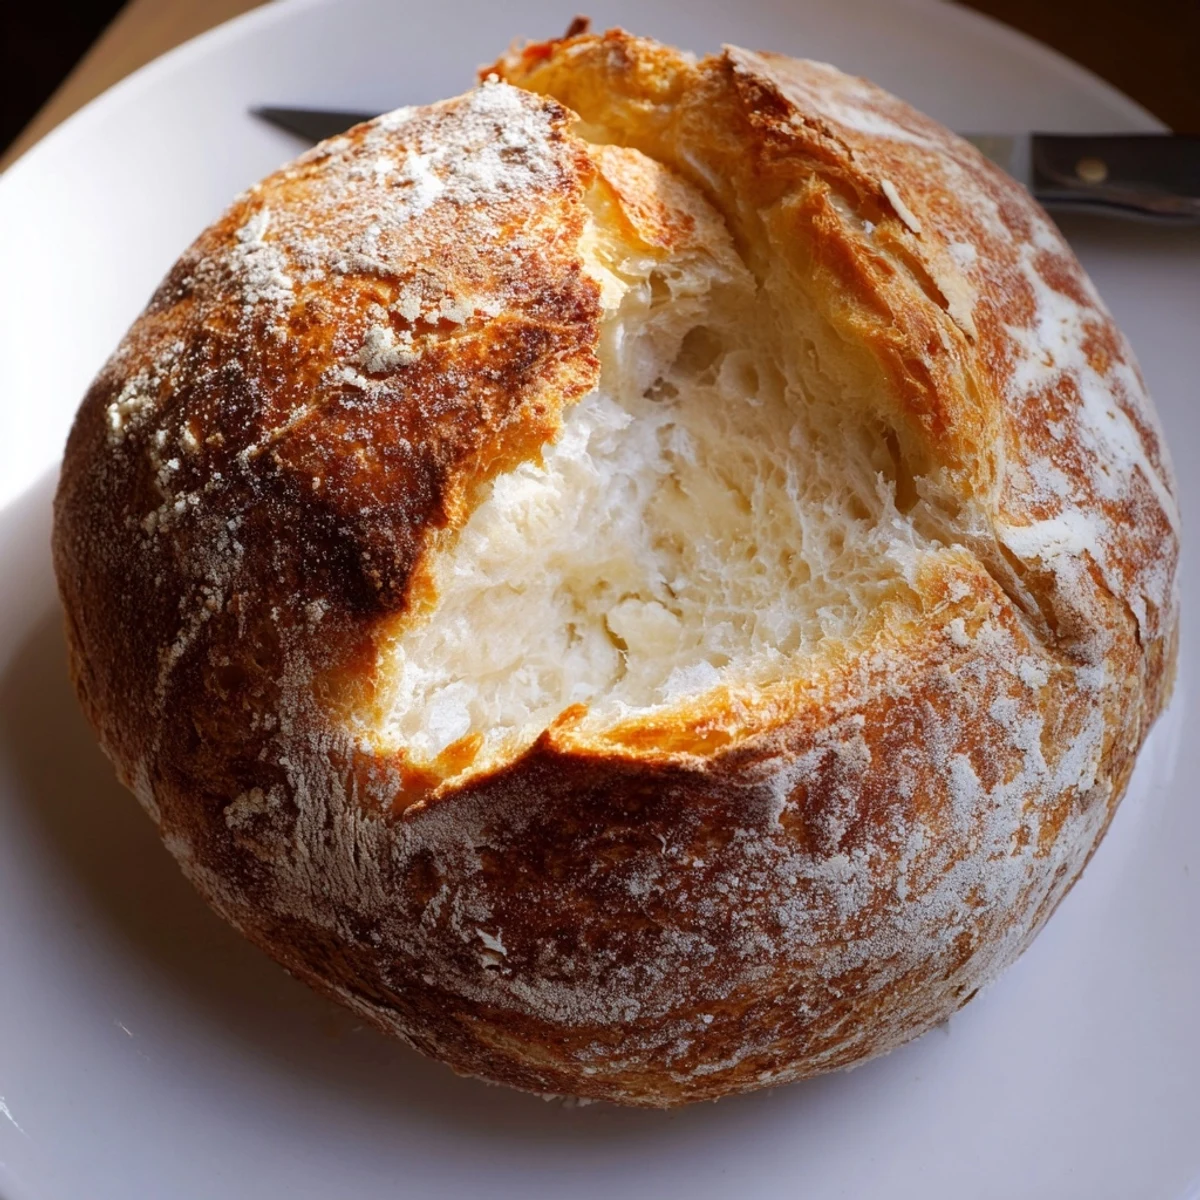
Save Create bakery-style bread without turning on your oven. This stovetop method yields a soft, fluffy loaf with a golden crust that's perfect for any meal. The dough comes together in minutes using basic pantry staples, then cooks slowly in a covered skillet for tender results.
The technique relies on low, gentle heat that mimics an oven's enclosed environment, allowing the yeast to work its magic while developing that irresistible homemade texture. You'll know it's done when both sides are golden and the loaf sounds hollow when tapped—a classic baker's indicator of perfectly cooked bread.
Slice it up while still warm, slather with butter, or use it to soak up sauces and stews. The recipe is forgiving enough for beginners yet satisfying enough for experienced cooks looking for a quick bread solution.
The rain was coming down so hard last Sunday that our power kept flickering, and I had already promised my daughter fresh bread for soup. That's when I remembered watching my grandmother make flatbread on her cast iron skillet back when I was barely tall enough to reach the stove.
My friend Sarah was over that rainy afternoon, watching me knead the dough with legitimate skepticism. When the smell of fresh yeast bread started filling the kitchen despite the stove being the only heat source, her face completely changed.
Ingredients
- All-purpose flour: Bread flour would work too but the softer protein in all-purpose gives you that tender interior we want
- Instant dry yeast: No need to proof it first which saves time and reduces the chance of killing it with too hot water
- Sugar: Just enough to feed the yeast and help the crust develop that gorgeous golden color
- Salt: Do not skip this or add more—salt controls yeast activity and enhances flavor
- Olive oil: Keeps the dough tender and creates that slight crispness on the outside
- Warm water: Think bathwater temperature, around 110°F, anything hotter will shock your yeast into silence
Instructions
- Mix your dry foundation:
- Whisk the flour, yeast, sugar, and salt together in a large bowl until you cannot see any separate pockets of yeast or salt
- Bring it together:
- Pour in the warm water and olive oil, then stir with your wooden spoon until everything forms a rough, shaggy mass that pulls away from the sides
- Knead until your arms remember:
- Turn onto a floured surface and work the dough for 8 to 10 minutes, pushing it away with your heel and folding it back until it feels smooth and springs back when you poke it
- Let it rise:
- Place your dough in a bowl greased with olive oil, cover with a damp cloth, and walk away for an hour until it has doubled in size
- Shape your loaf:
- Gently punch down the risen dough, then form it into a round ball and place it in your greased skillet
- First cook:
- Cover the pan with a tight lid and cook on the absolute lowest heat setting for 15 minutes, checking occasionally that the bottom is not browning too fast
- Flip and finish:
- Carefully turn the bread over, cover again, and cook another 12 to 15 minutes until both sides are golden and tapping the loaf produces a hollow sound
- Rest before slicing:
- Let the bread cool on a wire rack for at least 15 minutes because cutting into hot bread will steam it and ruin that perfect texture
 Save
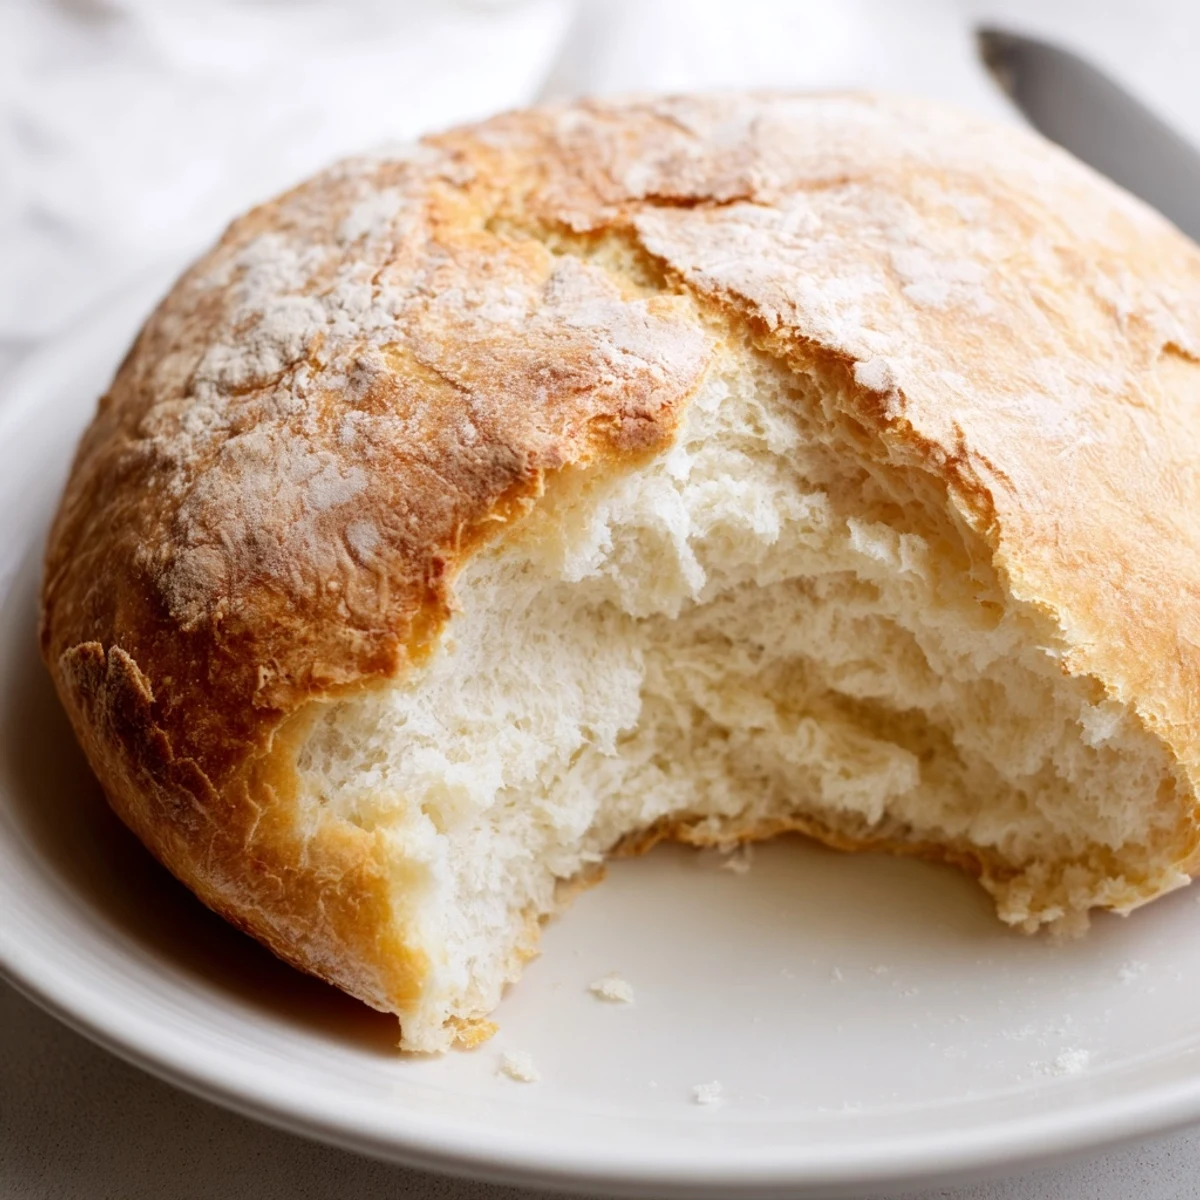
Save That rainy afternoon, Sarah actually gasped when I sliced into the warm bread and steam curled up into the kitchen air. We stood there eating slices with butter melting into them, right over the stove.
Getting The Right Skillet Temperature
Most people rush this step and end up with burned bottoms and raw centers. I keep my heat on the lowest possible setting, sometimes even using a heat diffuser if I am working with a particularly thin pan. The bread needs gentle, consistent heat to cook all the way through without developing that bitter char that ruins the experience.
Knowing When Your Dough Has Risen Enough
The doubling rule is good, but I learned to trust my finger more than my eyes. Press gently into the dough with your fingertip—if the indentation slowly fills back in, it needs more time. If it stays exactly as you left it, you are ready to shape. This tiny test has saved me from underproofed bread more times than I can count.
Storage And Reheating Secrets
This bread is honestly best the day you make it, but I have learned a few tricks over the years. Wrap any leftovers tightly in foil and they will stay decent for another day, but reheating is where the magic happens.
- Pop slices in a dry skillet for 30 seconds per side to revive that fresh baked texture
- A quick toaster refresh works wonders if you are in a rush
- Never microwave unless you want sad, chewy bread that disappoints everyone
 Save
Save Sometimes the simplest recipes teach us the most about patience and attention. That stovetop bread turned a gray, rainy day into something warm and memorable.
Recipe FAQs
- → Why cook bread on the stovetop instead of using an oven?
-
Stovetop baking is perfect when you don't have access to an oven, during hot summer months when you want to avoid heating up your kitchen, or simply when you need fresh bread quickly. The covered skillet creates a steam-filled environment that produces a soft, tender loaf similar to oven-baked bread but with much faster setup and cleanup.
- → Can I use whole wheat flour instead of all-purpose flour?
-
Yes, you can substitute whole wheat flour, but keep in mind that the bread will be denser and may require slightly more water. Start by replacing half of the all-purpose flour with whole wheat to maintain a lighter texture while adding nutritional benefits and nutty flavor.
- → What type of skillet works best for this method?
-
A heavy-bottomed skillet or cast-iron pan with a tight-fitting lid is ideal. The weight helps distribute heat evenly, while the lid traps steam to create the soft texture. A 10–12 inch skillet provides enough space for the dough to expand without touching the sides too much. Nonstick pans also work well and make flipping easier.
- → How do I know when the bread is fully cooked?
-
The bread is done when both sides are golden brown and it sounds hollow when tapped on the bottom. This hollow sound indicates that the interior has cooked through and the moisture has evaporated properly. You can also insert a skewer into the center—if it comes out clean or with just a few dry crumbs, the bread is ready.
- → Can I add mix-ins like cheese, garlic, or herbs?
-
Absolutely! This dough is very versatile. Add shredded cheese, minced garlic, dried herbs like rosemary or thyme, or even chopped olives and sun-dried tomatoes during the kneading stage. Just be mindful that very moist additions may require a slight increase in flour to maintain the proper dough consistency.
- → How should I store the bread and how long does it last?
-
This bread is best enjoyed the same day it's made, as it doesn't contain preservatives to keep it soft for long. Store it in a sealed bag or wrapped in foil at room temperature for up to 2 days. To refresh day-old bread, warm it in a dry skillet for a few minutes or toast slices for a crispy texture. Avoid refrigerating, as this accelerates staling.