 Save
Save Craft authentic European-style bread with minimal effort using this no-knead technique. The secret lies in an extended fermentation period, allowing wild yeast activity to develop complex flavors and create those coveted air pockets. A 12-18 hour rise transforms basic ingredients into a bubbly, lively dough.
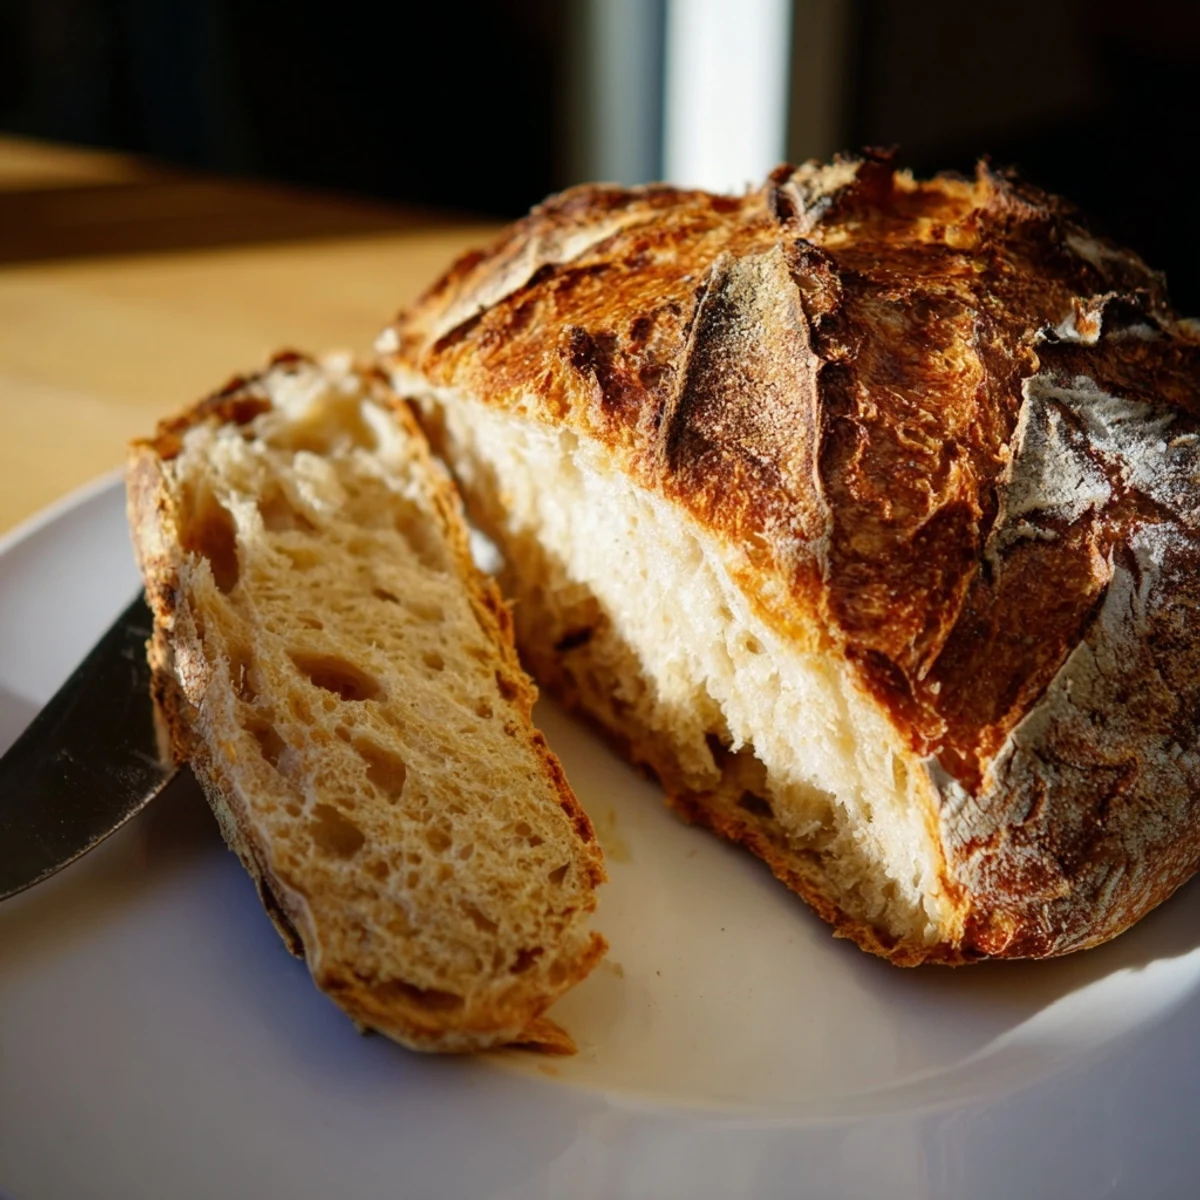
The Dutch oven method creates professional bakery results at home—trapped steam during the initial bake ensures that signature crackling crust, while the covered phase keeps the interior moist and tender. After just 45 minutes in the oven, you'll have a golden loaf with a satisfyingly crispy exterior and soft, chewy crumb.
Perfect alongside soups, for sandwiches, or simply toasted with butter, this versatile bread keeps beautifully for days and refreshes easily in the oven. Customizable with olives, herbs, or roasted garlic for endless variations.
The smell of baking bread has this way of making an entire house feel like home, even on a Tuesday evening. I started making this crusty bread during a particularly gray winter when comfort came mostly from the kitchen. Something about transforming just four ingredients into something so alive and bubbling felt like a small rebellion against the cold outside.
My roommate walked in during the 18 hour rise once and asked if I was running a science experiment. The dough had pushed its way up the bowl sides, looking almost angry in its enthusiasm. We ended up eating that entire loaf straight from the cooling rack, burning our fingers on slices too hot to handle but too good to wait for.
Ingredients
- All-purpose flour: The backbone of your bread, but treat yourself to good quality flour if you can find it
- Salt: Do not skimp here, it is what balances the blandness and makes the wheat sing
- Instant yeast: Your invisible workforce, turning sugar into carbon dioxide bubbles without any fuss
- Lukewarm water: Think bathwater temperature, hot enough to wake the yeast but not kill it
Instructions
- Mix the dry foundation:
- Whisk together flour, salt, and yeast in a large bowl until they are one happy family
- Bring it to life:
- Pour in the water and stir until you have a shaggy, sticky mess that looks wrong but is exactly right
- Let it work its magic:
- Cover the bowl and walk away for 12 to 18 hours while the yeast does all the heavy lifting
- Shape your loaf:
- Turn the bubbly dough onto a floured surface and gently fold it into a rough ball, being careful not to deflate all those precious bubbles
- Give it a nap:
- Let your shaped dough rest on parchment paper for 30 to 45 minutes while your oven gets fiercely hot
- Create the steam chamber:
- Heat your Dutch oven at 450°F for at least 30 minutes because a screaming hot pot is what creates that gorgeous crust
- The moment of truth:
- Carefully lower the dough into the hot pot, cover immediately, and let it bake in its own steamy world for 30 minutes
- Reveal the gold:
- Remove the lid and bake another 10 to 15 minutes until the crust is deeply browned and sounds hollow when tapped
- The hardest part:
- Let the bread cool for at least 30 minutes because slicing it too early will make the interior gummy and sad
 Save
Save This bread became my go to host gift after I realized people react to homemade bread like it is pure magic. My friend still talks about the loaf I brought to her dinner party six months ago, mostly because we devoured half of it before anyone even sat down to eat.
The Secret To Extra Flavor
Once you master the basic recipe, start experimenting with additions folded in during the initial mix. Olives, roasted garlic chunks, or fresh rosemary transform this simple bread into something restaurant worthy. I learned this lesson accidentally when I cleaned out my fridge and threw in some leftover herbs, creating what my family now demands as the only version worth making.
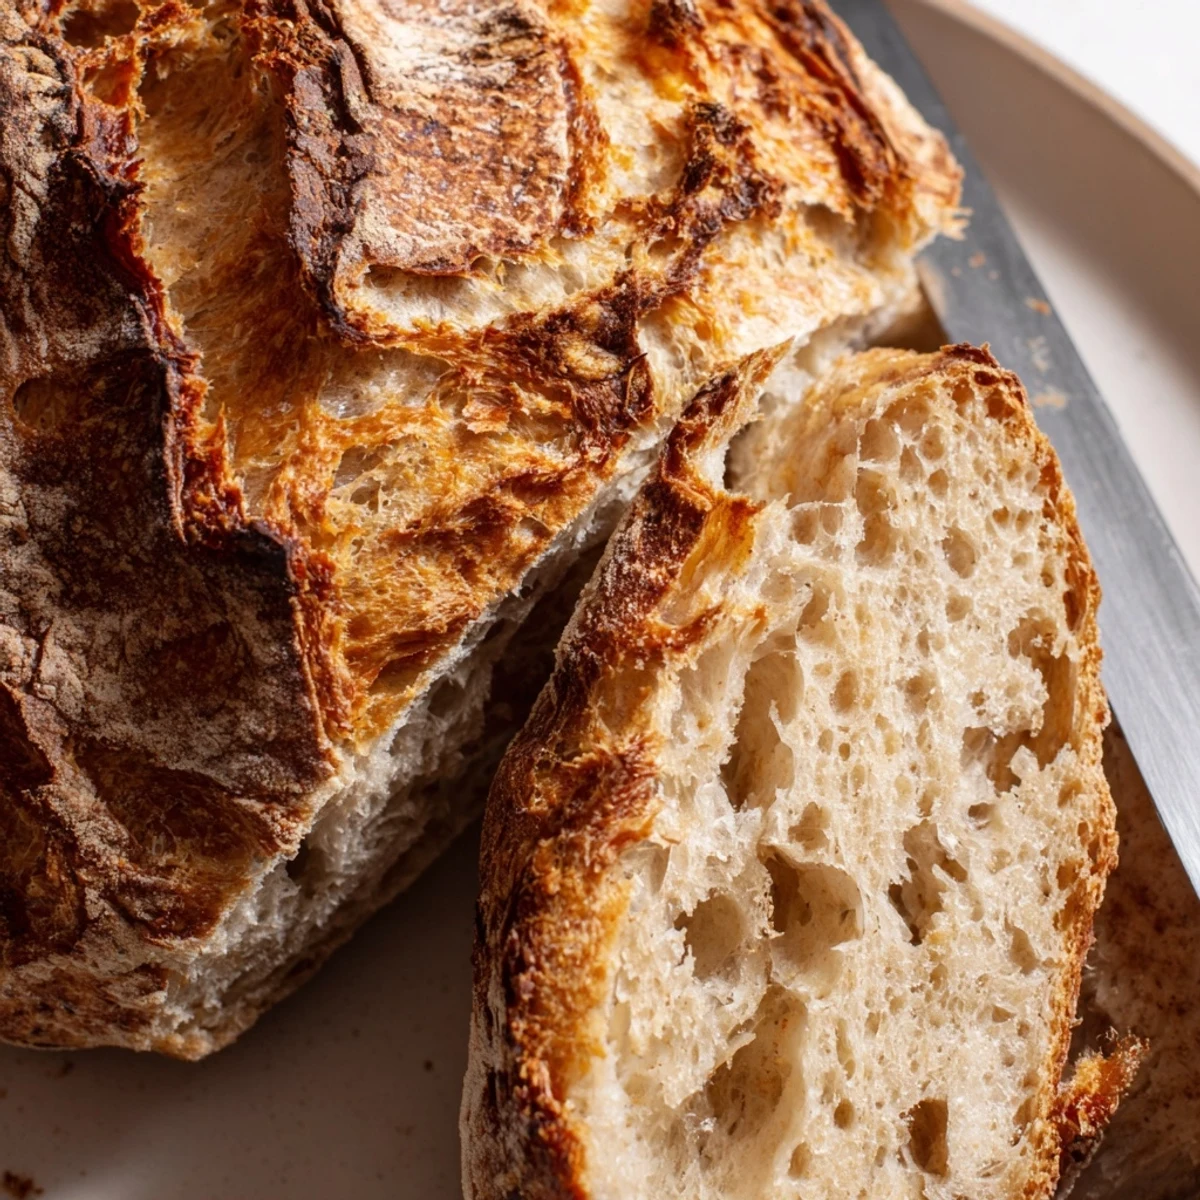
Understanding The Crust
The Dutch oven creates a miniature steam oven that keeps the crust soft initially, allowing the bread to expand fully before hardening into that crackling exterior we all love. If you do not have a Dutch oven, a heavy oven safe pot with a tight fitting lid will work just as well. The key is trapping that steam during the first half of baking.
Making It Your Own
This recipe is incredibly forgiving and adaptable, which is probably why I have stuck with it through years of bread baking experiments. The hydration ratio is perfect for beginners but still satisfying for experienced bakers.
- Try replacing half the white flour with whole wheat for a nuttier taste and heartier texture
- Add a handful of seeds during mixing for extra crunch and nutrition
- Leftover slices make incredible panzanella or bread pudding when they start to stale
 Save
Save There is something deeply honest about bread made from nothing but flour, water, salt, and time. Every crackle of the crust reminds me that good things really do come to those who wait.
Recipe FAQs
- → Why does the dough need to rise for 12-18 hours?
-
The extended fermentation allows enzymes to break down starches and proteins naturally, developing deeper flavor complexity while creating that desirable open crumb structure with irregular air pockets characteristic of artisan breads.
- → Can I reduce the rising time?
-
While possible to shorten the rise by increasing yeast amount and using warmer water, the flavor and texture won't develop as fully. The slow, cool fermentation is essential for achieving that bakery-quality crust and complex taste.
- → What if I don't have a Dutch oven?
-
A heavy cast iron pot with a lid, or even a baking stone with a metal bowl inverted over the dough works. The key is creating a sealed environment that traps steam during the initial baking phase.
- → How do I know when the bread is done?
-
The crust should be a deep golden brown, and the loaf should sound hollow when tapped on the bottom. An instant thermometer inserted into the center should read 200-205°F (93-96°C).
- → Why must I wait before slicing?
-
Cutting too early releases steam trapped inside, resulting in a gummy texture. The resting period allows the internal structure to set and the crumb to achieve that perfect airy, chewy consistency.
- → Can I freeze the dough or baked loaf?
-
Baked bread freezes exceptionally well—wrap cooled loaves tightly and freeze for up to 3 months. Thaw at room temperature, then refresh in a 350°F oven for 10 minutes to restore the crispy crust.