 Save
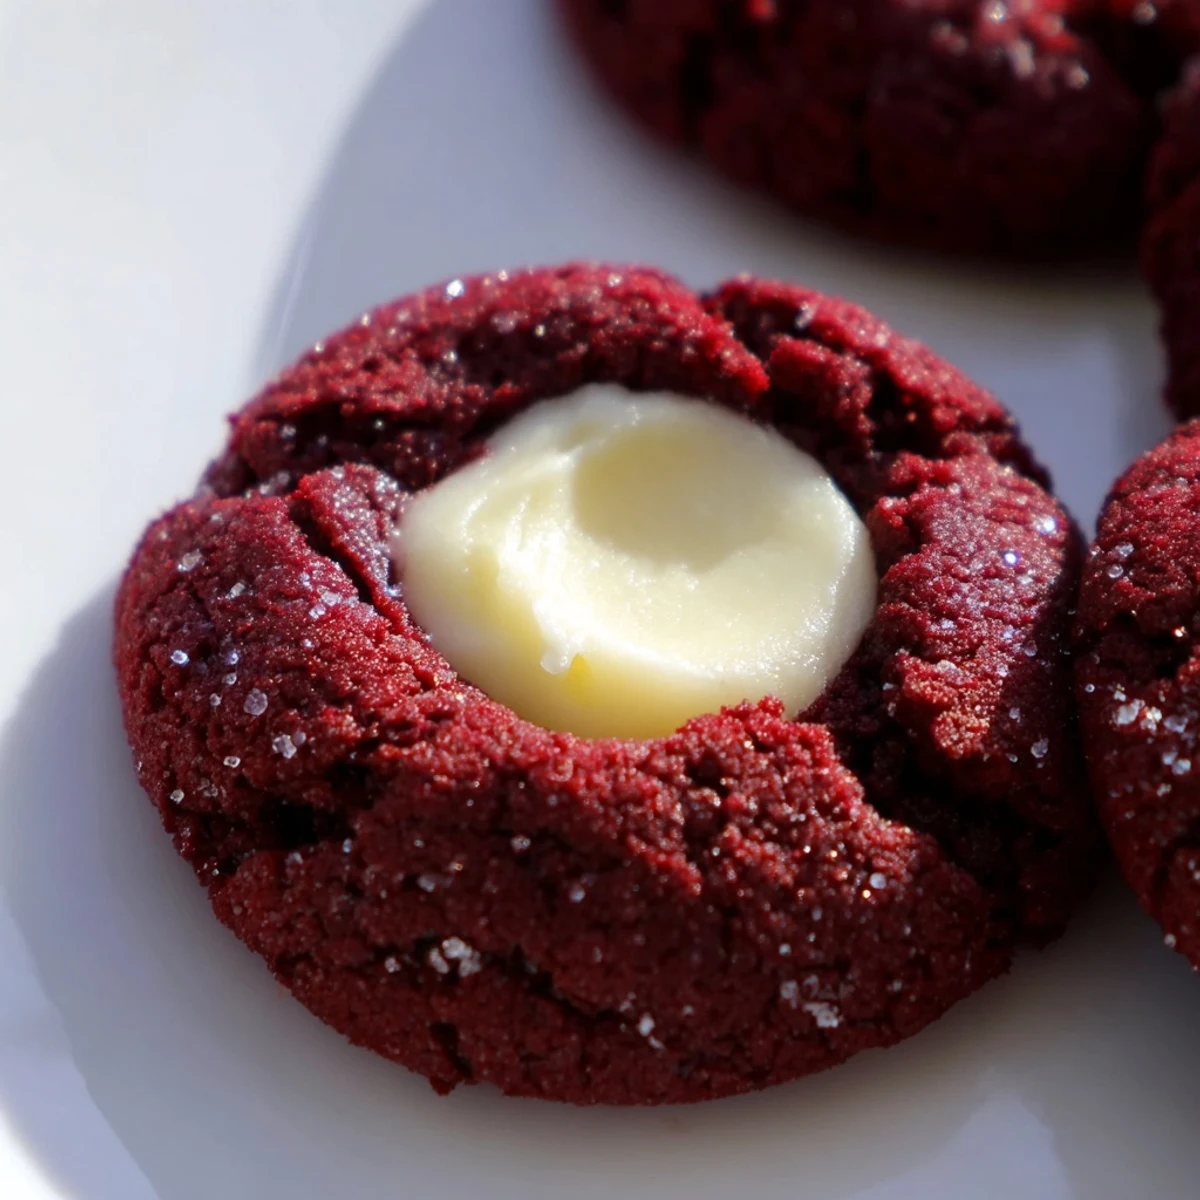
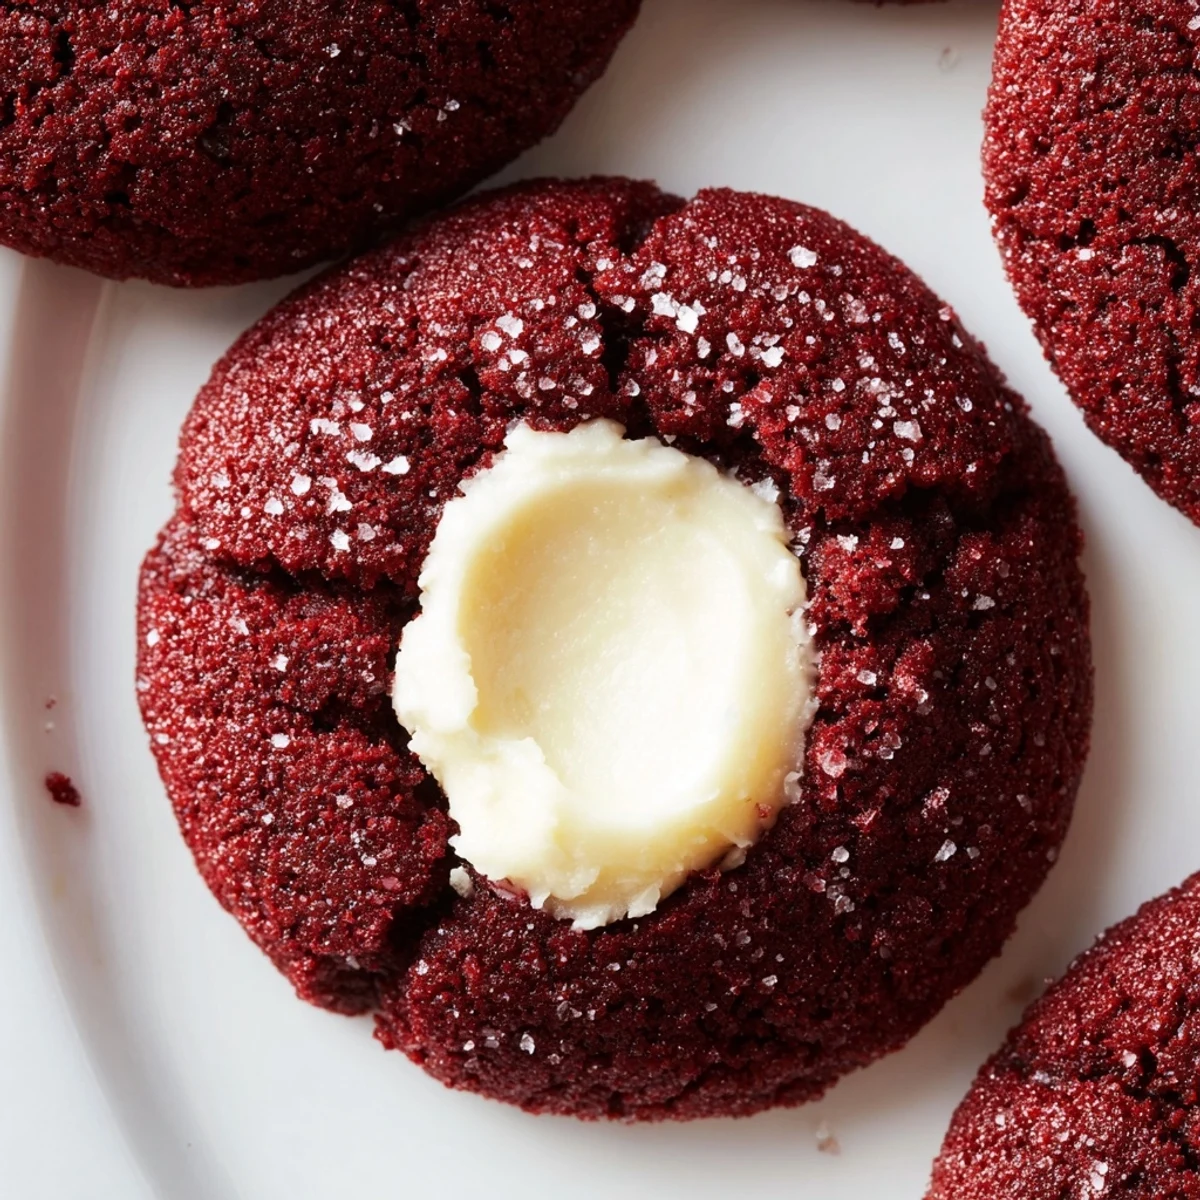
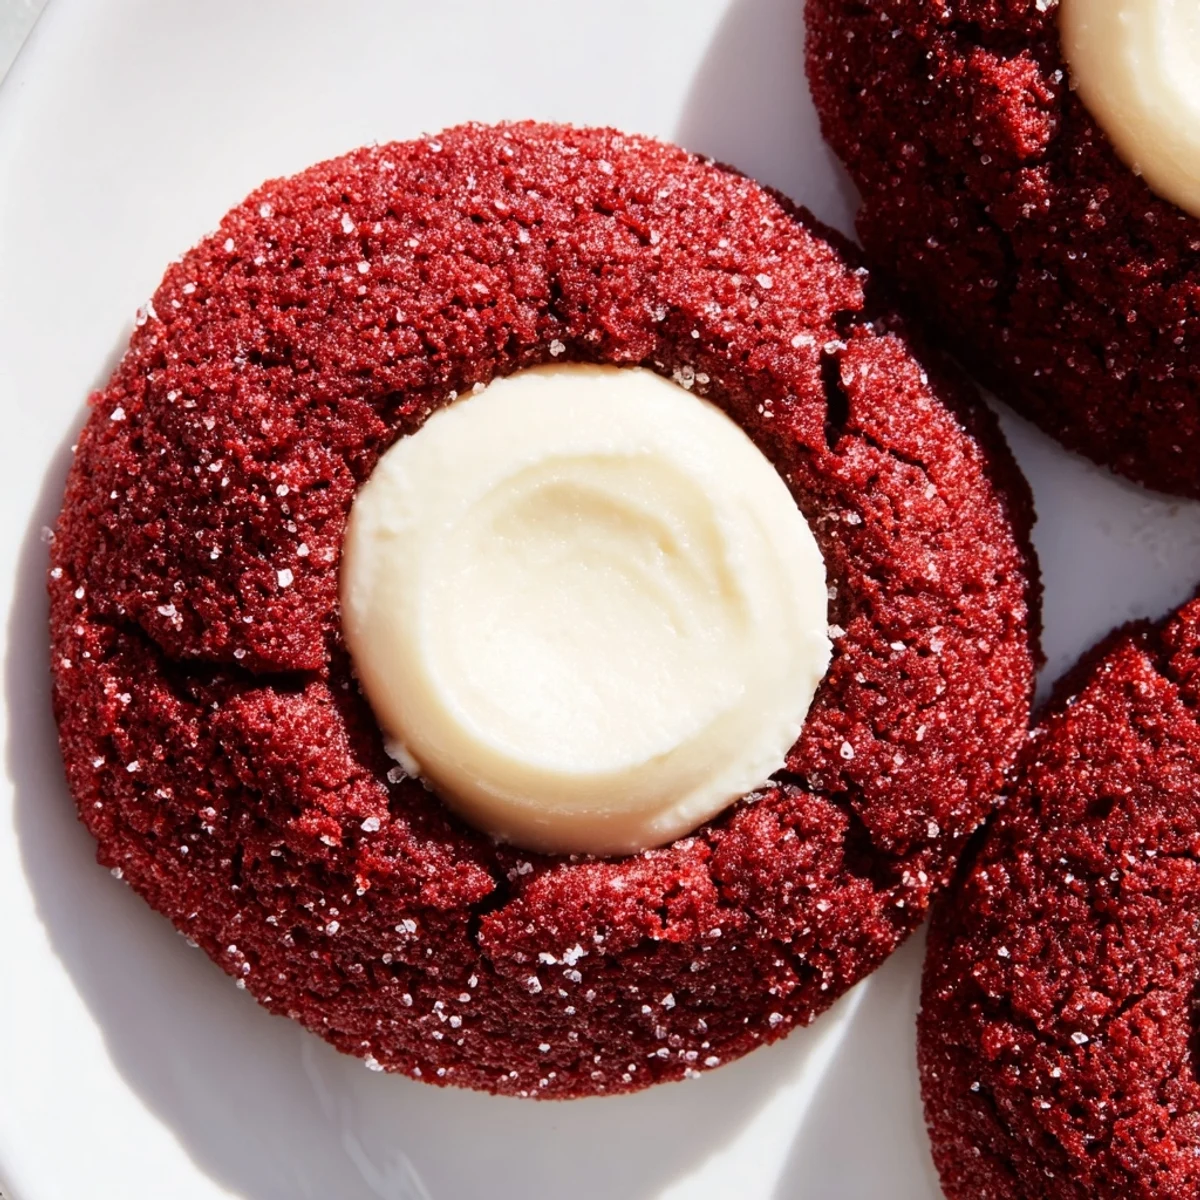
Save These soft, tender red velvet thumbprint cookies combine the classic cocoa flavor of red velvet with a luscious cream cheese filling. The vibrant red color makes them stunning for holidays, while the rich chocolate and cheesecake combination satisfies any sweet tooth.
Ready in just 32 minutes with simple pantry ingredients, these treats feature a perfectly crumbly texture that contrasts beautifully with the smooth, sweet center. The thumbprint technique creates an adorable presentation that looks impressive on any dessert platter.
My kitchen looked like a crime scene the first time I attempted red velvet anything—bright red streaks on the counter, my apron, somehow even on the ceiling. I was attempting these thumbprint cookies for a friend's birthday, convinced I needed that perfect vibrant red. After three failed batches and hands stained pink for days, I finally learned that red velvet isn't about perfection, it's about that surprisingly tender, cocoa-kissed crumb that makes people pause and ask what's different about these cookies.
Last December, I made six dozen of these for my office cookie exchange and watched them disappear in under fifteen minutes. A colleague who claims to hate red velvet anything took one bite, raised her eyebrows, and asked if I could share the recipe. That's when I knew these weren't just another pretty cookie—they're the ones people actually remember and talk about later.
Ingredients
- All-purpose flour: The foundation that gives these cookies their structure—measure properly for the tender crumb
- Unsweetened cocoa powder: Just enough to deepen the flavor without overwhelming the delicate red velvet taste
- Baking soda: Helps create that signature soft, pillowy texture red velvet is known for
- Salt: A tiny pinch that balances the sweetness and makes all flavors pop
- Unsalted butter: Bring it to room temperature properly—cold butter creates tough cookies
- Granulated sugar: Cream this thoroughly with the butter for that light, airy texture
- Egg yolk only: The extra yolk adds richness without making the dough too soft
- Whole milk: Just enough moisture to bring everything together
- Vanilla extract: Don't skip or substitute—this bridges the chocolate and cream cheese flavors
- Red food coloring: Gel coloring works best and won't throw off your dough consistency
- Cream cheese: Use full-fat and let it soften completely for the silkiest filling
- Powdered sugar: Sift it first to avoid any lumps in your filling
Instructions
- Get your oven ready:
- Preheat to 350°F and line two baking sheets with parchment paper—this prevents sticking and makes cleanup effortless
- Whisk the dry ingredients:
- In a medium bowl, combine flour, cocoa powder, baking soda, and salt until well incorporated
- Cream butter and sugar:
- Beat them together for a full 2 minutes until the mixture looks pale and fluffy—this step is worth the effort
- Add the wet ingredients:
- Mix in egg yolk, milk, vanilla, and food coloring until everything comes together in a beautiful red dough
- Combine everything:
- Gradually fold in the dry ingredients, mixing just until you no longer see white streaks
- Make the filling:
- Whisk cream cheese, powdered sugar, and vanilla in a small bowl until completely smooth
- Shape the cookies:
- Roll dough into 1-inch balls and place them 2 inches apart on your prepared baking sheets
- Create the thumbprint:
- Gently press your thumb or a teaspoon into each ball, being careful not to press all the way through
- Fill the centers:
- Spoon about half a teaspoon of cream cheese filling into each indentation—don't overfill or it will spill
- Bake to perfection:
- Bake for 11–13 minutes until the edges are set but the centers still look slightly soft
- Cool completely:
- Let them rest on the baking sheet for 5 minutes, then transfer to a wire rack—the filling firms up as they cool
 Save
Save My daughter now requests these for every school event and has started helping me press the thumbprints—she claims her thumbs make the perfect size indentations. There's something wonderful about passing down a recipe that feels so special but is actually quite forgiving, even for small hands eager to help.
Making These Your Own
Once I started experimenting with fillings, these cookies became my go-to canvas for whatever flavors I'm craving. The white chocolate ganache version was born on a snowy afternoon when I realized I'd used my last block of cream cheese, and honestly, it might be even better than the original.
Timing Everything Right
The key is having your cream cheese truly at room temperature before you start—I've learned the hard way that lumpy filling doesn't bake smooth. I set everything out on the counter about an hour before I plan to bake, and it makes the whole process feel effortless instead of rushed.
Storage and Make-Ahead Tips
These cookies actually taste better on day two when all the flavors have had time to mingle. I've started making the dough balls and freezing them unbaked, then just filling and baking fresh whenever I need something special on short notice.
- Freeze unfilled dough balls for up to 3 months and bake straight from frozen, adding 2 minutes
- The filling can be made 2 days ahead and kept in the refrigerator until you're ready to bake
- Store baked cookies in the refrigerator—the cream cheese filling keeps best chilled
 Save
Save These have become my secret weapon for any occasion that calls for something impressive but doesn't require me to stress in the kitchen. There's genuine joy in watching someone bite into that beautiful red cookie and get that surprised look when they hit the creamy center.
Recipe FAQs
- → How do I store these cookies?
-
Keep in an airtight container in the refrigerator for up to 4 days. The chilled storage helps maintain the cream cheese filling's freshness and texture.
- → Can I freeze the dough?
-
Yes, roll the dough balls and freeze them on a baking sheet before transferring to a freezer bag. Thaw in the refrigerator before baking and filling.
- → What other fillings work well?
-
White chocolate ganache makes an excellent alternative to cream cheese. You could also use jam, Nutella, or peanut butter for different flavor variations.
- → Why did my cookies spread too much?
-
Ensure your butter is softened but not melted. Chill the dough balls for 15-20 minutes before baking if your kitchen is warm, and avoid overcrowding the baking sheet.
- → Can I make these without red food coloring?
-
Absolutely! The cocoa powder still provides excellent flavor. For natural red color, try beet juice or powder, though the hue will be more subtle than traditional red velvet.