 Save
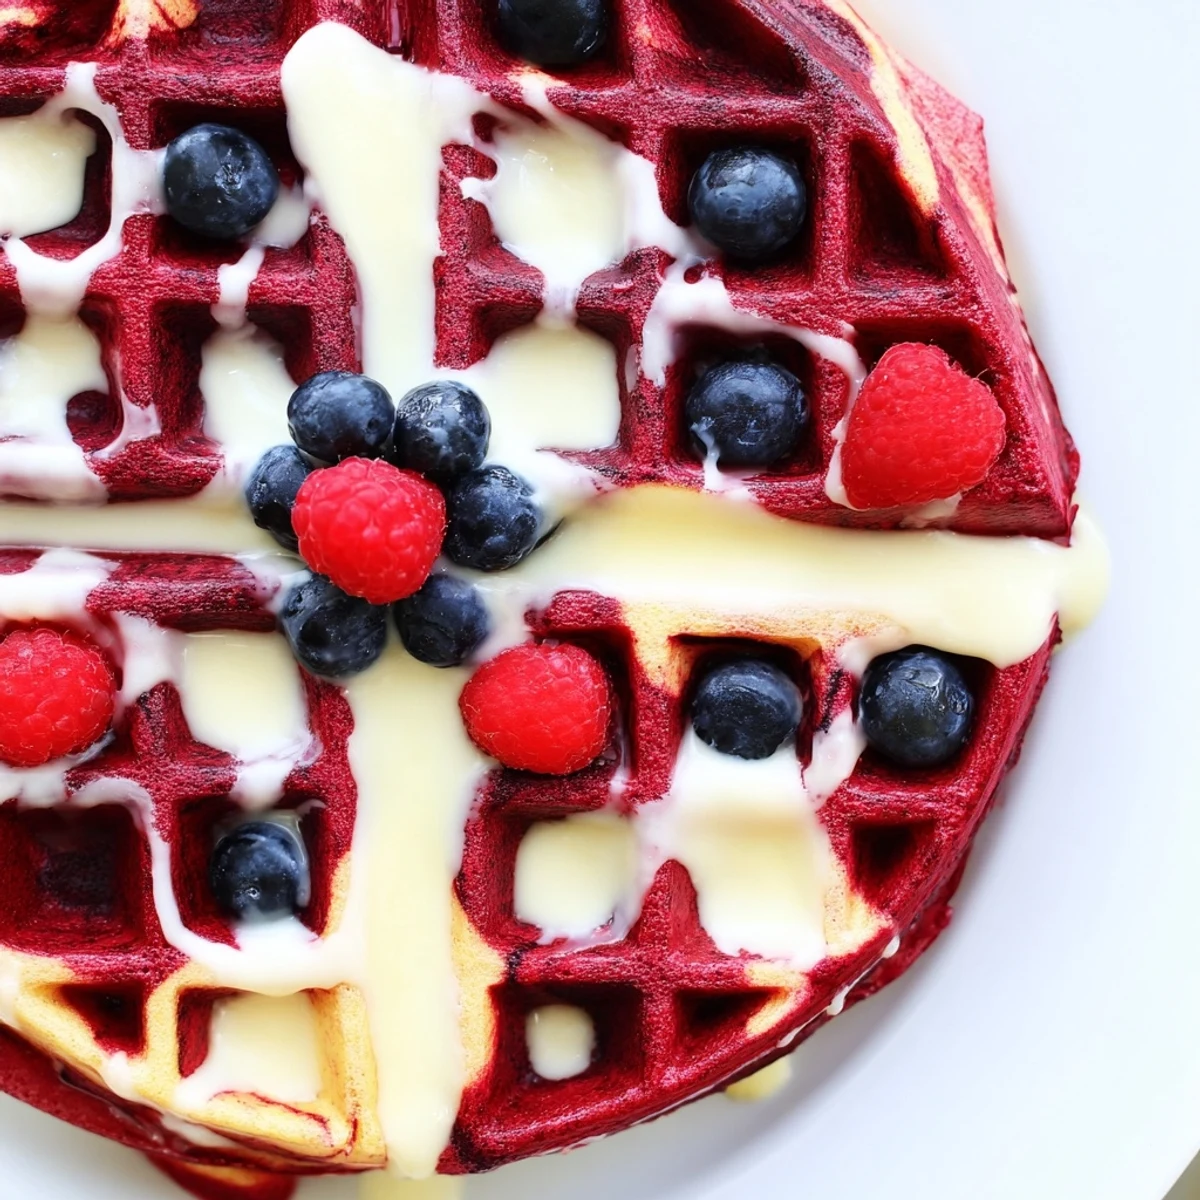
Save These striking marbled waffles combine rich cocoa-infused red velvet batter with classic vanilla for a stunning visual effect and indulgent flavor. The buttermilk base ensures tender, crisp results while the swirling technique creates restaurant-worthy presentation right at home.
Ready in just 30 minutes with simple pantry ingredients, these waffles transform ordinary breakfast into something memorable. The contrasting batters bake together perfectly, offering both chocolatey and vanilla notes in every bite.
Top with cream cheese glaze, maple syrup, or fresh fruit to complement the subtle cocoa and sweet vanilla flavors. Ideal for weekend brunch, Valentine's Day morning, or whenever you want to make breakfast feel special.
The first time I made these waffles, my kitchen looked like a crime scene. Red food coloring everywhere, batter splattered across the counter, but when that first waffle lifted from the iron with those gorgeous ruby and cream swirls, the mess suddenly felt entirely worth it. My daughter stood on her tiptoes at the counter, eyes wide, whispering 'pretty' like it was a magic trick she'd just witnessed. Now they're the only thing she requests for sleepover breakfasts.
Last Valentine's Day, I made a double batch for a brunch with friends. Someone brought mimosas and someone else brought fresh berries, and we stood around the waffle iron taking turns pouring the alternating batters, each of us creating our own unique marble pattern. By the time we sat down to eat, nobody cared about the syrup dripping down their chins or the whipped cream on their noses. Sometimes food is just the excuse for being together.
Ingredients
- 2 cups all-purpose flour: The foundation that gives these waffles their structure and that perfect crisp exterior
- 2 tbsp granulated sugar: Just enough to enhance sweetness without overpowering the buttermilk tang
- 2 tsp baking powder: Creates those signature waffle pockets that catch every drop of syrup
- 1/2 tsp baking soda: Works with the buttermilk to give lift and tenderness
- 1/4 tsp salt: Balances sweetness and brings out the chocolate notes
- 1 3/4 cups buttermilk, room temperature: The secret to tangy, fluffy waffles with that classic red velvet depth
- 2 large eggs: Room temperature eggs help the batter emulsify properly
- 4 tbsp unsalted butter, melted and slightly cooled: Adds richness and helps create that golden crisp exterior
- 1 tsp vanilla extract: Rounds out the flavors and enhances the vanilla portion of the marble
- 2 tbsp unsweetened cocoa powder: Gives the red velvet portion its classic chocolate undertone
- 1 tbsp red food coloring (liquid or gel): Gel coloring gives a deeper red with less liquid but either works beautifully
Instructions
- Whisk the dry foundation:
- In a large bowl, combine flour, sugar, baking powder, baking soda, and salt until everything is evenly distributed and aerated
- Blend the wet ingredients:
- In another bowl, whisk buttermilk, eggs, melted butter, and vanilla extract until completely smooth and emulsified
- Combine the batters:
- Gently fold the wet mixture into the dry ingredients just until combined; a few small lumps are fine and actually prevent tough waffles
- Create the marble:
- Divide batter evenly between two bowls, then whisk cocoa powder and red food coloring into one portion until vibrant and uniform
- Heat your iron:
- Preheat waffle iron according to manufacturer's instructions and lightly grease with oil or nonstick spray
- Swirl the magic:
- Drop alternating spoonfuls of red velvet and vanilla batters onto the hot iron, then use a chopstick or butter knife to gently swirl just once or twice for that marble effect
- Cook to perfection:
- Close lid and cook for 3 to 5 minutes until waffles are golden, crisp, and set in the center
- Serve immediately:
- These are best enjoyed straight from the iron while still steaming and at their crispest
 Save
Save My mom used to make regular waffles every Sunday, but the day I surprised her with this red velvet version, she actually paused with her fork halfway to her mouth. The marble pattern caught the morning light through the kitchen window, and for a moment, breakfast felt like something out of a magazine spread. Now she asks for 'those fancy waffles' whenever I visit home.
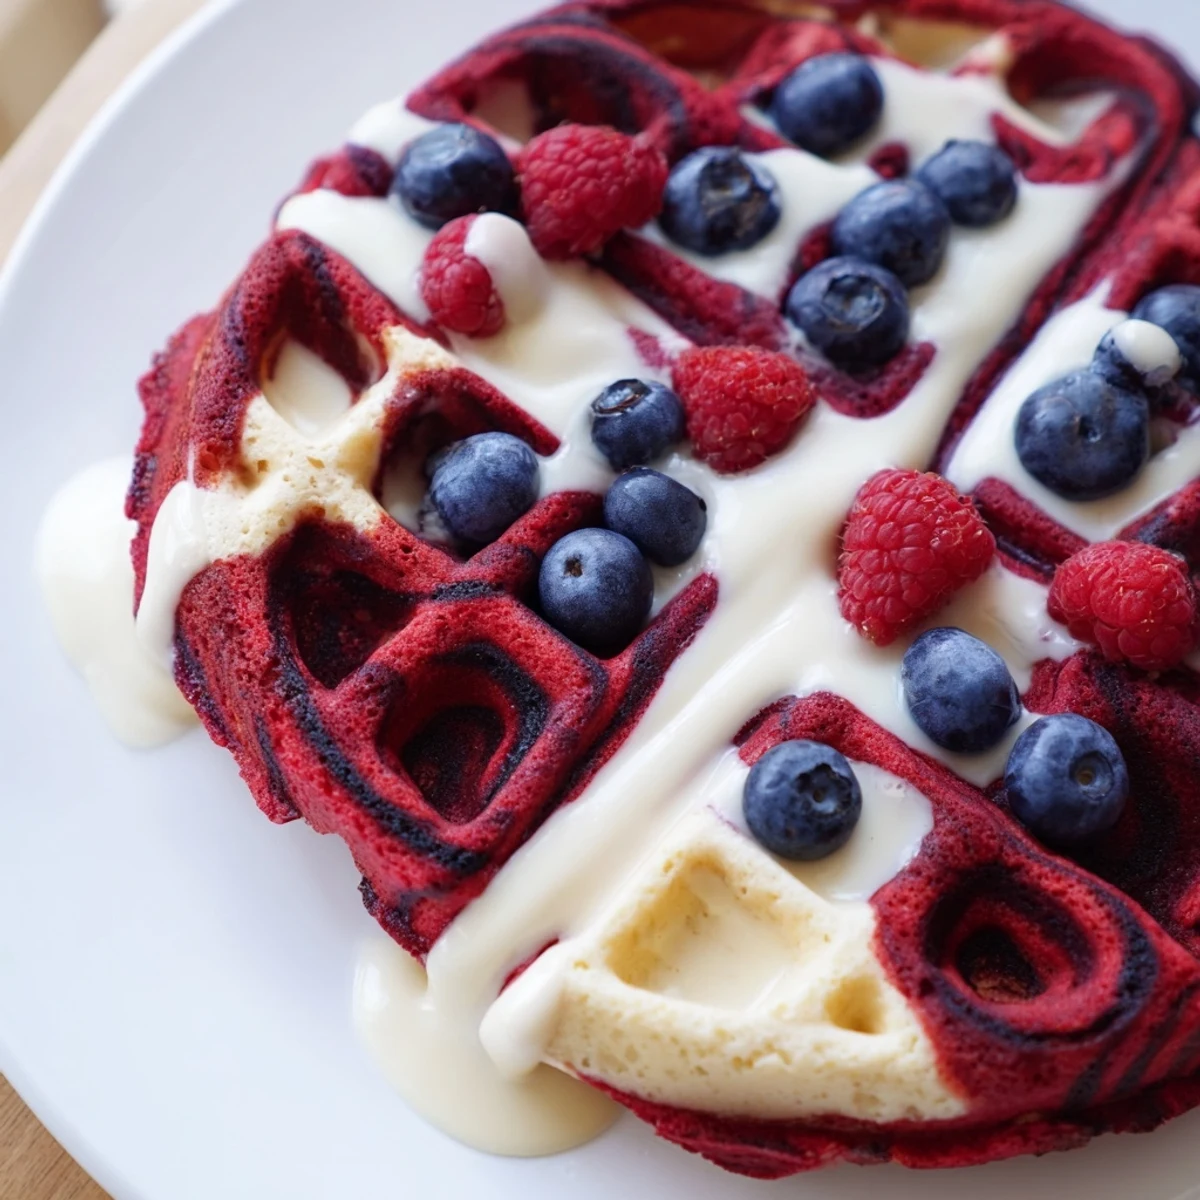
Mastering the Marble
The swirling technique is easier than it looks, but I have learned that keeping your batters in separate piping bags or squeeze bottles gives you more control than spooning. You can create concentric circles or random dollops depending on your mood, and the most important thing is just one gentle pass with your swirling tool. The patterns will emerge as the waffle cooks, and each one becomes its own little edible art piece.
Getting That Perfect Crisp
The trick to restaurant quality waffles is letting the iron do its work without peeking too early. I used to lift the lid constantly, checking doneness, but releasing all that steam was exactly why my waffles turned out soggy. Now I wait until I hear the steam slow down and the waffle pulling away from the edges slightly. That patience is what transforms good waffles into great ones.
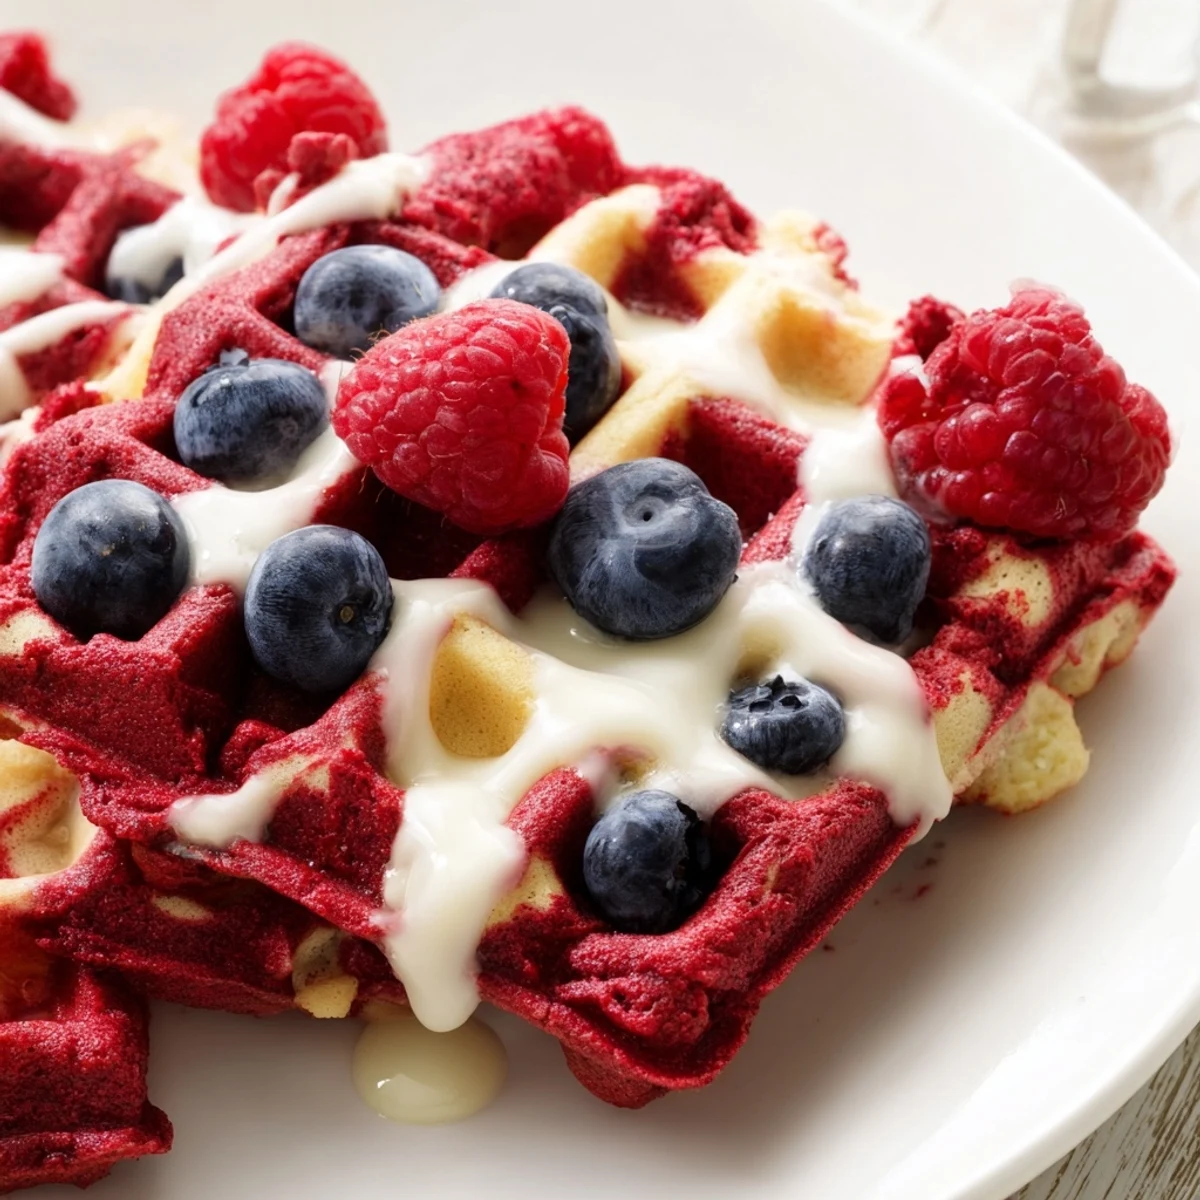
Topping Ideas That Shine
While maple syrup is always welcome, these waffles deserve something a little more special. The cream cheese glaze from the notes section is absolutely divine, but I also love them with a dusting of powdered sugar and fresh raspberries that echo the red velvet color. A dollop of whipped cream and some chocolate shavings make them feel completely indulgent for dessert waffles.
- Warm the cream cheese glaze slightly for easy pouring that gets into every crevice
- Toasted pecans or walnuts add a wonderful crunch against the soft waffle interior
- A pinch of sea salt on top cuts through the sweetness and adds a sophisticated finish
 Save
Save Whether it is a holiday morning or just a Tuesday that needs a little extra joy, these waffles have a way of making ordinary moments feel special. The marble pattern is beautiful, but the real magic is in how something so simple can become a memory that lasts long after the last bite is gone.
Recipe FAQs
- → What makes these waffles red velvet?
-
The signature red velvet flavor comes from unsweetened cocoa powder combined with red food coloring, creating that distinctive vibrant hue and subtle chocolate taste that defines red velvet treats.
- → How do I get the marble effect?
-
Alternate spoonfuls of red velvet and vanilla batters onto your waffle iron, then gently swirl them together with a chopstick or butter knife before closing the lid. Don't over-swirl or the colors will blend completely.
- → Can I make the batter ahead of time?
-
For best results, make the batter fresh. The baking powder and soda start working immediately when mixed with buttermilk. You can prepare the dry ingredients the night before and add wet ingredients in the morning.
- → What if I don't have buttermilk?
-
Greek yogurt thinned with a splash of milk makes an excellent substitute. Alternatively, add 1 tablespoon of vinegar or lemon juice to regular milk and let it sit for 5 minutes before using.
- → How do I store leftover waffles?
-
Cool completely, then store in an airtight container or resealable bag in the refrigerator for up to 3 days. Reheat in a toaster or oven at 350°F for crispy results. They also freeze well for up to 3 months.
- → Can I reduce the food coloring?
-
Yes, adjust the amount to achieve your desired shade. Gel food coloring typically requires less than liquid. The color will appear slightly lighter after cooking.