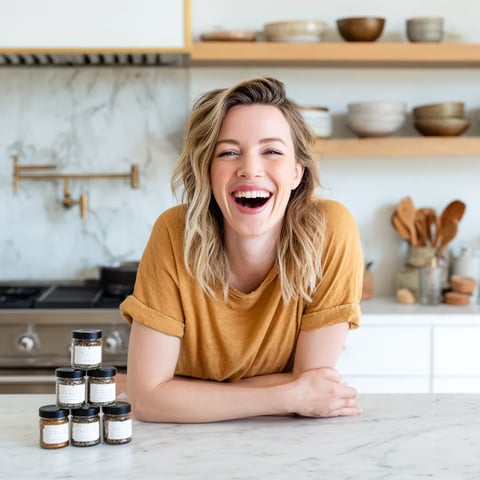
 Save
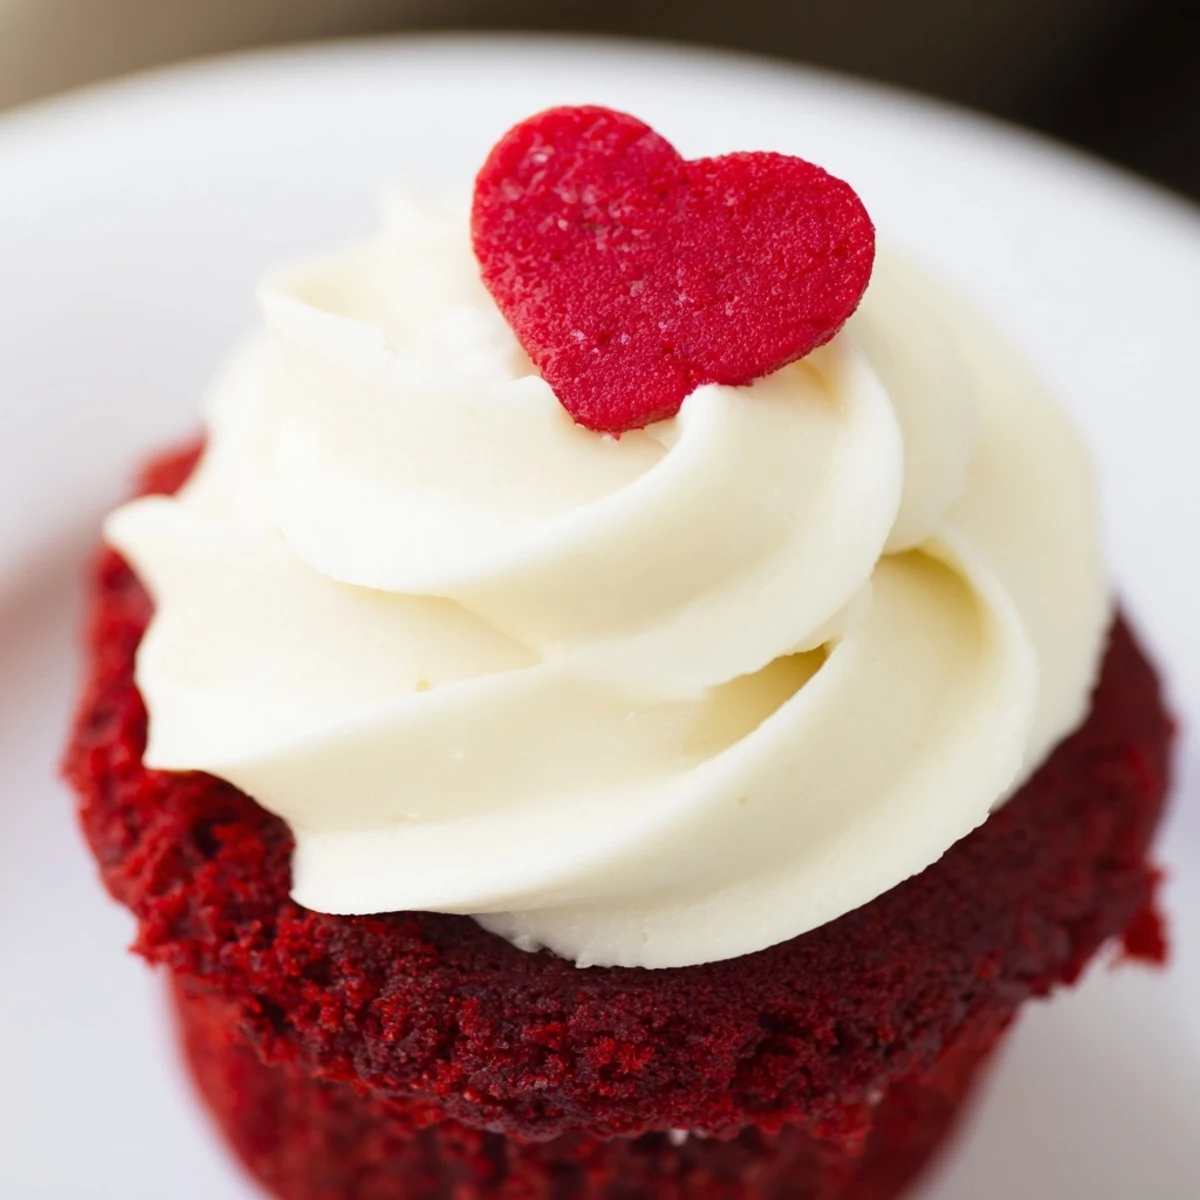
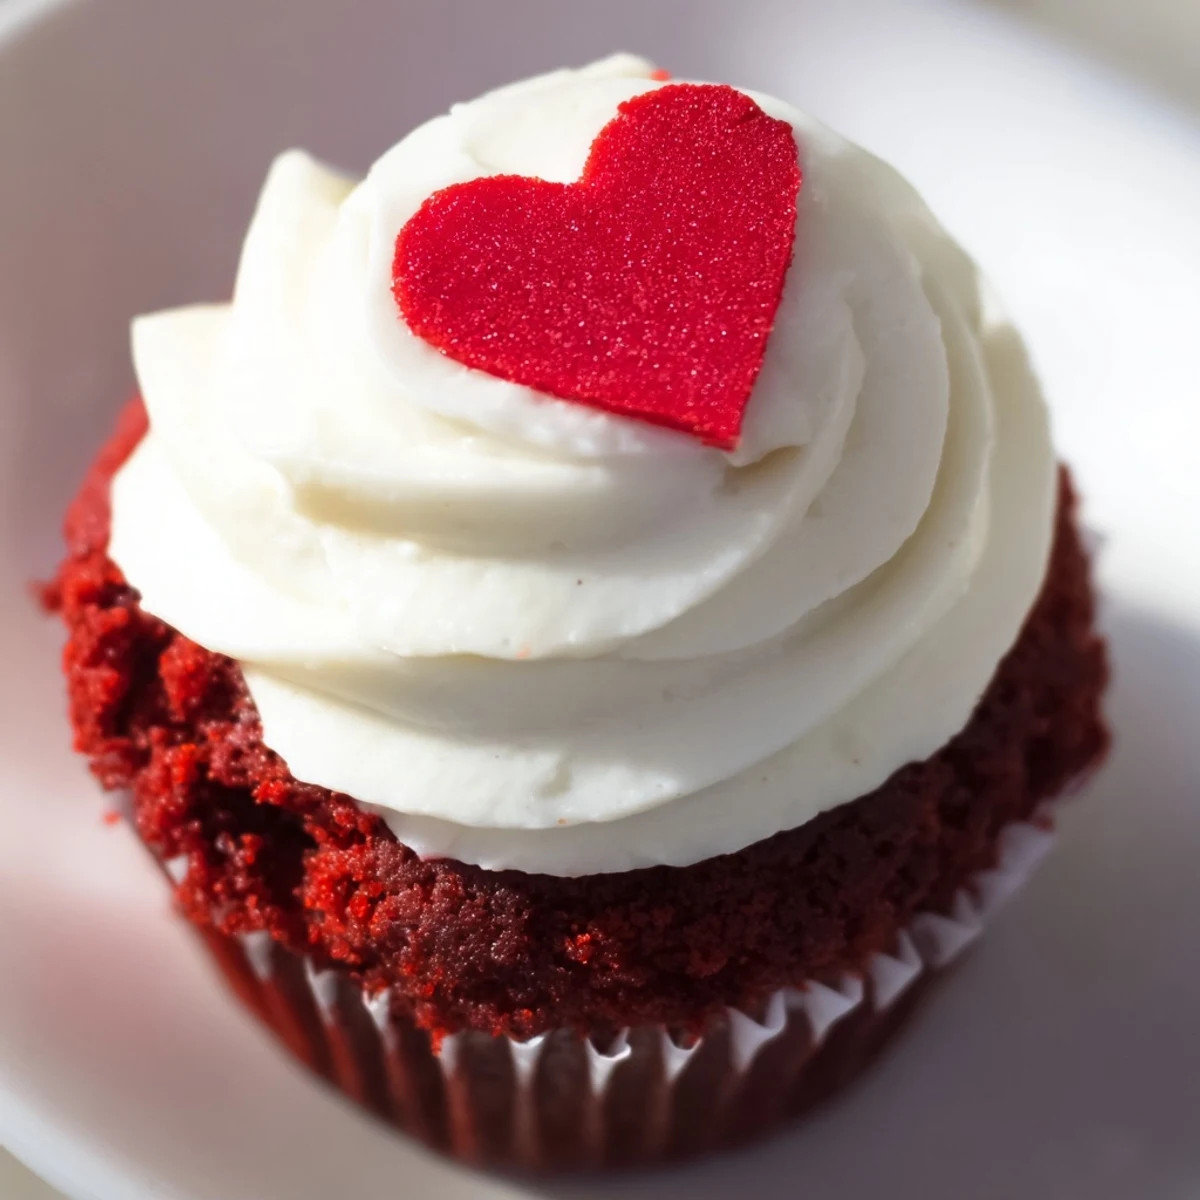
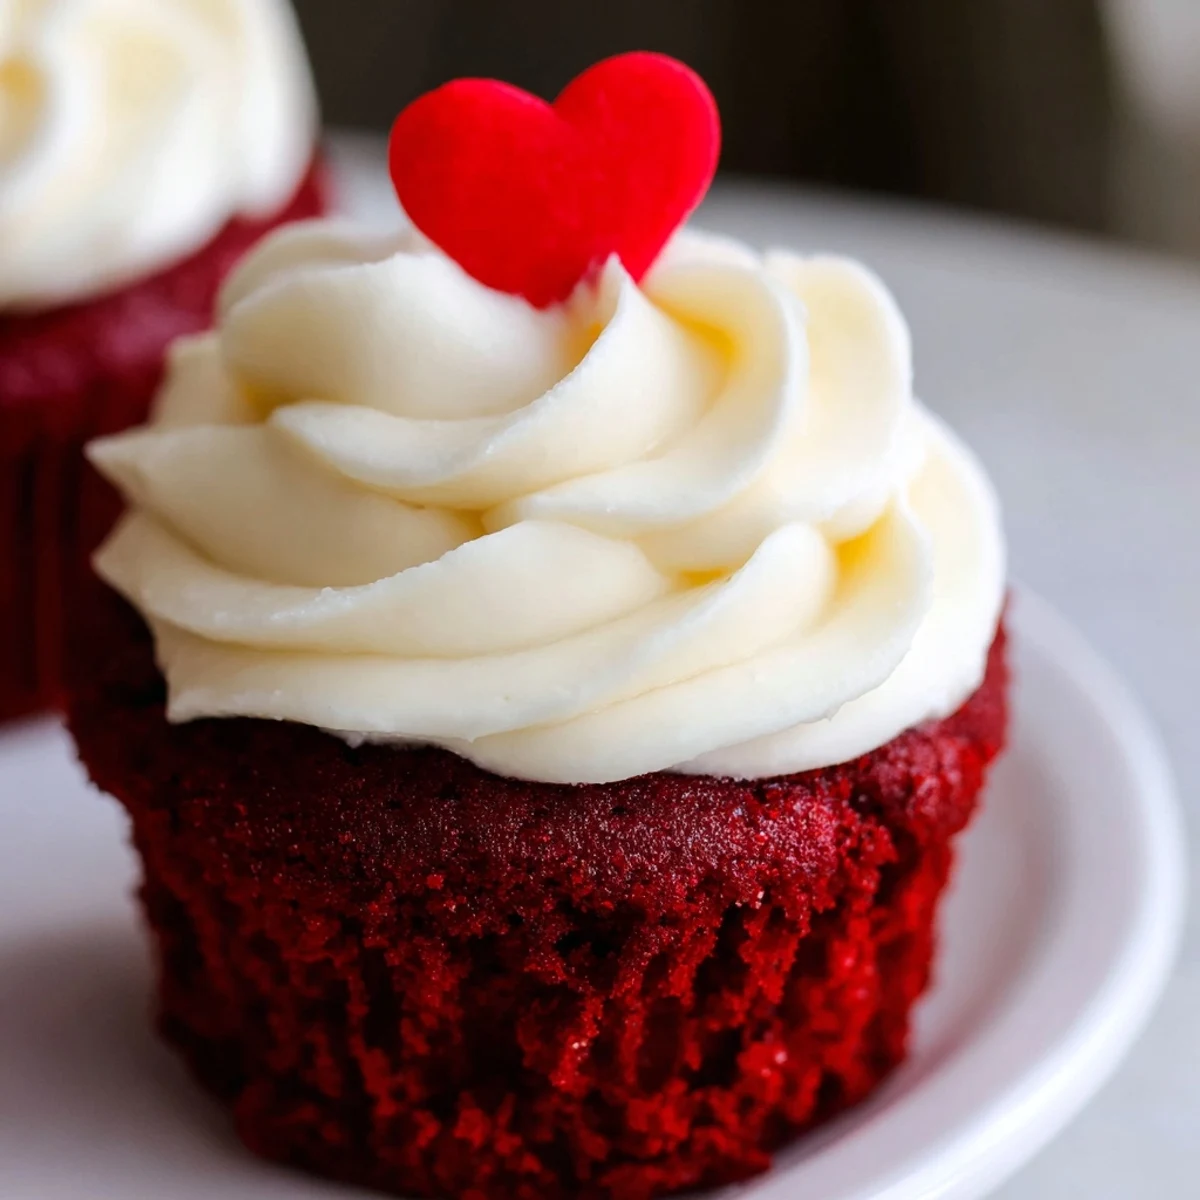
Save These delightful red velvet treats feature a moist, vibrant cake base perfectly complemented by a rich, tangy cream cheese frosting. Starting with a blend of dry ingredients like flour, sugar, and cocoa, wet components including buttermilk, oil, and red food coloring are gently folded in. The batter is then baked until light and fluffy. Meanwhile, the frosting comes together with softened cream cheese, butter, powdered sugar, and vanilla, beaten until beautifully smooth. Once cooled, these cakes are generously adorned, making them an ideal indulgence for special moments or a sweet celebration.
The sheer joy of baking red velvet cupcakes always takes me back to college days, when a friend and I would spend Saturday afternoons in our tiny apartment kitchen. I can still picture the vibrant red batter swirling in the bowl, a color so striking it felt like a little secret waiting to be revealed. The aroma of cocoa and vanilla would fill the air, promising something truly special. These cupcakes quickly became our go-to for cheering up a tough study session or celebrating small victories.
One particularly memorable batch was for my neighbor's surprise birthday party. I'd accidentally bought extra large eggs, and the batter felt a bit off at first, but I forged ahead. Seeing the look on her face when she bit into one, exclaiming it was 'the best cupcake ever,' filled me with such warmth; it reminded me that sometimes, baking is less about precision and more about the love poured into it.
Ingredients
- All-purpose flour: The essential foundation for our tender crumb; a gentle sift here helps prevent a dense cupcake.
- Granulated sugar: Provides sweetness and contributes to the moistness and tender texture of the cake.
- Unsweetened cocoa powder: Just a hint of cocoa is what gives red velvet its characteristic subtle chocolate flavor and deepens the red hue.
- Baking soda: Our primary leavening agent, which reacts with the buttermilk and vinegar to create a light and airy texture.
- Salt: A tiny pinch works wonders to balance the sweetness and enhance all the other flavors.
- Vegetable oil: Ensures a wonderfully moist cupcake that stays soft for days, unlike butter which can sometimes make cakes drier.
- Large eggs, at room temperature: Essential for emulsification and structure; room temperature eggs incorporate better into the batter, leading to a smoother result.
- Buttermilk, at room temperature: The secret to red velvet's classic tang and incredible moisture; make sure it's at room temperature for the best emulsion.
- Vanilla extract: A generous splash deepens the flavor profile and is crucial for that classic red velvet taste.
- White vinegar: Reacts with the baking soda and buttermilk, contributing to the lift and characteristic texture.
- Red food coloring: This is what gives red velvet its iconic, vibrant crimson color; gel coloring often yields a more intense hue with less volume.
- Cream cheese, softened: The star of the frosting, providing that irresistible tangy and creamy goodness; always use full-fat and ensure it's properly softened.
- Unsalted butter, softened: Adds richness and body to the frosting, balancing the tang of the cream cheese; softened butter creams beautifully.
- Powdered sugar, sifted: Sweetens the frosting and gives it a smooth, velvety texture; sifting is key to avoiding lumps.
- Vanilla extract: Enhances the overall flavor of the frosting, making it even more delicious.
- Pinch of salt: Just like in the cupcakes, a tiny bit of salt in the frosting cuts the sweetness and brings out the other flavors.
Instructions
- Getting Started:
- Begin by preheating your oven to 350°F (175°C) and lovingly lining a 12-cup muffin tin with your prettiest cupcake liners. This prepares our stage for baking.
- Combine Dry Ingredients:
- In a spacious bowl, whisk together the flour, sugar, cocoa powder, baking soda, and salt until they are uniformly combined. Take a moment to notice the faint cocoa scent.
- Mix Wet Ingredients:
- In a separate, equally large bowl, vigorously whisk the oil, eggs, buttermilk, vanilla extract, vinegar, and that crucial red food coloring until the mixture is smooth and vibrant. You'll see the color burst to life.
- Marry Wet & Dry:
- Gently pour the wet ingredients into the dry mixture. Stir until just combined, being careful not to overmix; a few streaks are perfectly fine for a tender crumb.
- Fill the Liners:
- Divide the beautiful red batter evenly among the prepared cupcake liners, aiming to fill each about two-thirds full. A cookie scoop can be a real friend here for consistency.
- Bake to Perfection:
- Transfer the muffin tin to your preheated oven and bake for 18 to 20 minutes. Watch for the moment a toothpick inserted into the center comes out clean, signaling they are perfectly done.
- Cool Down:
- Once baked, let them cool in the pan for about 5 minutes, allowing them to set. Then, carefully transfer them to a wire rack to cool completely, ready for their frosting transformation.
- Whip the Frosting Base:
- For the frosting, combine the softened cream cheese and butter in a bowl and beat them together until the mixture is beautifully smooth and creamy. This is the foundation of our luscious topping.
- Sweeten and Flavor:
- Gradually add the sifted powdered sugar to the cream cheese mixture, beating until it becomes wonderfully fluffy. Stir in the vanilla extract and a pinch of salt to balance the flavors.
- Frost and Decorate:
- Once your cupcakes are entirely cool, pipe or spread a generous swirl of the cream cheese frosting on top of each one. Feel free to add festive sprinkles or edible hearts for that extra touch of charm.
 Save
Save These cupcakes transcended being just a dessert one winter evening when a sudden snowstorm left my street plunged into darkness. My neighbors, a bit stir-crazy, gathered at my place, and I pulled out a hidden batch of these red velvet beauties. Paired with mugs of hot cocoa, they turned an unexpected outage into a cozy, communal memory, proving that sometimes the simplest treats create the most profound connections.
Mastering That Signature Red Hue
Achieving the perfect red velvet color can sometimes feel like a delicate dance. I've found that using a high-quality gel food coloring makes all the difference, delivering a much richer, deeper red without adding too much liquid to the batter. Don't be afraid to add a little extra if your first attempt seems too pale; you're aiming for a vibrant crimson, not a muted pink. The subtle cocoa powder also helps to deepen the tone, creating that classic velvety appearance.
Tips for a Perfectly Smooth Frosting
Getting that perfectly smooth, lump-free cream cheese frosting is a game-changer, and it largely comes down to technique and patience. Always start with thoroughly softened cream cheese and butter; if they're too cold, you'll end up with stubborn lumps that are nearly impossible to beat out. Sifting your powdered sugar is another non-negotiable step, ensuring there are no granular surprises in your dreamy topping. Beat the cream cheese and butter well *before* adding the sugar, then gradually incorporate the sugar, scraping down the bowl frequently for an even consistency.
Customizing Your Red Velvet Experience
While the classic red velvet cupcake is truly wonderful on its own, there are so many delightful ways to make these treats uniquely yours. Consider adding a hint of orange zest to the batter for a brighter, citrusy note that plays beautifully with the cocoa. For an even more decadent experience, core out a small center from each cupcake and fill it with a dollop of raspberry preserves before frosting. You can also experiment with different extracts, like almond, for a subtle twist on the traditional vanilla.
- For a touch of elegance, sprinkle a fine dusting of cocoa powder or edible glitter over the frosted cupcakes just before serving.
- If you're making these ahead, store them in an airtight container in the refrigerator and bring them to room temperature before enjoying for the best texture.
- Remember that the quality of your ingredients, especially the vanilla and food coloring, significantly impacts the final taste and appearance.
 Save
Save These red velvet cupcakes are more than just a dessert; they are a vibrant celebration in every bite, a testament to the joy of simple baking. I hope they bring as much warmth and delight to your kitchen as they have to mine.
Recipe FAQs
- → How do I ensure my red velvet cakes are moist?
-
Moisture comes from buttermilk, oil, and ensuring you don't overmix the batter. Baking just until a toothpick comes out clean is also key. For an even softer crumb, consider using cake flour.
- → Can I prepare the cream cheese frosting ahead of time?
-
Yes, the cream cheese frosting can be made 1-2 days in advance. Store it in an airtight container in the refrigerator and let it come to room temperature before re-whipping gently until fluffy again.
- → What gives red velvet its distinct flavor?
-
The unique flavor of red velvet comes from a combination of cocoa powder, a touch of vinegar, and buttermilk, which react to give it a slightly tangy, rich, yet subtle chocolate note. The red coloring is primarily for visual appeal.
- → Are there any substitutions for buttermilk?
-
If you don't have buttermilk, you can make a substitute by adding 1 tablespoon of white vinegar or lemon juice to a measuring cup, then filling it with regular milk to the ½ cup line. Let it sit for 5-10 minutes until it curdles.
- → How can I store these frosted treats?
-
Frosted cakes should be stored in an airtight container in the refrigerator for up to 3-4 days due to the cream cheese frosting. Allow them to come to room temperature for the best flavor and texture before serving.
- → Can these be made gluten-free?
-
Yes, to make them gluten-free, simply substitute the all-purpose flour with a 1:1 gluten-free flour blend. Ensure your baking powder is also gluten-free if using.