 Save
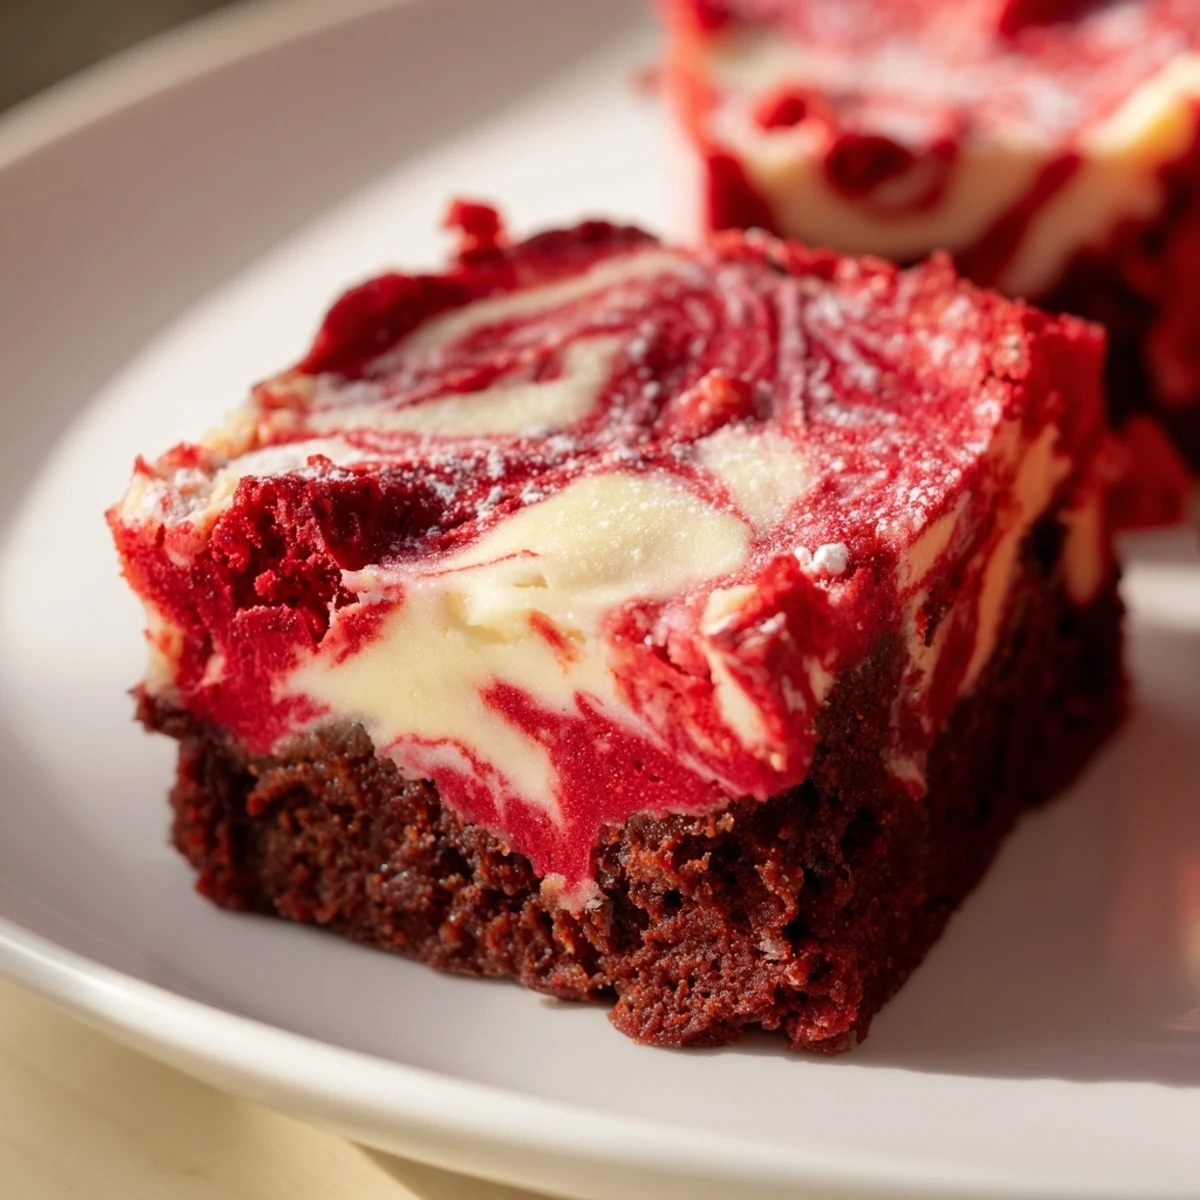
Save Enjoy these decadent red velvet brownie bites infused with a creamy cheesecake swirl for a perfect balance of flavors. With a fudgy cocoa base and smooth cream cheese topping, these treats bake to golden perfection in just 25 minutes. Ideal for gatherings or anytime indulgence, their bright red hue and marbled texture make them as visually appealing as they are delicious. Easy to prepare with simple ingredients, these bites deliver a tender crumb and rich taste in every mouthful.
The first time I made these, I was running late for a potluck and had to improvise with leftover cream cheese and brownie mix. My friend Sarah still talks about how she ate four before dinner even started and pretended she had not touched them.
Last Christmas, my niece helped me swirl the cheesecake layer and somehow managed to get red food coloring on her nose, the counter, and the dog. The brownies were gone before the wrapping paper was even cleaned up.
Ingredients
- Unsalted butter: Melt it completely but let it cool slightly so it does not cook the eggs when you mix everything together
- Red food coloring: Gel coloring gives you that vibrant restaurant red without making the batter too thin
- Cream cheese: Set it out on the counter thirty minutes before you start, room temperature cheese blends so much smoother
- Cocoa powder: Dutchprocess cocoa adds a deeper chocolate flavor that stands up to all that sugar
- Egg yolk only: The extra fat from the yolk makes the cheesecake layer creamier while keeping it stable
Instructions
- Get your oven ready:
- Preheat to 175°C (350°F) and line your mini muffin tin with paper liners, trust me, cleanup is so much easier this way
- Make the red velvet batter:
- Whisk melted butter and sugar until smooth, then beat in the egg, vanilla, and food coloring until everything is that perfect shade of red
- Add the dry ingredients:
- Sift in the flour, cocoa, and salt, then fold gently until just combined, overmixing makes them tough instead of fudgy
- Whip up the cheesecake layer:
- Beat that softened cream cheese until it is silky smooth, then mix in the sugar, egg yolk, and vanilla until you have something that looks like velvet
- Assemble the bites:
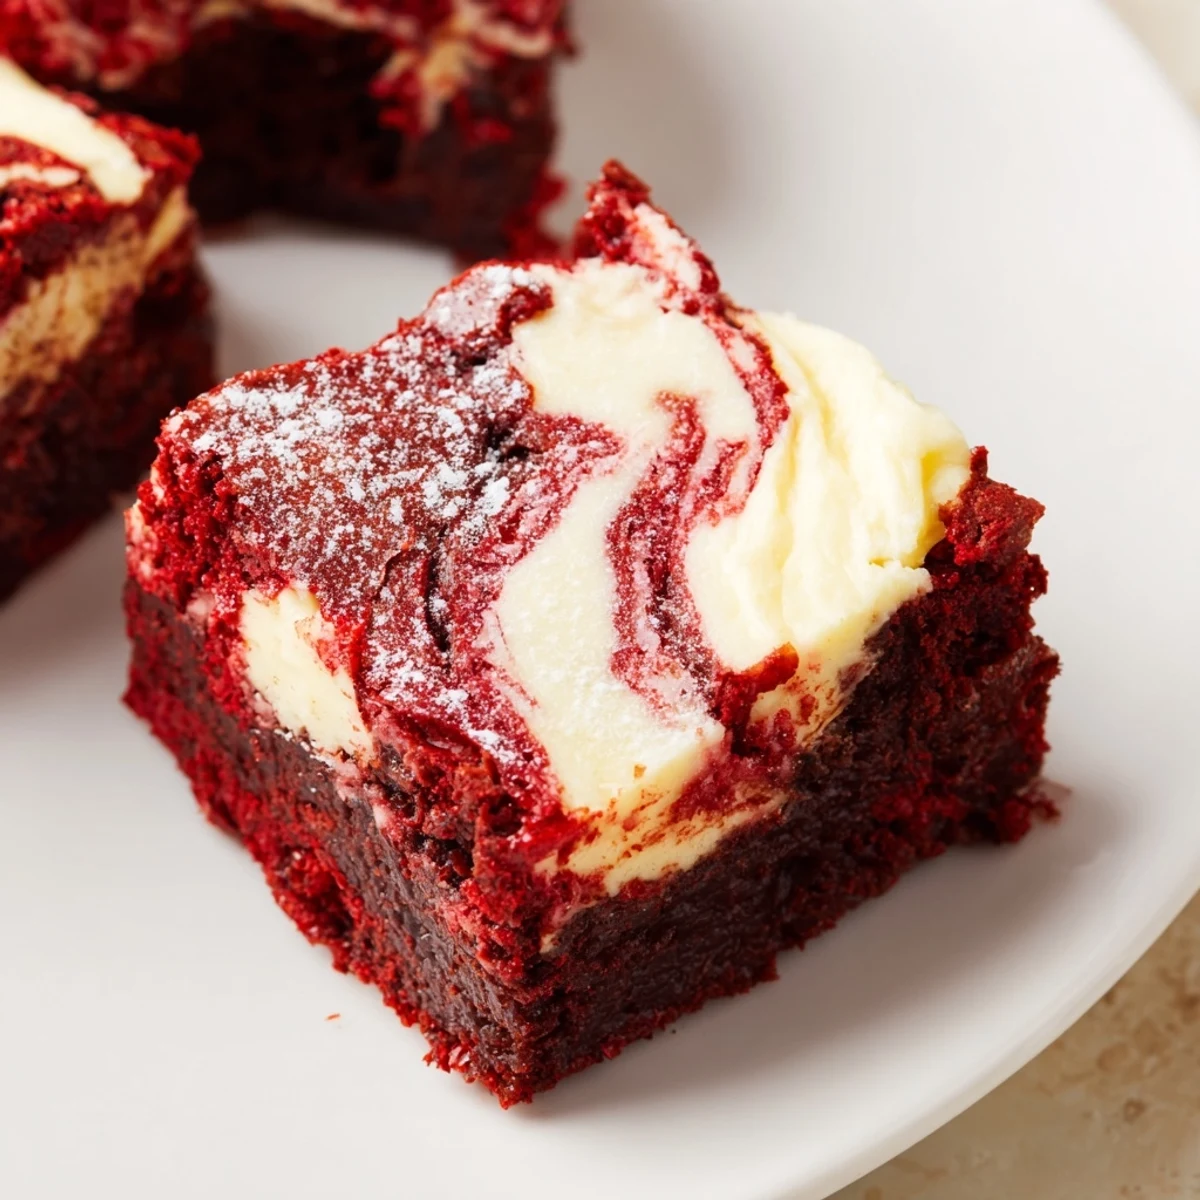
- Spoon a tablespoon of red velvet batter into each cup, top with a teaspoon of cheesecake mixture, and swirl with a toothpick for that marbled look
- Bake them perfectly:
- Slide them into the oven for 22 to 25 minutes until the centers are just set and the edges start pulling away from the liners
- Let them cool completely:
- Wait 10 minutes in the pan, then move them to a wire rack, the cheesecake layer needs this time to set up properly
 Save
Save My neighbor asked for the recipe after trying one at our block party, and now she makes them for every single gathering. There is something about that red and white swirl that makes people feel like they are eating something special.
Making The Perfect Swirl
I learned the hard way that swirling too aggressively mixes the layers together into a muddy color. Gentle figureeights with a toothpick give you those distinct ribbons of white and red that look so gorgeous on a platter.
Storage Secrets
These actually taste better on day two when the flavors have had time to marry. Keep them in the refrigerator and let them come to room temperature for about ten minutes before serving.
Serving Suggestions
I have found that arranging them on a white platter makes that red color pop even more. These work equally well for holiday cookie exchanges or casual Friday night treats when you want something indulgent but not too fussy.
- Dust with powdered sugar right before serving for a snowcapped look
- Top each bite with a tiny chocolate kiss while they are still warm
- Serve with fresh raspberries on the side for a tart contrast
 Save
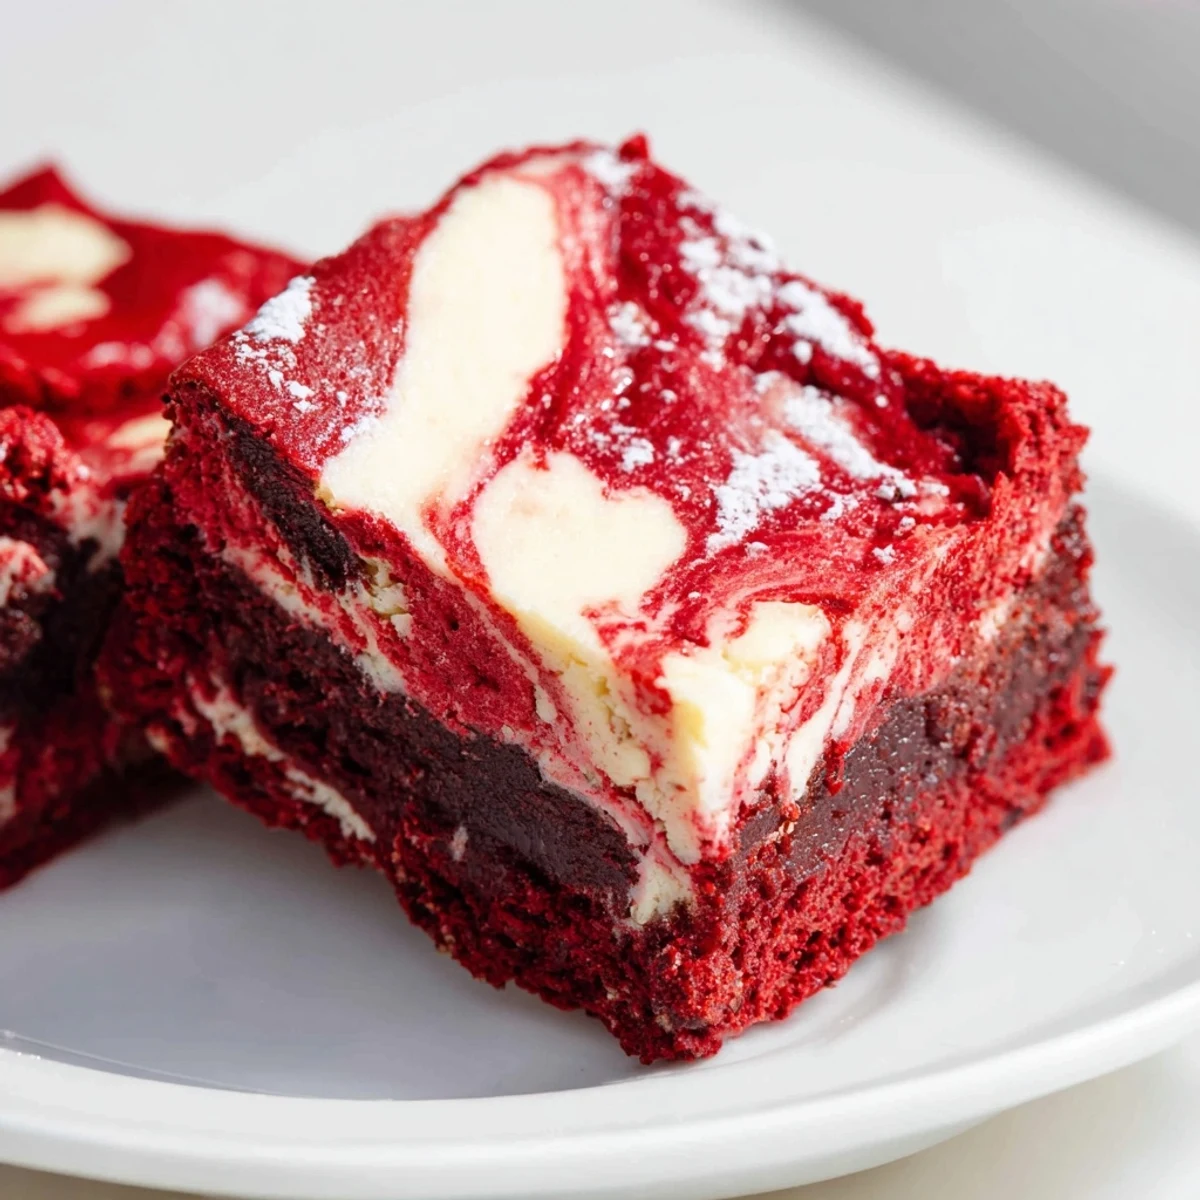
Save Every time I bring these somewhere, someone asks if I bought them from a bakery. That moment when they bite through the chocolatey layer into the creamy cheesecake center is pure magic.
Recipe FAQs
- → What gives the red velvet bites their vibrant color?
-
The bright red hue comes from red food coloring added to the cocoa and flour batter, enhancing the classic velvet appearance.
- → Can I use a different type of cocoa for richer flavor?
-
Yes, Dutch-process cocoa powder can be substituted to deepen the chocolate flavor while maintaining the moist texture.
- → How do I achieve the marbled cheesecake effect?
-
Spoon cheesecake mixture over the red velvet batter then swirl gently with a toothpick before baking to create the marbled pattern.
- → What is the best way to store these bites after baking?
-
Place cooled bites in an airtight container and refrigerate for up to 5 days to maintain freshness and texture.
- → Are these bites suitable for vegetarians?
-
Yes, with no meat or gelatin ingredients, these bites fit a vegetarian diet but contain eggs and dairy.