 Save
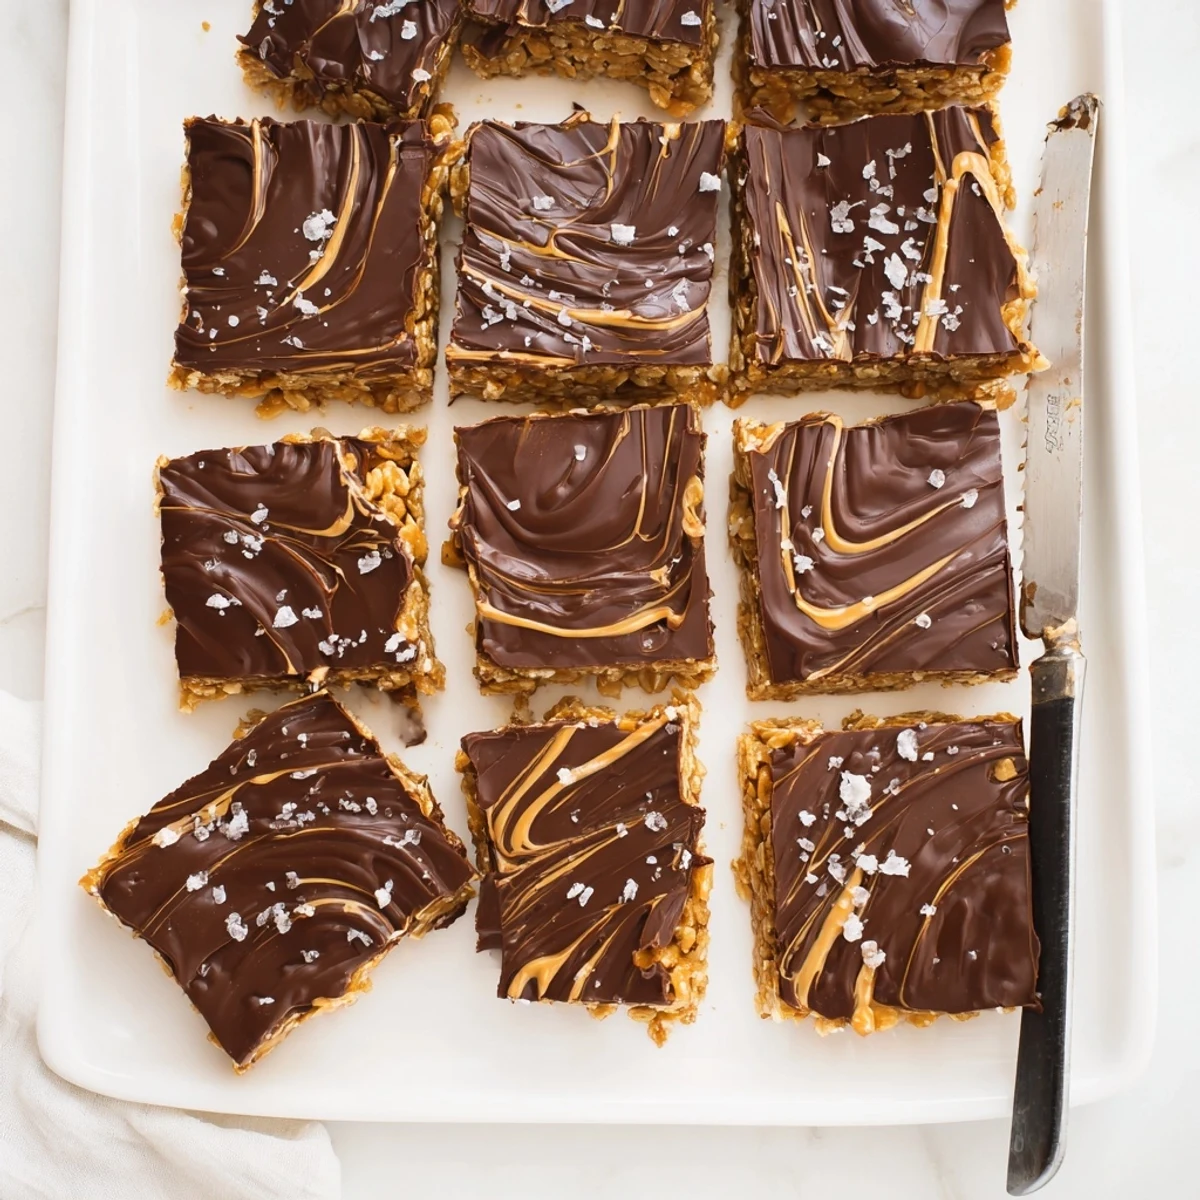
Save These sweet and crunchy no-bake bars combine gluten-free Honey Chex cereal with a rich mixture of peanut butter, honey, and butter, all topped with a velvety chocolate layer. The entire process takes just 15 minutes of active prep before chilling to set.
The cereal base provides satisfying crunch while the peanut butter and honey create a naturally sweet, sticky binder that holds everything together beautifully. The chocolate topping adds decadence and balances the sweetness perfectly.
Make these ahead for potlucks, meal prep, or keep them on hand for whenever you need a quick homemade treat. They store wonderfully in the refrigerator for up to a week.
Last summer my neighbor asked me to bring something to a block party, and I completely blanked on what to make until I spotted a box of Honey Chex in my pantry. These bars came together in about fifteen minutes of half-panic half-creativity, and they disappeared faster than anything else on the table. Now they are my go-to whenever I need something impressive but absolutely foolproof.
I made these for my sister's baby shower when the morning sickness meant she could barely stomach anything, but something about the sweet-salty combo and that crunch worked. She ended up eating three bars while standing by the window watching rain, and that became our little joke about how picky eaters always know what they need.
Ingredients
- Gluten-Free Honey Chex cereal: The honey coating adds this extra sweetness that plain rice cereal just cannot match, so do not swap it out
- Creamy peanut butter: Use a commercial brand like Jif or Skippy rather than natural peanut butter that separates, because the stabilizers help the bars set properly
- Honey: A lighter honey tastes cleaner here, but whatever you have in your cupboard will work perfectly fine
- Unsalted butter: Melted with the peanut butter, it creates the glossy, pourable consistency you need for coating the cereal evenly
- Semisweet chocolate chips: Check the label carefully because some brands process their chips on equipment that also handles wheat
- Additional peanut butter: Mixing just two tablespoons into your chocolate topping keeps it glossy when it sets instead of turning dull and brittle
Instructions
- Prep your pan:
- Crumple up your parchment paper first to make it more pliable, then press it into your 8x8 inch pan and leave those overhangs sticking up like little handles
- Make the sticky base:
- Warm your peanut butter, honey, and butter over medium-low heat while stirring constantly until you have this gorgeous caramel-colored sauce that smells like heaven
- Coat the cereal:
- Pour in your Chex and fold gently with a spatula until every piece is glossy and coated, taking care not to crush too many of those delicate squares
- Press it down:
- Use the back of a spoon to really pack the mixture into your pan, because loose crumbs mean crumbly bars later when you try to cut them
- Melt the chocolate:
- Nuke your chocolate chips and peanut butter in thirty-second bursts, stirring between each one, until you have something smooth and shiny
- Add the topping:
- Pour that chocolate right over the base and tilt the pan around to help it spread into an even layer without disturbing the cereal underneath
- Chill thoroughly:
- Let the bars set in the refrigerator for at least an hour, though overnight is even better if you can plan ahead
- Slice them up:
- Use your parchment handles to lift the whole block out onto a cutting board, then cut with a sharp knife that you have run under hot water
 Save
Save These became the official treat for my daughters soccer team last fall, mostly because I can make them the night before and just pull them out when the carpool arrives. Watching twelve kids with chocolate smeared across their faces happily crunching away makes all the stirring and pressing feel completely worth it.
Getting the Texture Right
The trickiest part is knowing when you have pressed the cereal mixture firmly enough without crushing all the Chex into dust. You want to apply steady, even pressure with the back of your spoon, kind of like you are patting down sand for a sandcastle, until the surface feels flat and cohesive.
Making Them Your Own
Sometimes I mix in a handful of mini marshmallows or salted peanuts right before pressing everything into the pan. Those little additions make each batch feel like a new discovery, and my kids have started requesting specific combinations for special occasions.
Storage and Serving
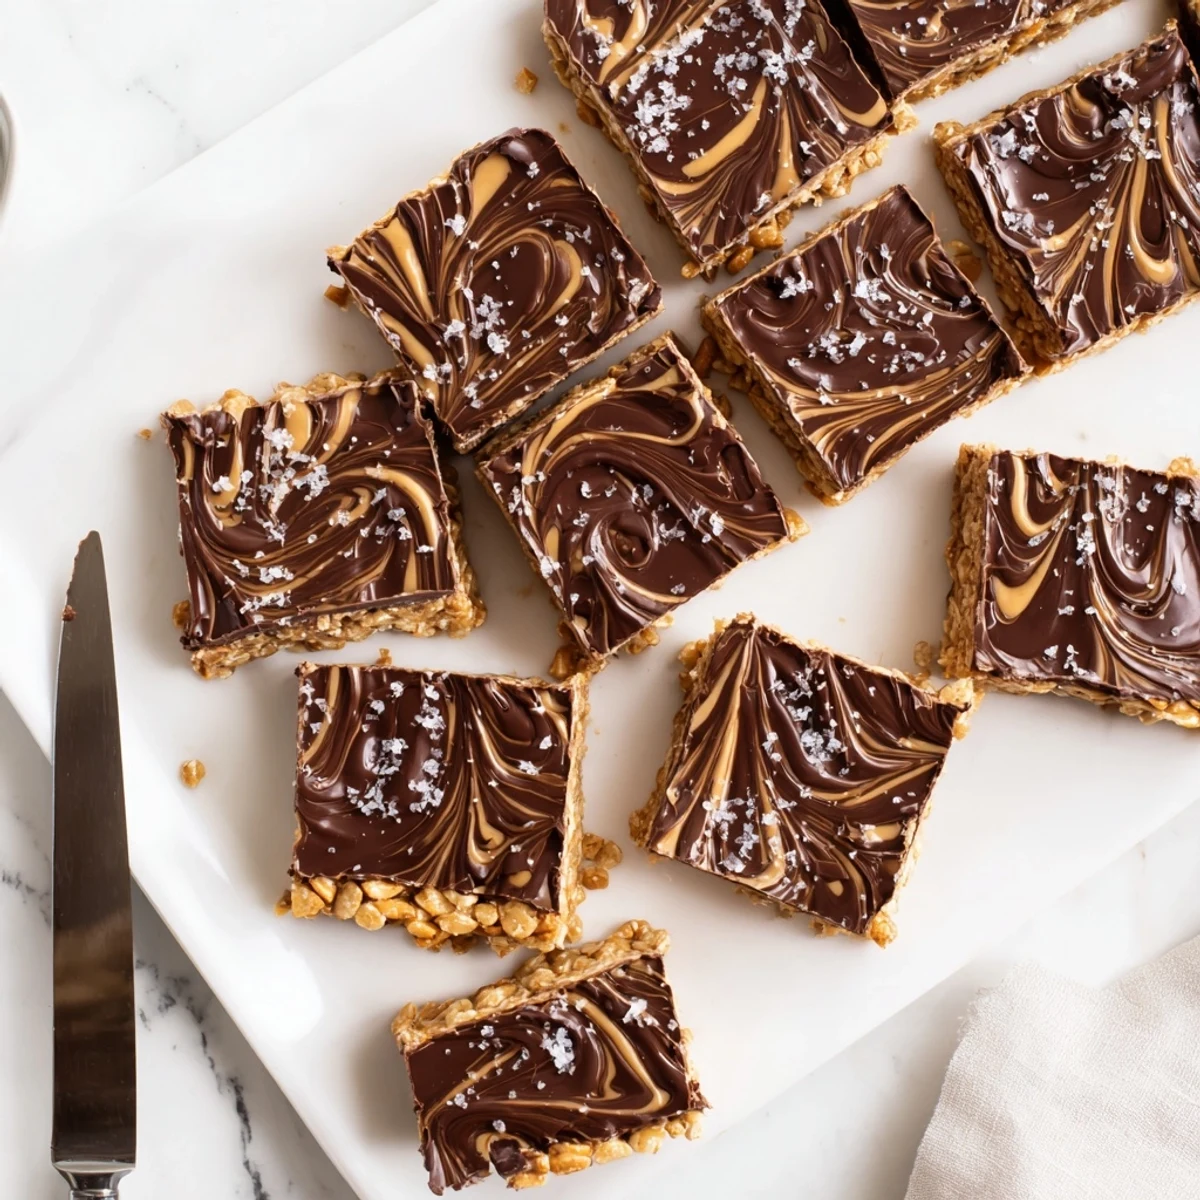
These bars need to stay cold because the peanut butter honey base gets soft at room temperature. I cut the whole batch into squares right after chilling and store them between layers of wax paper in an airtight container.
- Let the bars sit at room temperature for five minutes before serving so they are not rock hard from the fridge
- Use a sharp knife warmed under hot water for the cleanest cuts that do not drag chocolate everywhere
- Package individual bars in small treat bags if you are bringing them to a party or school event
 Save
Save Sometimes the simplest recipes end up being the ones people remember and ask for years later, maybe because they taste like someone cared enough to make something from scratch even if it only took fifteen minutes.
Recipe FAQs
- → Can I make these bars nut-free?
-
Yes, substitute sunflower seed butter for the peanut butter to create a nut-free version. The texture and flavor profile remain similar while accommodating those with peanut allergies.
- → Do these bars need to be refrigerated?
-
Yes, refrigeration is necessary for the bars to set properly. The chilling time allows the chocolate topping to firm up and the cereal base to hold together. Store them in an airtight container in the refrigerator for up to one week.
- → Can I use regular Chex instead of gluten-free?
-
Absolutely—regular Chex cereal works perfectly fine if you don't require gluten-free ingredients. The proportions and preparation method remain exactly the same.
- → What if I don't have a microwave for the chocolate?
-
You can melt the chocolate and peanut butter using a double boiler on the stovetop. Place the ingredients in a heatproof bowl over simmering water, stirring constantly until smooth and fully melted.
- → Can I freeze these bars for longer storage?
-
Yes, these bars freeze well. Cut them into portions, wrap individually in plastic wrap, and store in a freezer-safe container for up to 3 months. Thaw in the refrigerator before serving.
- → What size pan works best?
-
An 8x8-inch baking pan yields 16 substantial bars. For thinner bars, use a 9x13-inch pan and adjust cooking time slightly. The parchment overhang makes removal and cutting effortless.