 Save
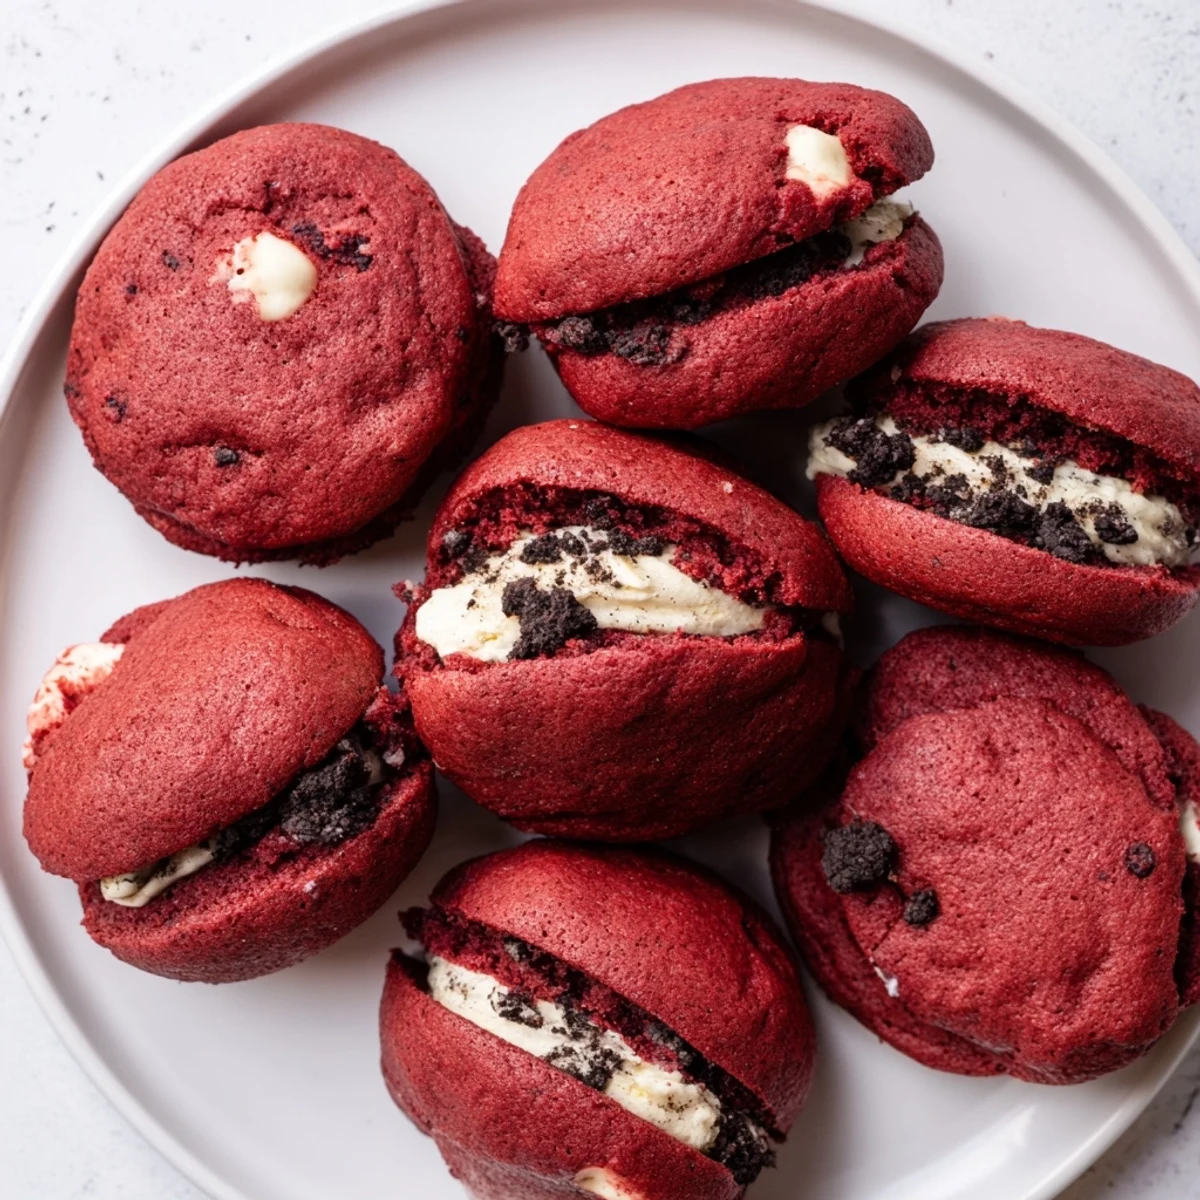
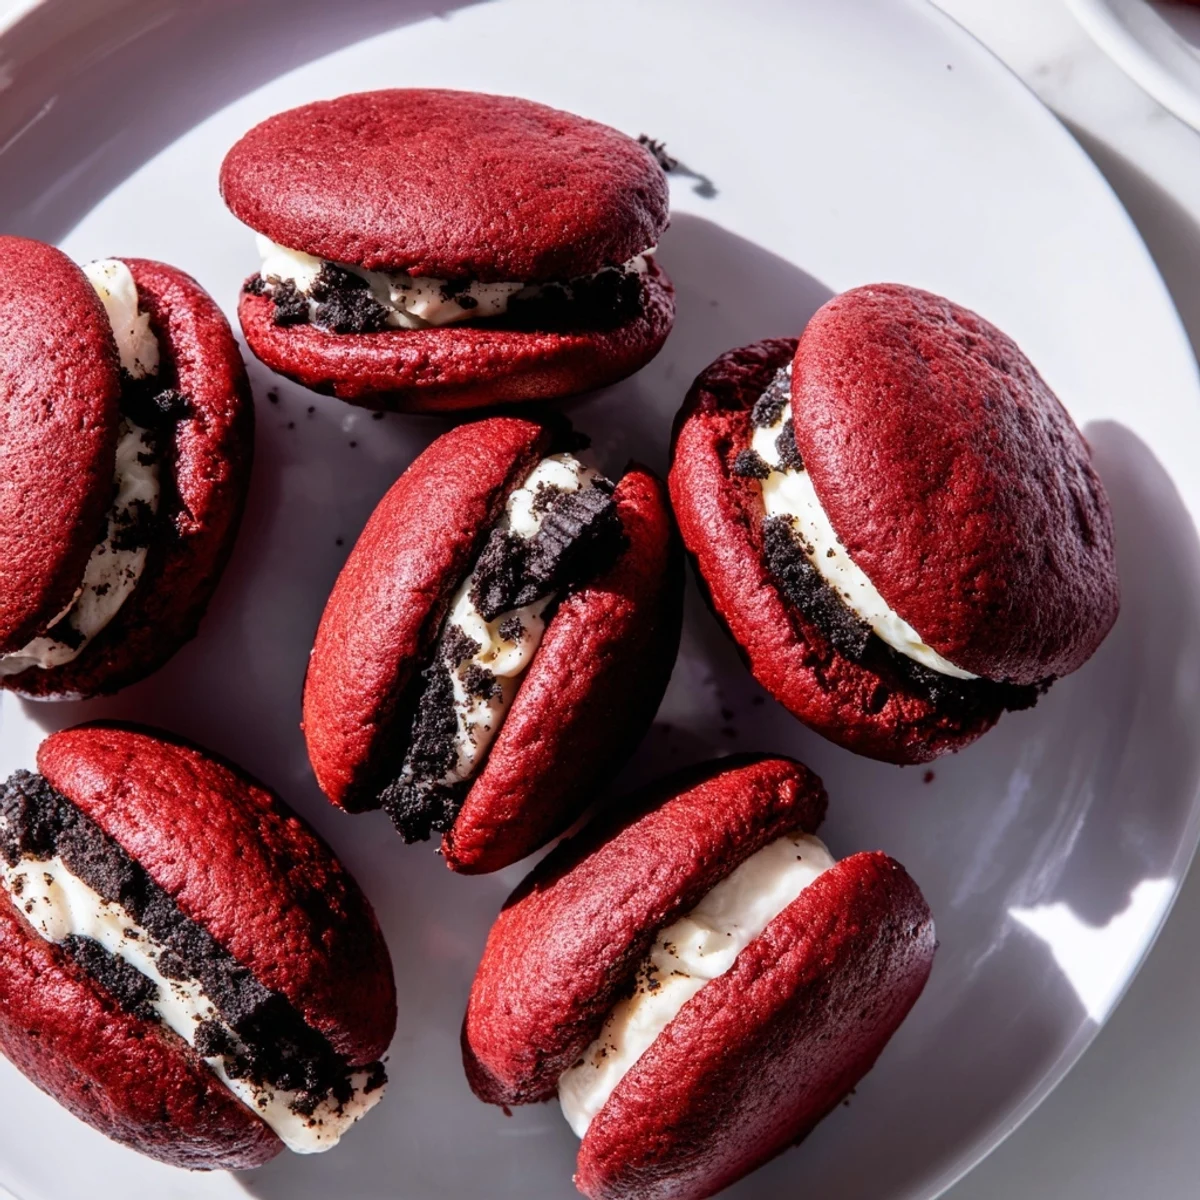
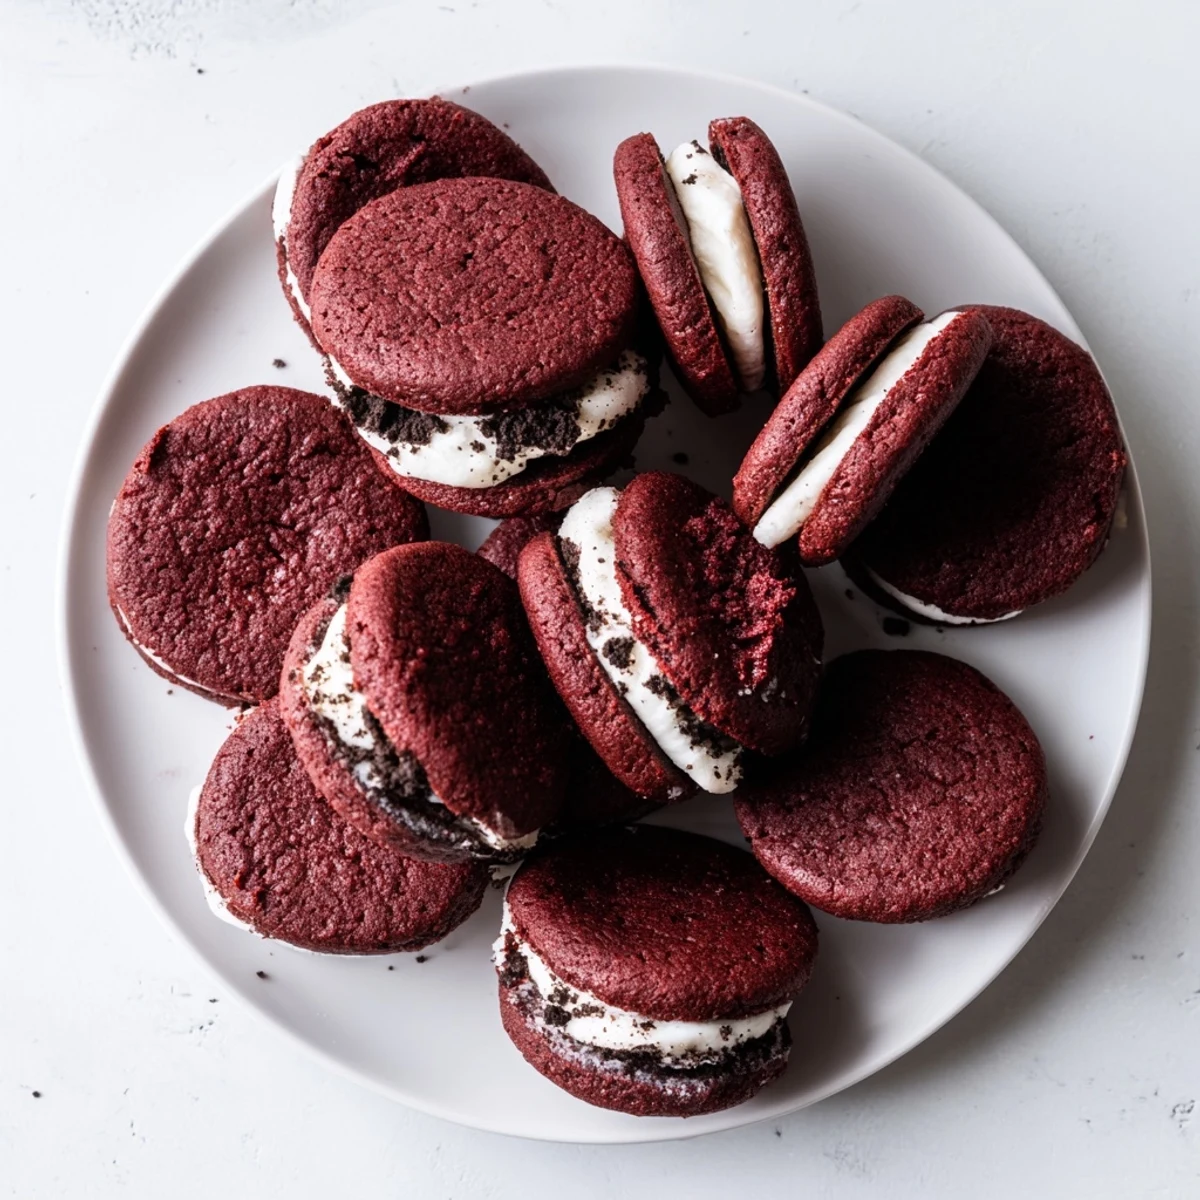
Save These indulgent red velvet cookies combine the classic velvety chocolate flavor with a surprise Oreo cream cheese filling. The dough features rich cocoa and sweet white chocolate chips, creating a perfect balance of textures. Each cookie is hand-stuffed with a creamy mixture of crushed Oreos, cream cheese, and butter, then baked until the edges are perfectly set while centers remain delightfully soft.
The preparation involves mixing a vibrant red dough, preparing the signature Oreo filling, and carefully encasing the creamy center within each cookie. With just 37 minutes from start to finish, you'll have 16 decadent treats that look impressive and taste even better.
For the best results, chill the filling before stuffing to prevent it from melting during baking. The cookies stay fresh for three days when stored in an airtight container, making them ideal for make-ahead desserts or sharing at gatherings.
The first time I attempted stuffed cookies, I made the rookie mistake of using room temperature filling that immediately melted everywhere. These red velvet Oreo cookies taught me that patience with the filling makes all the difference between a beautiful surprise center and a chocolatey disaster on your baking sheet.
I brought a batch to my office cookie exchange last year, and my coworker actually hid two in her desk before the voting even started. Something about the combination of red velvet, white chocolate, and that nostalgic Oreo cream flavor hits different than regular cookies.
Ingredients
- 2 cups all-purpose flour: The foundation that gives these cookies their perfect chewy texture
- 1/4 cup unsweetened cocoa powder: Just enough to add depth without overpowering the classic red velvet flavor
- 1 tsp baking soda: Helps these beauties rise and spread into perfect rounds
- 1/2 tsp salt: Balances the sweetness and enhances all the flavors
- 1/2 cup unsalted butter softened: Room temperature butter creamed with sugar creates that irresistible texture
- 3/4 cup granulated sugar: Creates crisp edges while keeping centers tender
- 1/2 cup packed light brown sugar: Adds moisture and a subtle caramel note
- 1 large egg: Binds everything together and adds richness
- 1 tbsp milk: Helps achieve the perfect dough consistency
- 2 tsp vanilla extract: Pure vanilla makes the cream filling sing
- 1 tbsp red food coloring: Liquid or gel both work but gel gives that deeper red hue
- 1 cup white chocolate chips: Sweet creamy pockets that complement the cocoa perfectly
- 4 oz cream cheese softened: The backbone of that classic Oreo-like filling
- 2 tbsp unsalted butter softened: Makes the filling smooth and pipeable
- 1 1/4 cups powdered sugar sifted: Sweetens and thickens the cream filling
- 1/2 tsp vanilla extract: Rounds out the filling flavor beautifully
- 8 Oreo cookies finely crushed: The star of the filling folded right into the cream
Instructions
- Preheat your workspace:
- Set oven to 350°F and line two baking sheets with parchment paper so you are ready to go
- Whisk the dry team:
- In a medium bowl combine flour cocoa powder baking soda and salt until well blended
- Cream the butter and sugars:
- Beat butter granulated sugar and brown sugar until light and fluffy then add egg milk vanilla and red food coloring
- Bring it all together:
- Gradually add dry ingredients to wet mixing just until combined then fold in white chocolate chips gently
- Make the magic filling:
- Beat cream cheese and butter until smooth then add powdered sugar and vanilla mixing until creamy and fold in crushed Oreos
- Chill out:
- Refrigerate that Oreo filling for 10 minutes because cold filling is way easier to work with
- Stuff those cookies:
- Scoop 2 tablespoon dough portions flatten slightly place a teaspoon of chilled filling in the center and fold dough around it sealing edges completely
- Bake to perfection:
- Place stuffed dough balls 2 inches apart on prepared sheets and bake 11 to 12 minutes until edges are set but centers still look slightly soft
- Patience pays off:
- Cool on baking sheet for 5 minutes then transfer to wire rack to cool completely
 Save
Save My daughter insisted these taste exactly like the red velvet Oreo ice cream we used to get at that summer creamery down the street. Sometimes the best recipes are just memories in food form.
Getting The Color Right
I have learned that gel food coloring gives that vibrant restaurant quality red while liquid can sometimes make the dough slightly sticky. Start with less than you think you need because you can always add more but you cannot take it back.
Making Assembly Easier
Keep a small bowl of water nearby to wet your fingers if the dough starts sticking while you are sealing the cookies. The moisture helps smooth out any cracks and ensures the filling stays completely hidden inside.
Storage And Serving Suggestions
These cookies actually taste better on day two when all the flavors have had time to mingle and get cozy. Store them in an airtight container at room temperature and they will stay perfect for three days though they have never lasted that long in my house.
- Warm one in the microwave for 10 seconds for that fresh baked experience
- Serve with a glass of cold milk to cut through the richness
- Package them in clear bags tied with red ribbon for effortless gifting
 Save
Save Watch peoples faces when they bite into these and discover what is inside. That surprise moment is exactly why baking feels like magic.
Recipe FAQs
- → Can I make the dough ahead of time?
-
Yes, you can prepare the red velvet dough up to 24 hours in advance. Store it in the refrigerator, well-wrapped, and bring to room temperature before stuffing and baking. The filling can also be made ahead and kept chilled until assembly.
- → What if I don't have red food coloring?
-
Without red food coloring, you'll still have delicious chocolate cookies, just without the signature red appearance. The taste and texture remain the same. For natural alternatives, beet juice powder can provide a reddish hue, though the intensity may vary.
- → Can I freeze these stuffed cookies?
-
You can freeze the assembled, unbaked stuffed cookies on a baking sheet until firm, then transfer to a freezer bag. Bake from frozen, adding 1-2 minutes to the baking time. Already baked cookies also freeze well for up to 3 months.
- → Why did my cookies spread too much?
-
Excess spreading usually happens if the dough or butter was too warm, or if the filling wasn't chilled enough. Ensure your filling is refrigerated for the full 10 minutes, and work with cool dough. If your kitchen is warm, chill the scooped dough balls for 15 minutes before baking.
- → Can I use regular Oreos instead of crushing them?
-
The crushed Oreos are essential for the creamy filling texture. Whole Oreos would be too large to incorporate smoothly. Use a food processor or place them in a sealed bag and crush with a rolling pin until you have fine crumbs mixed with some small cookie pieces for texture.
- → How do I know when the cookies are done?
-
The cookies are ready when the edges are set and slightly firm, but the centers still look soft and slightly underbaked. They will continue cooking on the hot baking sheet during the 5-minute cooling period. This technique ensures perfectly chewy centers.