 Save
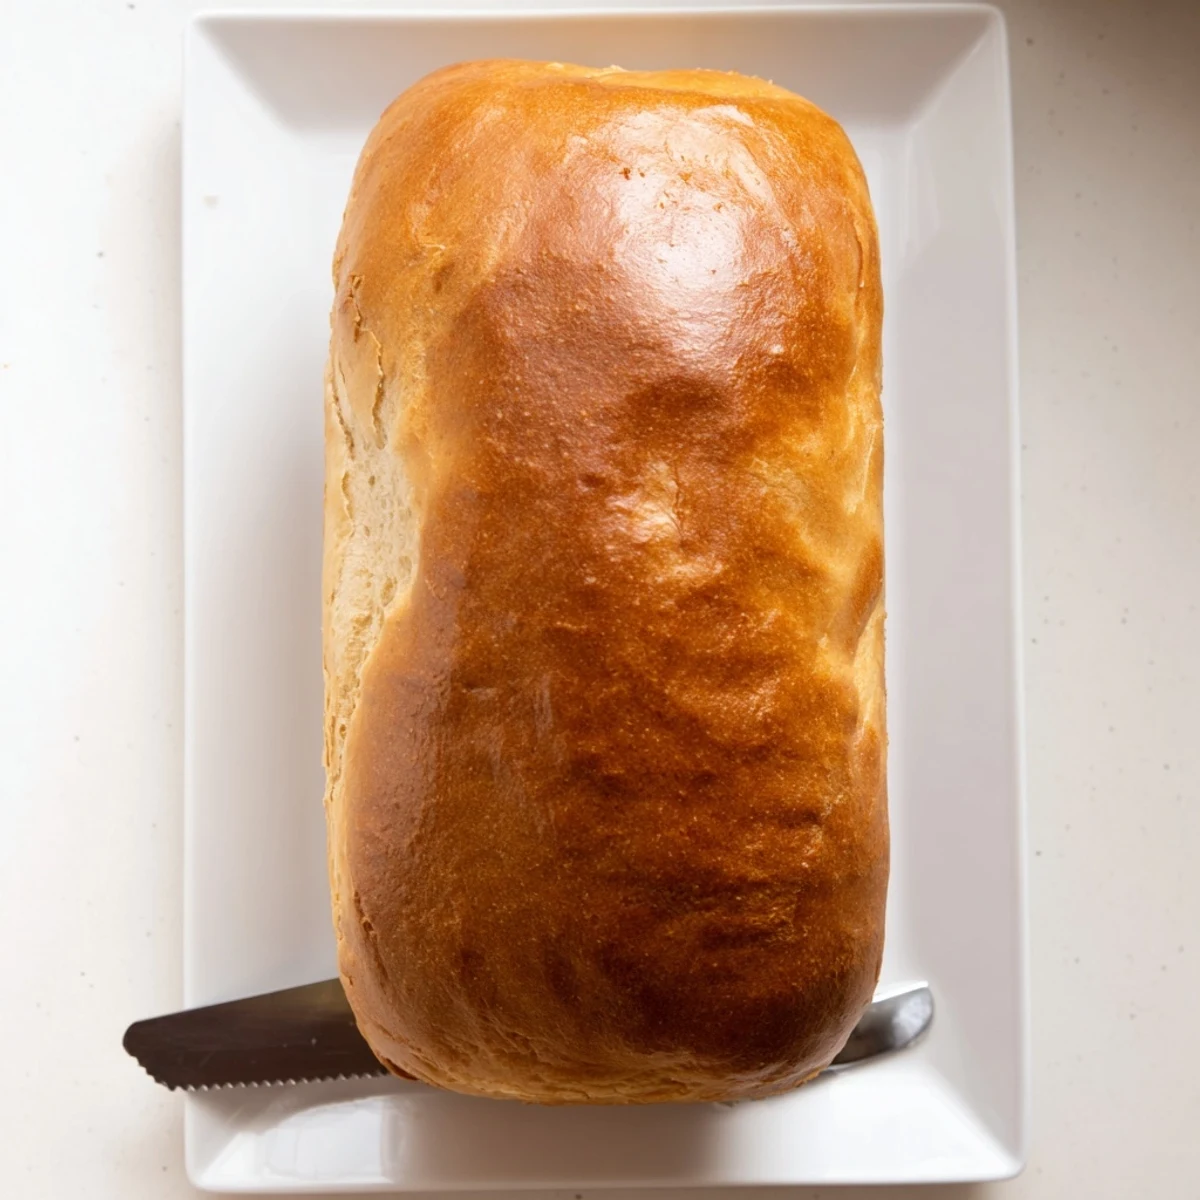
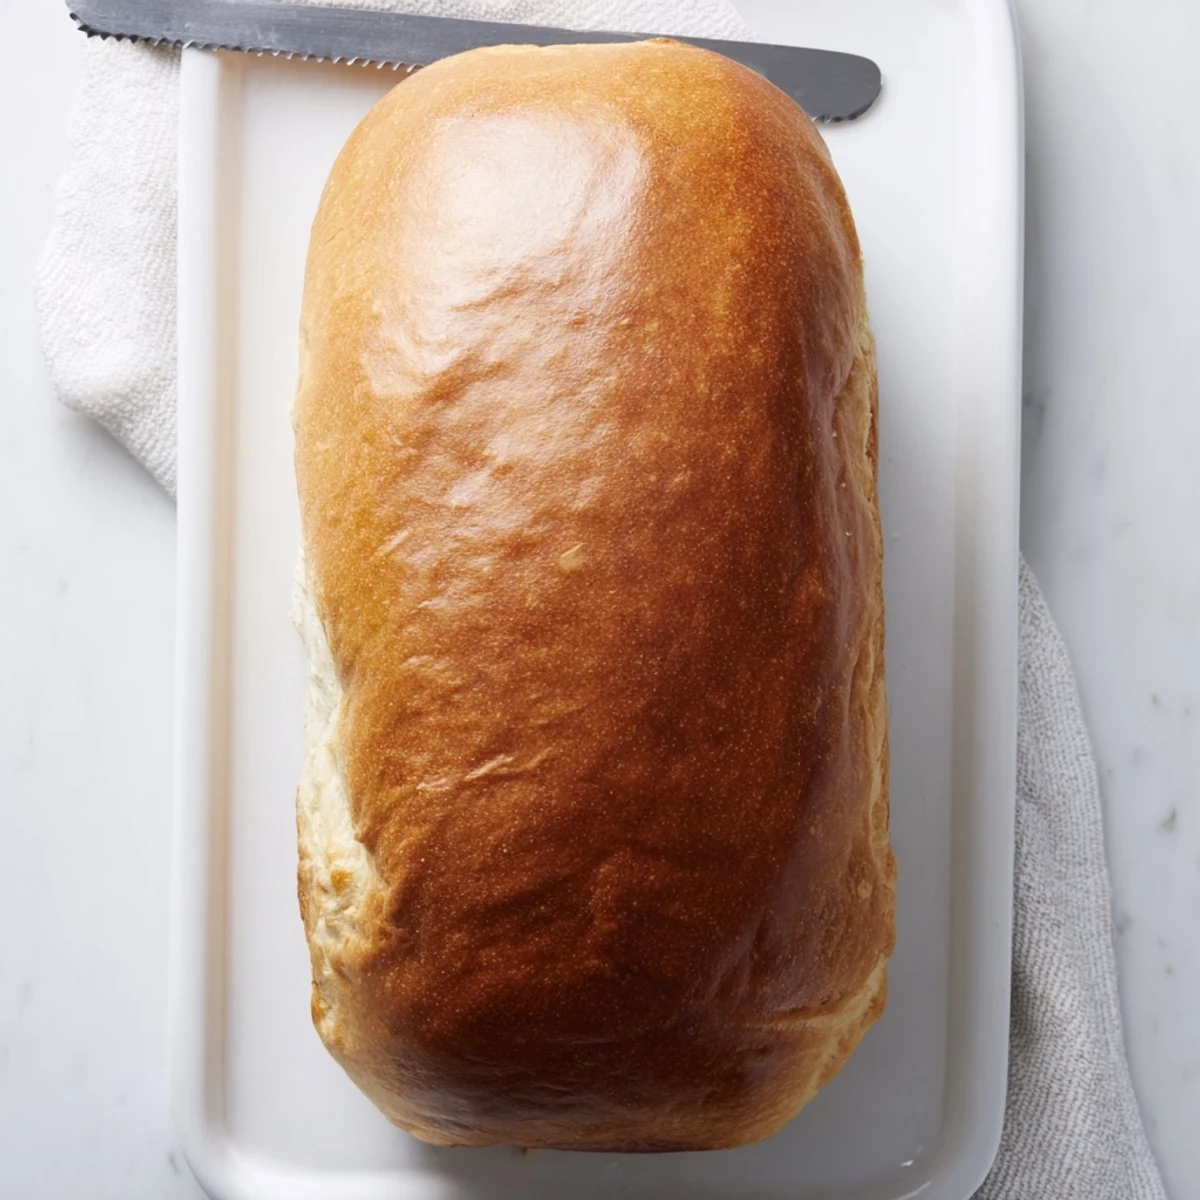
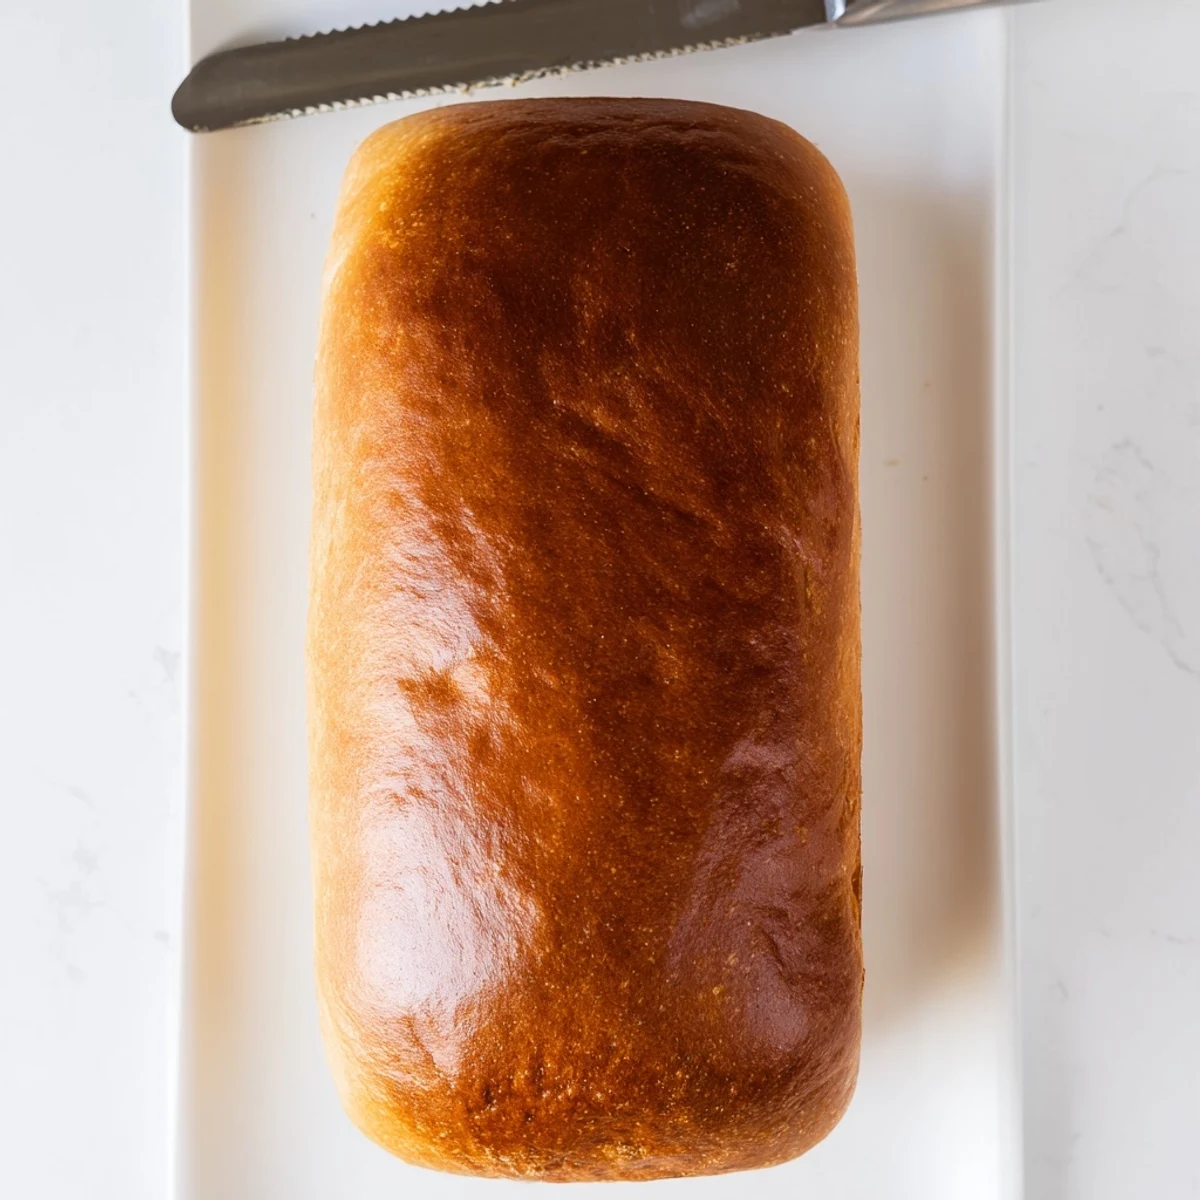
Save This traditional Amish white bread delivers a soft, pillowy texture with just a hint of sweetness. The simple combination of warm water, sugar, oil, flour, and yeast creates two beautiful golden loaves that bake to perfection. After a brief rise time, kneading develops the gluten structure for that classic light crumb. The result is homemade loaves ideal for everything from deli sandwiches to breakfast toast with butter. Brushing warm tops with butter ensures an extra soft crust.
The smell of this bread baking takes me right back to my grandmother’s kitchen on Sunday mornings. I can still hear her metal timer dinging from across the house and feel the warmth radiating from her oven door. She never measured anything precisely, yet somehow her loaves turned out perfect every single time. It took me years of failed attempts to realize her secret was simply patience and touch.
Last winter when my sister came to visit during a terrible ice storm, we baked three batches of this bread in two days. Something about the house filling with that unmistakable fresh-bread aroma made being stuck inside feel like a gift instead of a burden. She now texts me photos of her own loaves, usually with a caption about how my kids ate half the first loaf before it even cooled.
Ingredients
- 5 ½ to 6 cups all-purpose flour: Start with 5 cups and add more only if the dough feels too sticky—this varies by humidity and brand of flour
- 2 ¼ teaspoons active dry yeast: One standard packet works perfectly, but check the expiration date first
- 2 teaspoons salt: Essential for flavor development and controlling yeast growth
- 2 cups warm water: Use a thermometer to hit 110–115°F, or test on your wrist like bathwater
- ⅓ cup granulated sugar: Feeds the yeast and adds just enough sweetness to balance the salt
- ¼ cup vegetable oil: Keeps the bread tender and helps it stay fresh longer
Instructions
- Wake up the yeast:
- Stir the sugar into your warm water until dissolved, then sprinkle the yeast on top and walk away for 10 minutes. You should return to find a layer of creamy foam on the surface.
- Build the base:
- Pour in the oil and salt, then gradually add 5 cups of flour while stirring with a wooden spoon or spatula.
- Find the right texture:
- Add more flour only if the dough is still sticking to the sides of the bowl, ¼ cup at a time, until it pulls away cleanly.
- Knead with purpose:
- Turn the dough onto a lightly floured surface and push it away with the heel of your hand, fold it back, and repeat for 6 to 8 minutes until it springs back when poked.
- First rise:
- Place the dough in a greased bowl, cover it with a warm towel, and find the coziest spot in your kitchen to let it double in size.
- Shape your loaves:
- Punch the dough down gently, divide it in half, and shape each piece into a rectangle before rolling them into tight cylinders.
- Second rise:
- Place the loaves in greased 9x5-inch pans, cover again, and let them rise until they crest about an inch above the rim.
- Bake to golden:
- Slide the pans into a 350°F oven and bake for 30 to 35 minutes until the tops are golden brown and tapping the bottom produces a hollow sound.
- Cool completely:
- Turn the loaves out onto a wire rack immediately and resist the urge to slice until they’ve cooled—cutting warm bread makes the texture gummy.
 Save
Save My youngest daughter helped me make this for the first time last month. She was so proud of her kneading technique that she told her entire kindergarten class about our bread-baking adventure. Now whenever we make it, she insists on doing the “push and fold” part all by herself.
Getting That Perfect Rise
I used to think my yeast was dead whenever bread didn’t rise properly, but usually the problem was actually temperature. In winter, I preheat my oven for 60 seconds then turn it off and let the dough rise inside with the door cracked open. In summer, the counter works fine as long as it’s not in direct sunlight or near an air conditioning vent.
Making It Your Own
Once you’ve mastered this basic recipe, try swapping half the white flour for whole wheat to add nuttiness and nutrition. A tablespoon of honey instead of sugar gives the bread a gorgeous golden color and deeper flavor complexity. Just remember that whole wheat absorbs more liquid, so you may need to add an extra splash of warm water.
Storage and Freezing
This bread stays fresh for three days wrapped in plastic or stored in a bread bag on the counter. Beyond that, freezing is absolutely your best option. Slice the loaf first, wrap it tightly in plastic, then place it in a freezer bag for up to three months. Individual slices thaw in about 20 minutes at room temperature or toast beautifully straight from frozen.
- Never store bread in the refrigerator—it actually stales faster in the cold
- A paper bag works better than plastic for the first day if you prefer a crustier exterior
- Revive slightly stale bread by sprinkling it with water and warming it in a 350°F oven for 10 minutes
 Save
Save There’s something almost meditative about making bread by hand, especially when you see those two golden loaves emerge from the oven. I hope this recipe becomes a regular part of your kitchen rhythm.
Recipe FAQs
- → What makes Amish white bread different from regular white bread?
-
Amish white bread typically has a slightly sweeter taste and softer texture than standard white bread. The addition of sugar and oil creates tender slices that stay fresh longer. The generous rise time produces an exceptionally light, airy crumb structure perfect for sandwiches.
- → How do I know when the dough has risen enough?
-
The dough should double in size during the first rise, taking about 1 hour in a warm place. For the second rise in pans, wait until the dough rises approximately 1 inch above the pan rim. This usually takes 30-40 minutes and ensures proper oven spring.
- → Can I make this bread without a stand mixer?
-
Absolutely. This bread was traditionally made by hand. Simply mix ingredients in a large bowl, then turn onto a floured surface and knead by hand for 6-8 minutes until smooth and elastic. The tactile method helps you feel when the dough reaches the right consistency.
- → Why does my bread sometimes turn out dense?
-
Dense bread usually results from not letting dough rise long enough or using water that's too hot, which kills yeast. Ensure water is 110-115°F and allow full rising time. Also, avoid adding excessive flour during kneading—start with 5 cups and only add more if dough remains very sticky.
- → How should I store homemade Amish bread?
-
Wrap cooled loaves tightly in plastic or store in a bread bag at room temperature for up to 3 days. For longer storage, slice and freeze in freezer bags. Frozen slices thaw quickly at room temperature or can go directly into the toaster. Avoid refrigerating, as this accelerates staling.
- → What's the purpose of brushing butter on warm bread?
-
Brushing melted butter on freshly baked loaves creates a softer, more tender crust. The butter penetrates the surface slightly, preventing the crust from becoming hard or crispy as it cools. This traditional technique yields that characteristic tender exterior.