 Save
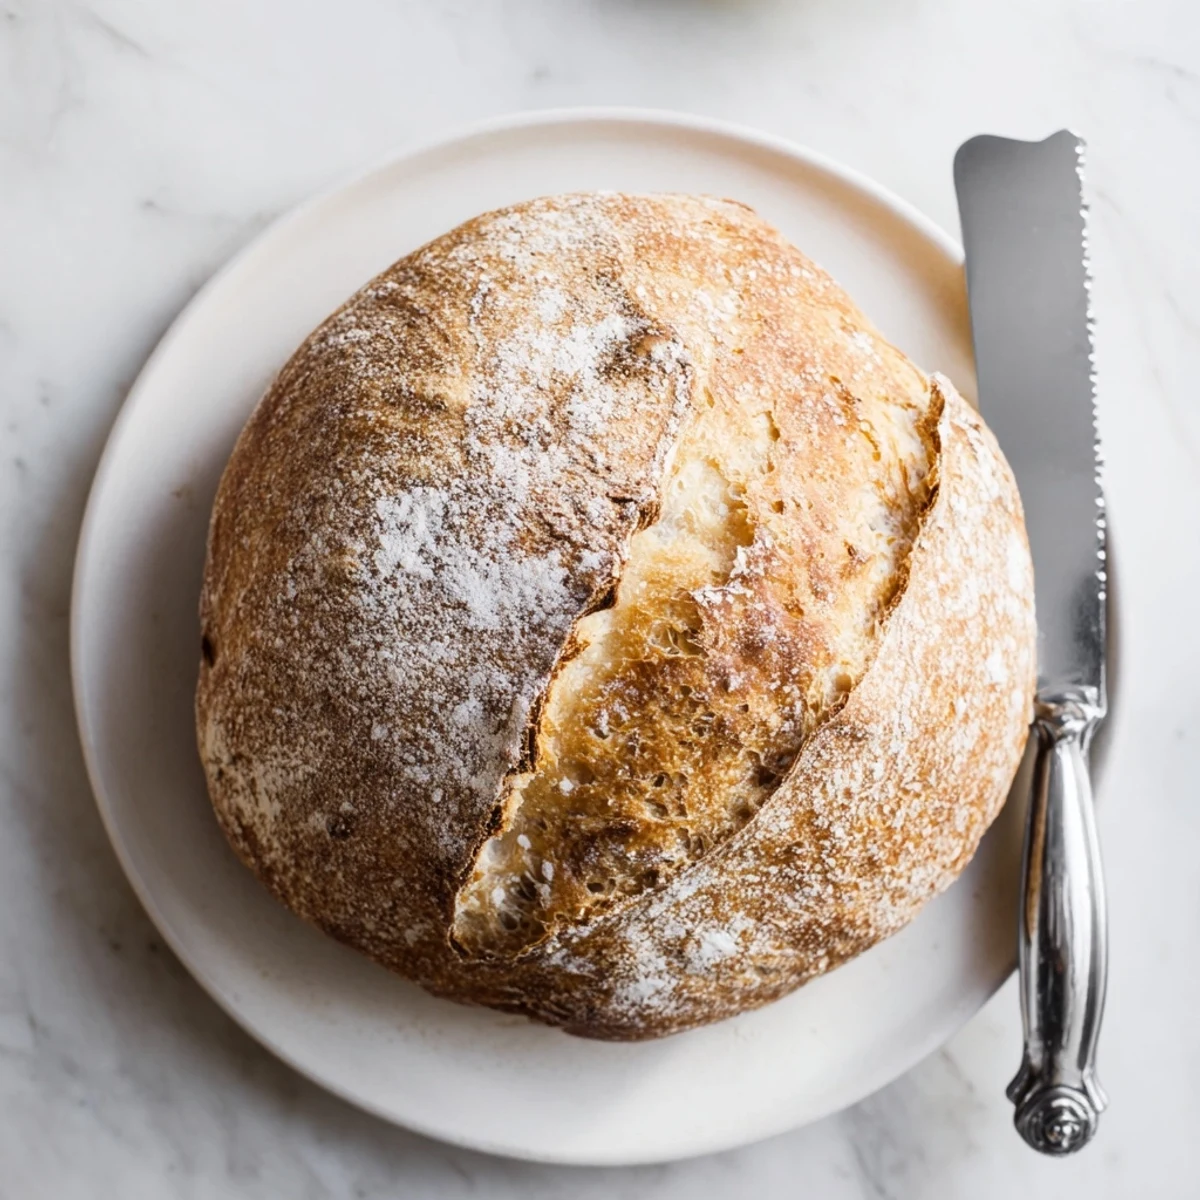
Save This artisan bread delivers professional bakery results with virtually no hands-on work. The dough develops overnight through fermentation, creating complex flavors and that signature open crumb structure. Baked in a preheated Dutch oven, the loaf achieves a thick, crispy crust while maintaining a soft, chewy interior. Perfect for sandwiches, toast, or dipping in olive oil, this versatile loaf adapts to your schedule with a flexible 12-18 hour rising window.
There's something almost magical about mixing flour, water, salt, and yeast before bed and waking up to a bubbly, alive dough that smells like promise. My first attempt at no-knead bread happened during a snowstorm when we were stuck inside and I was craving something warm and homemade. The way the crust crackles when it comes out of the oven still makes my kitchen feel complete, no matter the season.
I made this bread for a dinner party once, completely forgetting to buy bread until the morning of. The dough had been sitting on my counter since the previous evening, looking like a science experiment gone wrong. But when I pulled that golden, crackling loaf from the oven, my friend actually asked which bakery I'd visited at 7 AM.
Ingredients
- 3 1/4 cups bread flour: Bread flour has higher protein content than all-purpose, which gives you that beautiful chewy texture and open crumb structure
- 1 1/2 teaspoons salt: Don't skip this or reduce it, salt is crucial for flavor and also helps control yeast activity
- 1/2 teaspoon instant yeast: You need very little yeast because the long fermentation time lets the yeast work slowly and develop flavor
- 1 1/2 cups lukewarm water: The water should feel like bath temperature, around 100°F, to activate the yeast without killing it
- Extra flour or cornmeal: This prevents the dough from sticking and adds a nice texture to the bottom crust
Instructions
- Mix the dough:
- Whisk together the flour, salt, and yeast in a large bowl, then stir in the lukewarm water until you have a shaggy, sticky dough. Don't worry about lumps or perfect incorporation, just make sure all the flour is hydrated.
- Let it rest:
- Cover the bowl tightly and leave it alone at room temperature for 12 to 18 hours, until you see bubbles on the surface and the dough has roughly doubled in size.
- Shape the loaf:
- Turn the dough onto a floured surface and, using floured hands, gently fold the edges toward the center to form a rough ball without pressing out too much air.
- Second rest:
- Place the dough seam-side down on parchment paper, cover with a towel, and let it rest for 30 to 60 minutes while you preheat your oven.
- Preheat with Dutch oven:
- Put your Dutch oven with its lid in the oven and heat to 450°F for at least 30 minutes, getting the pot thoroughly hot.
- Bake with steam:
- Carefully lift the dough with the parchment paper into the hot Dutch oven, cover with the lid, and bake for 30 minutes to trap steam.
- Finish with crust:
- Remove the lid and bake for another 12 to 15 minutes until the loaf is deep golden brown and sounds hollow when tapped on the bottom.
 Save
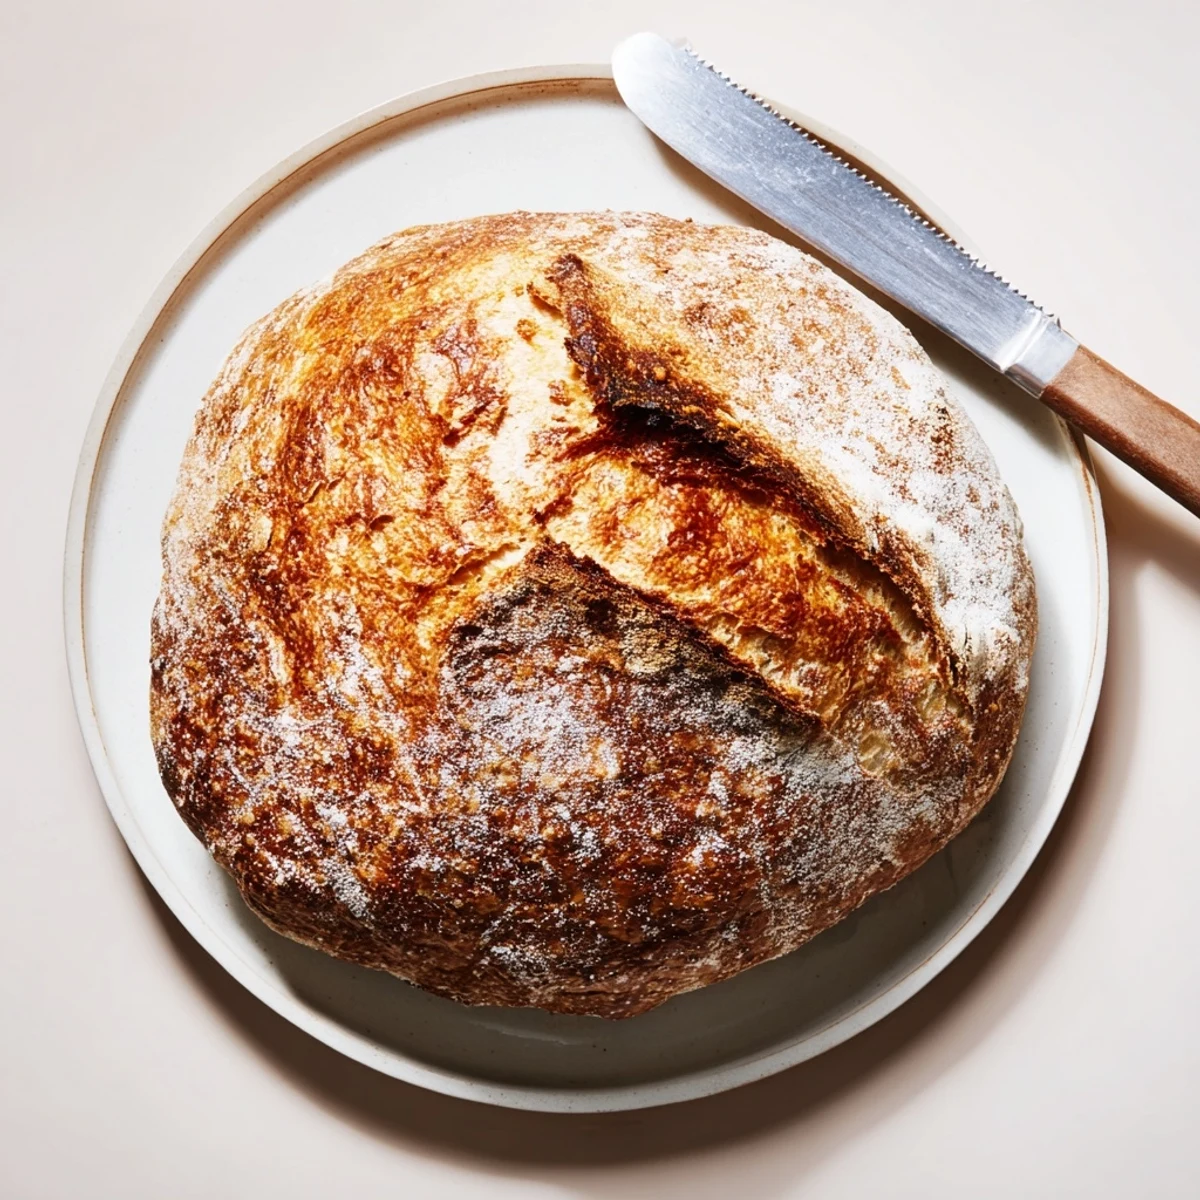
Save This bread has become my go-to for housewarming gifts and new neighbors. There's something so elemental about handing someone a loaf of bread you made yourself, still slightly warm from the oven, wrapped in a simple kitchen towel.
Getting the Timing Right
I've found that mixing the dough before bedtime works perfectly for a fresh loaf the next afternoon. The timing is forgiving enough that if you sleep in or get busy, the dough will be fine for a few extra hours of rising.
Dutch Oven Alternatives
If you don't have a Dutch oven, any heavy oven-safe pot with a tight-fitting lid will work. I've even used a stainless steel bowl covered with aluminum foil in a pinch, though the crust won't be quite as dramatic.
Making It Your Own
Once you've mastered the basic recipe, try mixing in chopped olives, rosemary, roasted garlic, or even chunks of cheese. The variations are endless and the forgiving dough handles additions beautifully.
- Whole wheat flour can replace up to one-third of the white flour for more nutrition and nutty flavor
- If you add mix-ins like nuts or dried fruit, reduce the water by about 2 tablespoons to keep the dough consistency right
- Leftover bread makes incredible croutons or breadcrumbs for later use
 Save
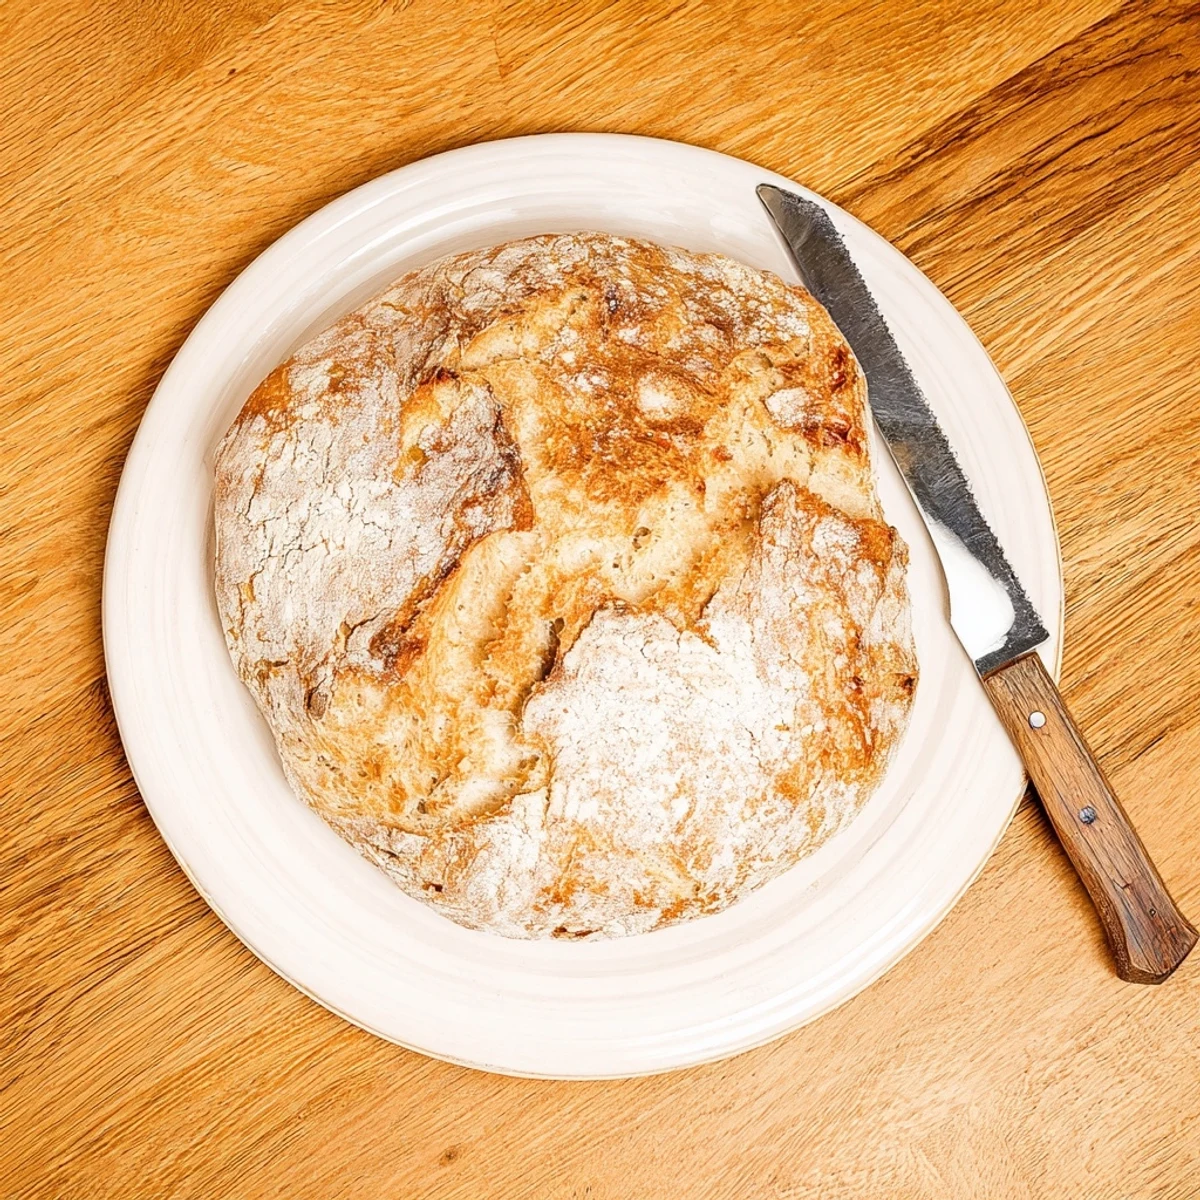
Save There's nothing quite like tearing into a slice of this bread while it's still slightly warm, the crust shattering beneath your fingers and the steam rising up to meet you. Welcome to the world of artisan bread making.
Recipe FAQs
- → Why does this bread need to rise for so long?
-
The extended resting period allows natural fermentation to develop flavor and strengthen the gluten structure without kneading. This slow rise creates the bread's characteristic airy texture and complex taste profile.
- → Can I use all-purpose flour instead of bread flour?
-
Yes, all-purpose flour works well in this method. Bread flour yields slightly more structure and chew, but all-purpose creates an equally delicious loaf with a tender crumb.
- → What if I don't have a Dutch oven?
-
A heavy cast iron pot with a tight-fitting lid, or even a baking stone with a metal bowl inverted over the loaf, can create the steam environment needed for a crispy crust.
- → How do I know when the dough is ready to bake?
-
The dough should have doubled in size, show bubbles on the surface, and feel jiggly when you gently shake the bowl. It should look puffy and alive.
- → Why must the Dutch oven be preheated?
-
Preheating creates immediate oven spring when the dough hits the hot surface, while the trapped steam from the covered pot ensures a crispy, crackly crust develops perfectly.
- → Can I add mix-ins like herbs or cheese?
-
Absolutely. Fold in herbs, grated cheese, nuts, olives, or dried fruit during the initial mixing. These additions integrate beautifully during the long fermentation period.